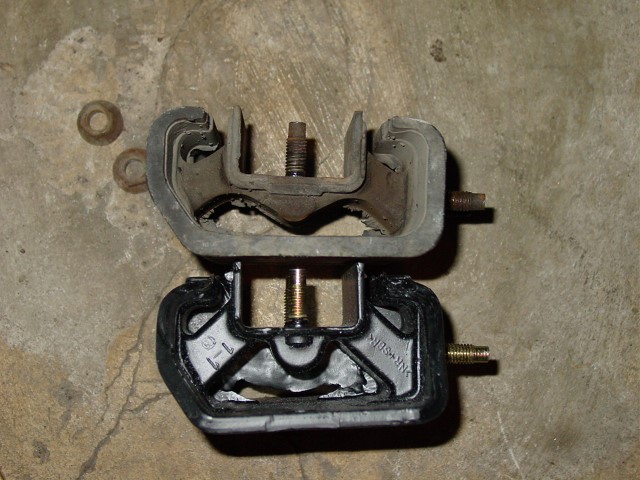
Since the day I picked up my 240, I noticed the impact of the soggy, old, 180,000 mile engine mounts. Fresh original mounts would probably help but even those are a bit soggy. What are the effects of old engine mounts? Very spongy response from the engine. You may notice that you get a bog-snap take off that probably drives you crazy.
What’s the solution? You have at least two options. One is to use the same technique I outlined in my homemade engine mount write-up. Simply fill in all the gaps with the window weld. You could possibly do it with the mounts in the car if you really want to try.
Another option is Nismo’s engine mount upgrade for the 240SX equipped with the KA or SR engines. Rather than use polyurethane, Derlin or some other rigid material, Nismo likes to offer upgraded bushings with a higher durometer rubber. You’ll find Nismo versions of subframe, control arm, and other bushings for most Nissan offerings. Using the stiffer rubber allows for improved performance and control while maintaining some civility in the driving experience. Rock hard engine mounds can be annoying!
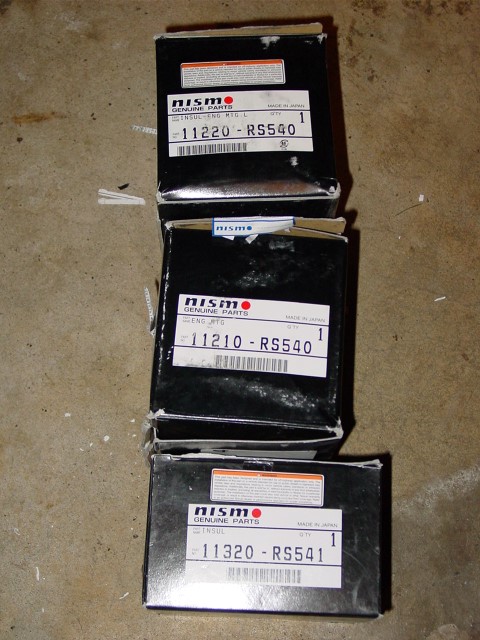
Here are the part numbers:

The Install:
Start by raising and securing the front of the car.
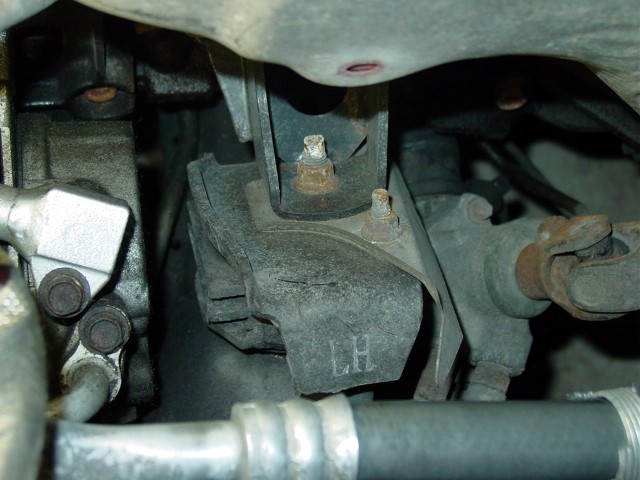
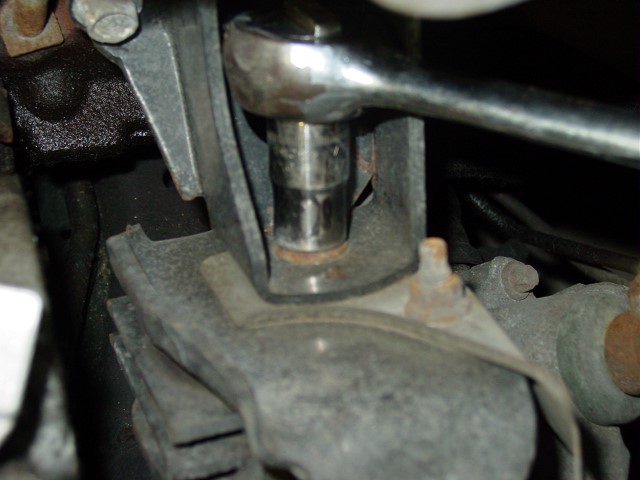
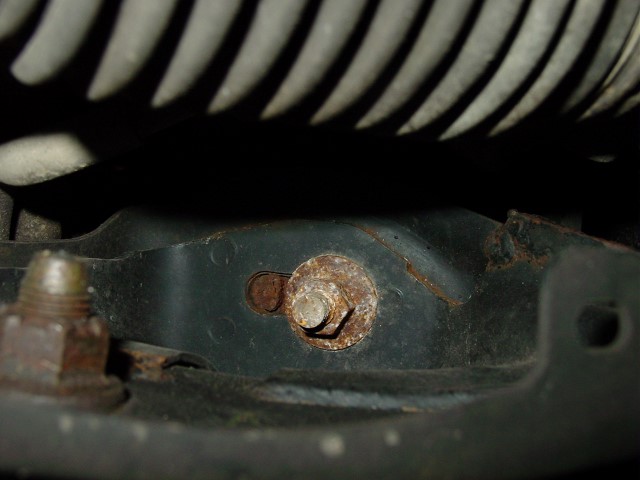
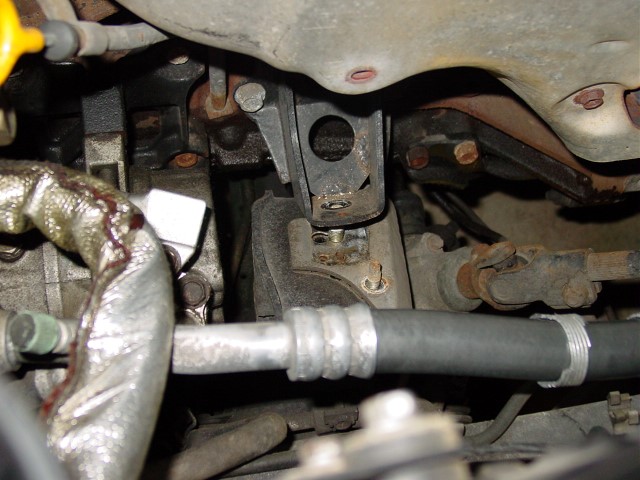
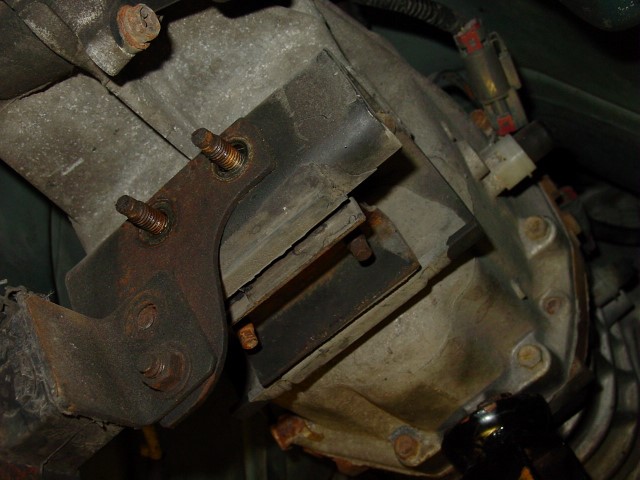
Raising the engine can be difficult. Use a jack and a section of 2×4 about a foot long, raise the engine by the alternator bracket for the right side and the AC bracket for the driver’s side. Raising the engine this way, will allow it to twist giving you more room to remove the mount.
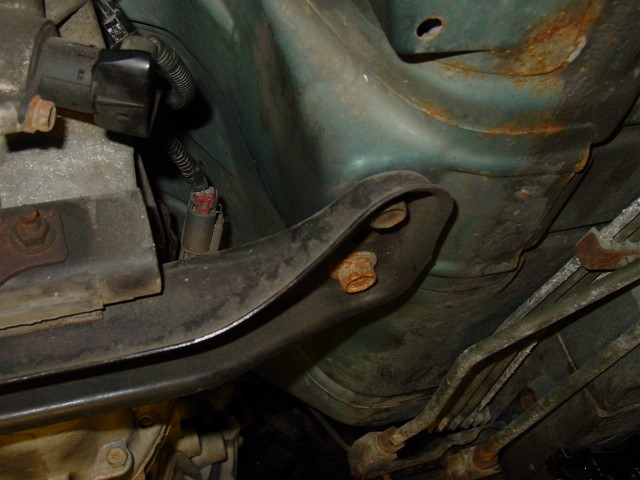
For the transmission mount, you’ll need to raise the back of the transmission using a jack.
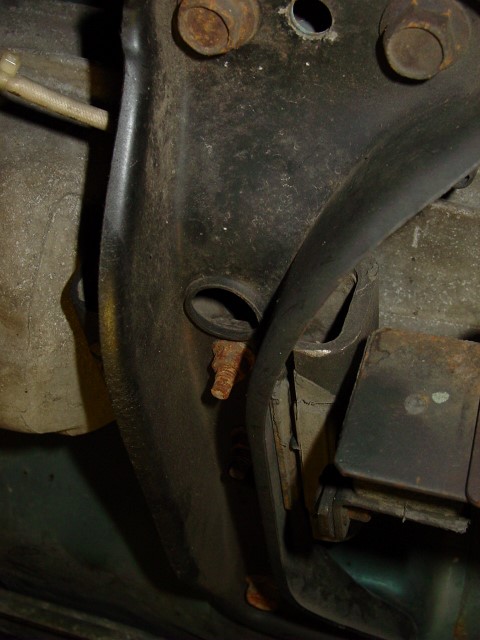
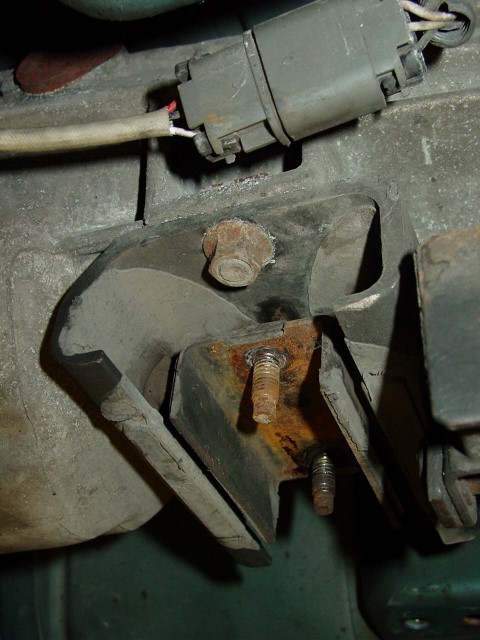
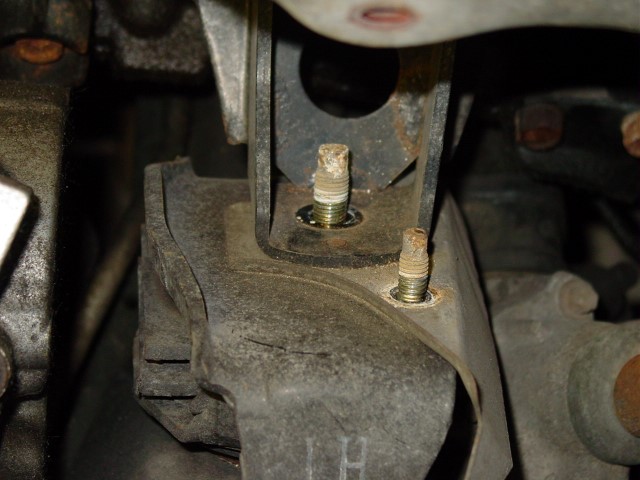
Bolt on the new mount and as always, the installation is the opposite of removal! You may find that the new mount will raise the transmission. Use the your jack to move it up while you bolt the cross member back into place.
Impressions:
The new mounts are MUCH stiffer than the original units. Vibration inside the car is minimal and the improvement is very noticeable. The new transmission mount moved the shifter up noticeably which was a nice surprise. Launching the car is much smoother whether you are accelerating casually or aggressively. Nearly all of the slop has vanished. You could take the time to fill the mounts and make them even stiffer, but I didn’t feel that it was necessary.
I’ve experienced a 240SX where the stock mounts were filled with window weld material. Vibrations in the interior were much more pronounced. It seems like the Nismo mounts were designed to avoid that problem and still offer a significant improvement.
This is definitely an upgrade I recommend!
In the end, if you need more, you can fill the gaps with poly urethane. Read about the process in my homemade engine mount page.