
(This write-up was originally written and published in 2006)
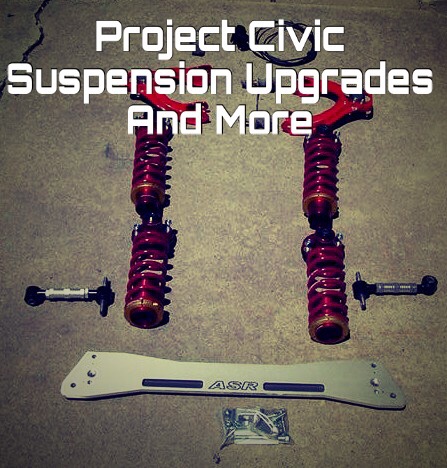
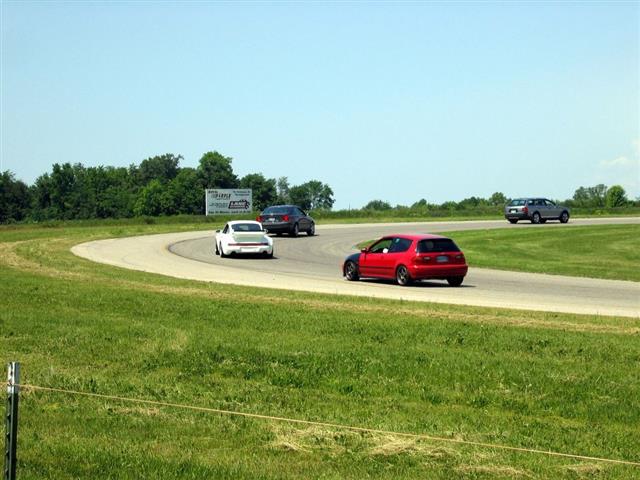
After a long weekend at Putnam Park Raceway in Indiana, I realized that my hatch needed a far more aggressive suspension. As great as it was on the street, it was severely lacking on the track. For the 2006 season, I planned for a massive suspension overhaul. While I was selecting parts for the suspension upgrade, I also included extra bracing and tackled a few maintenance items.
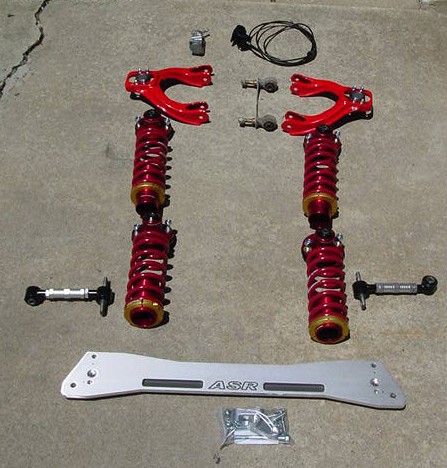
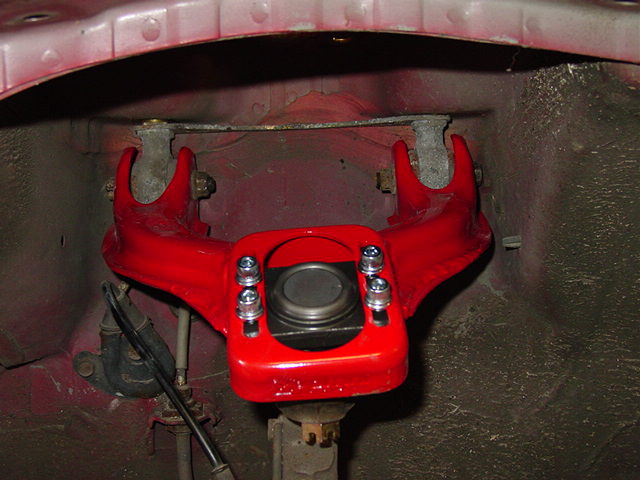
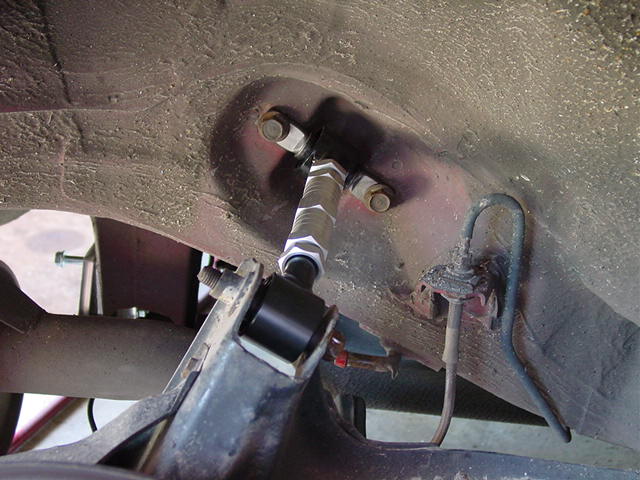
For starters, I was never happy with my Ingalls camber kit and knew I needed something better. Omni-Power makes a kit that allows for adjustment at the ball joints rather than the inner mount. My alignment guy was much happier with the Omni-Power components. I also installed the adjustable upper link in the rear. (Update, Omni-Power is no longer in business. Skunk 2 along with other manufacturers, now make the same part.)
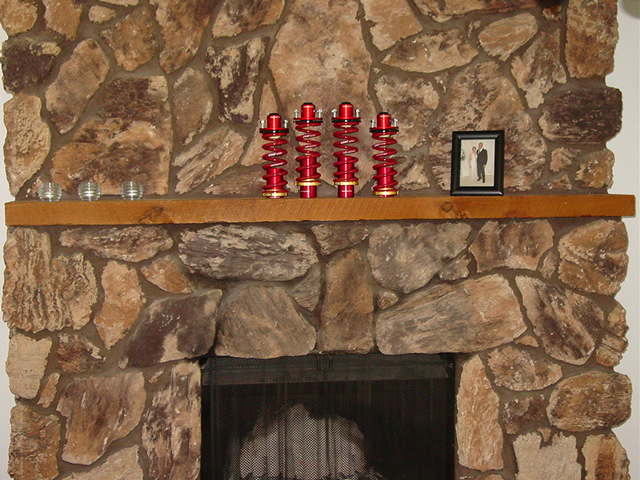
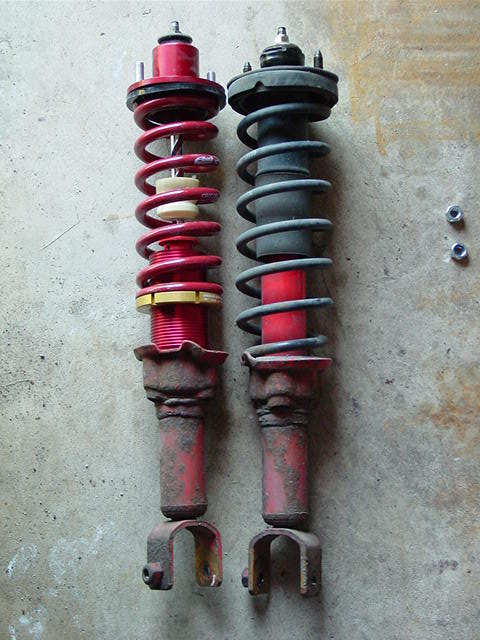
Having addressed camber adjustment, I needed to resolve the issue of the Eibach Pro-kit springs not holding up to track use. I turned to Ground Control for their coilover conversion. The Ground Control kit allows for nearly any aftermarket shock/strut to be used with minimal to no modification. I also elected to buy the optional spring hats which moves the shock shaft mounting point higher. The new hat helps maintain proper shock travel on lowered car.
I wrapped up the suspension upgrade with a new set of wheels and tires. Details below.
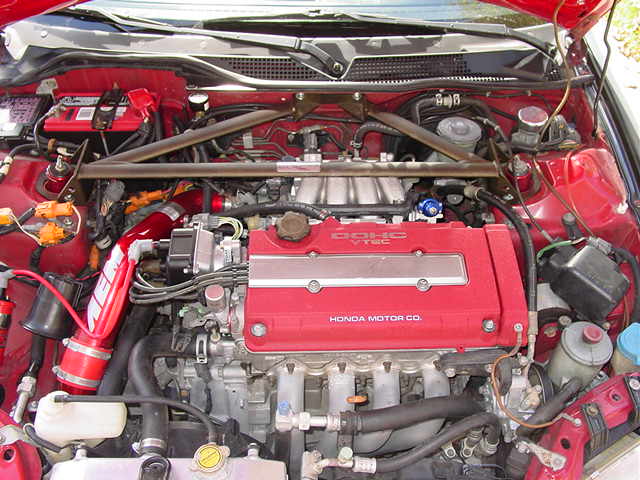
Later in the year, I installed a Walbro Fuel Pump, B&M adjustable fuel pressure regulator and an MSD external coil.
The complete list:
- Omni Power front and rear camber kits
- New hood release
- New inner bushing mount for the front upper arm
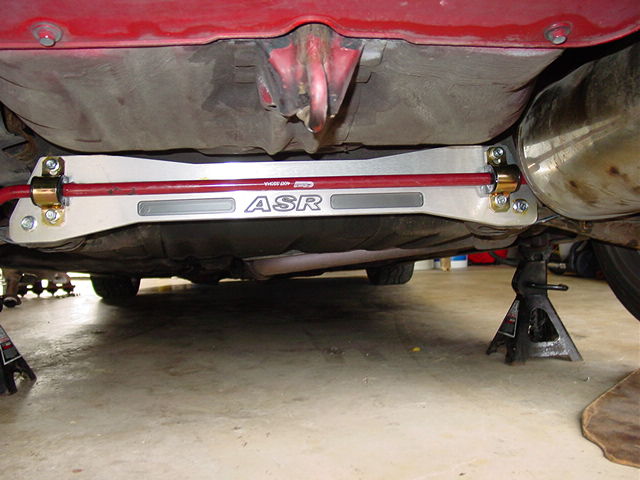
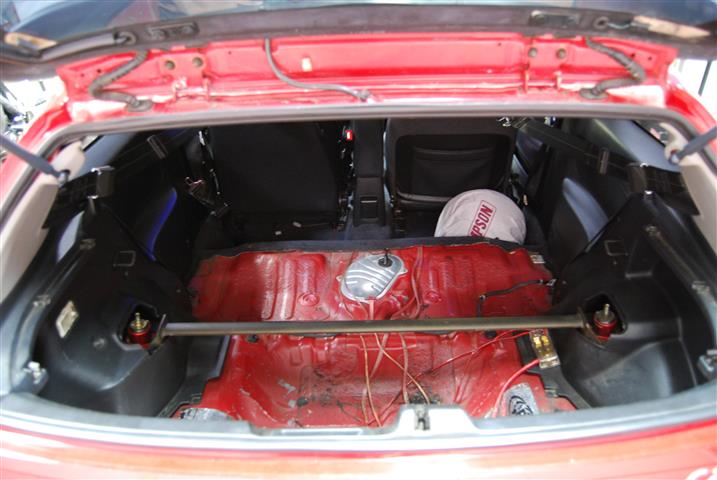
- ASR rear sub-frame brace
- Fast Idle Control Valve
- Ground Control Coil-over setup with 400 lb/in front springs and 450 lb/in rear springs
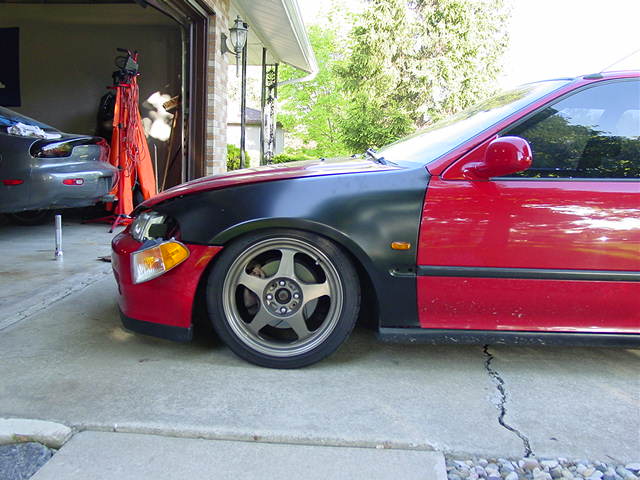
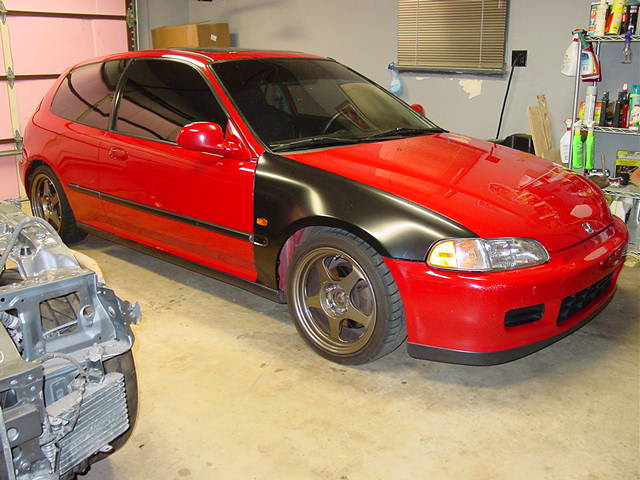
- 16″ Rota Slip Streams & 205 40 R16 Falken Azenis RT615
- Password JDM front 3 point tie bar
- Password JDM rear 2 point tie bar
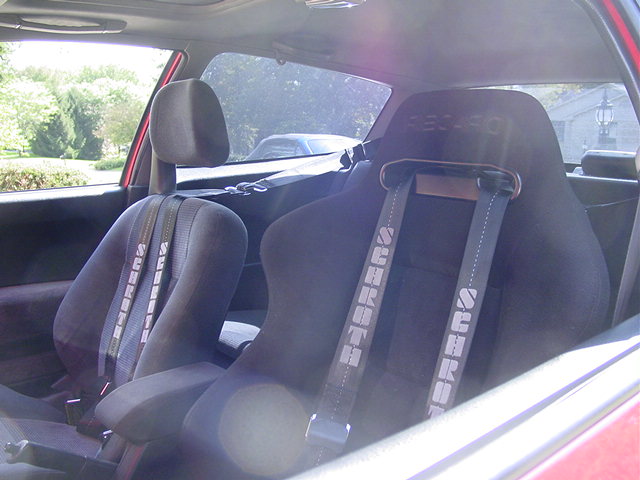
- Schroth Ralley 3 Harnesses
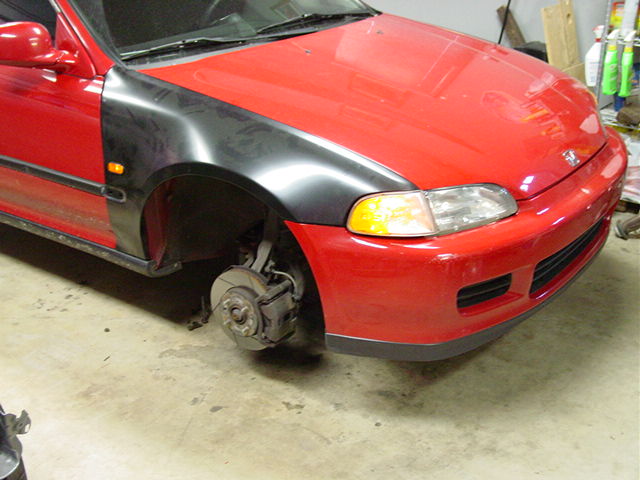
- JDM front fenders and side markers
The handling of my hatch was truly amazing! Between the LSD and the tighter suspension, I was able to drastically improve my lap times! Body roll was minimal compared to the milder suspension that I had replaced. A two day driving event at Gingerman Raceway was the perfect proving ground for all of the new equipment and it did not disappoint!
Beyond the suspension upgrade, I added Schroth Rallye 3 harnesses. Read more about them here.
As I mentioned in the intro, I later installed an MSD external coil conversion, a Walbro fuel pump and B&M adjustable fuel pressure regulator. I was trying to address a strand high rpm misfire. I will discuss the outcome in the next installment of Project Civic.