This write-up should work for a wide range of Hondas and Acuras.
Why would we need to upgrade the pump? In the case of the older cars, you may just need to replace a failed pump otherwise, it’s a well known fact that in order to make more power, more fuel is required. Whether doing a naturally aspirated build, boosted, or even swapping to a larger engine, more fuel will be required. The easiest way to do this is to install a higher flow pump.
The idea of a higher flowing pump is not necessarily to increase fuel pressure. In fact, if all other components remain the same, the fuel pressure does not tend to rise with the addition of a new pump. As fuel demand increases, with higher rpms, the fuel pressure can drop but the flow increases. If the pump cannot support the required flow, the engine will run lean.
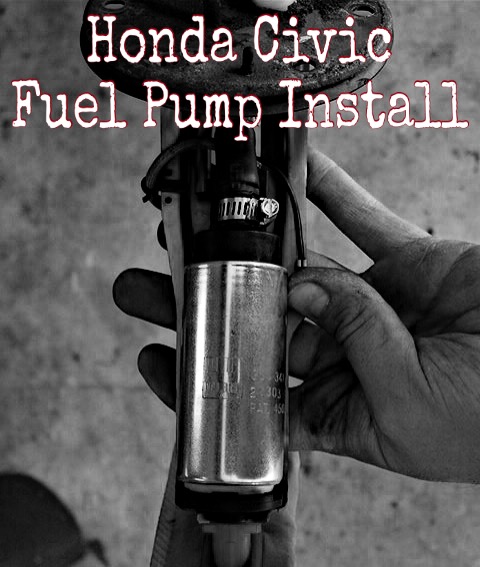
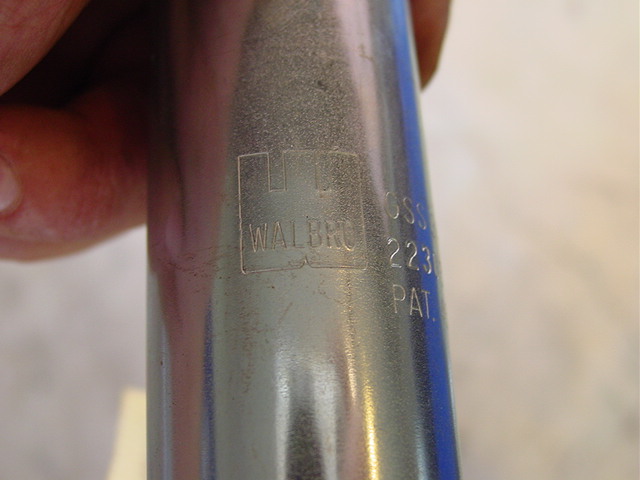
In this write-up, I installed a Walbro high flow fuel pump into my naturally aspirated ’94 Civic
Tools Necessary:
Socket set
Screw drivers
Pliers
Before you start, disconnect the negative battery terminal. Relieve fuel pressure by loosening the 12mm bolt on top of the fuel filter under the hood.
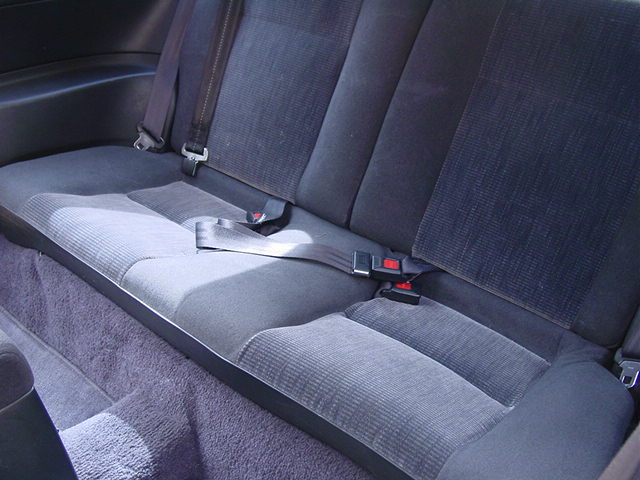
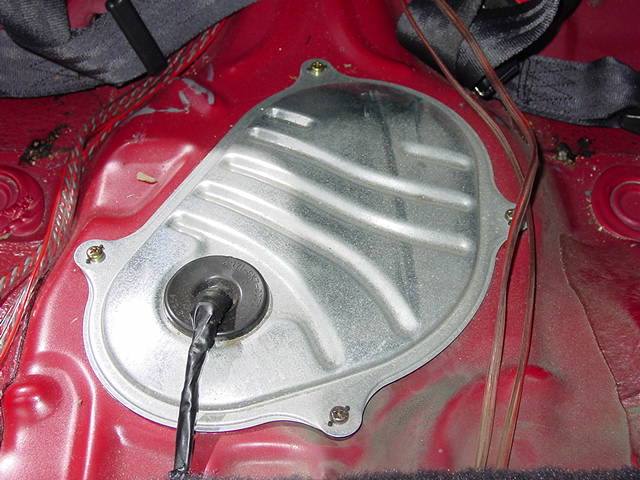
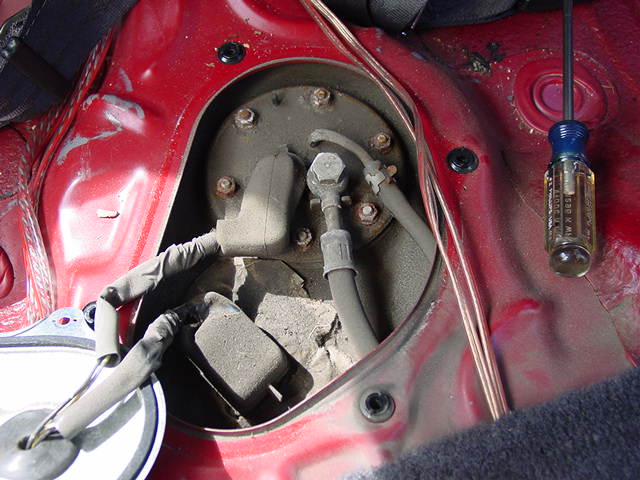
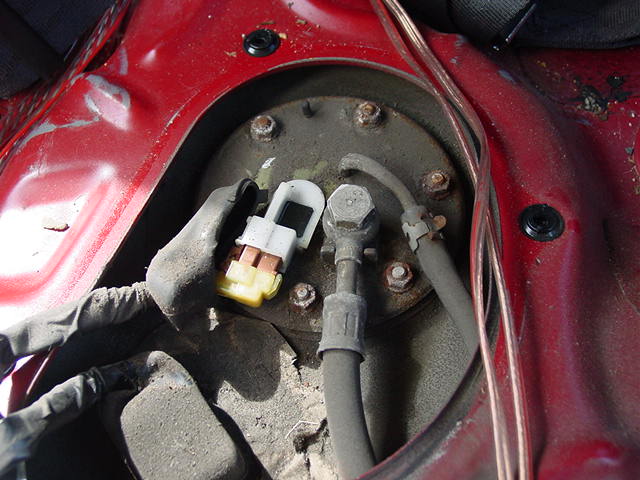
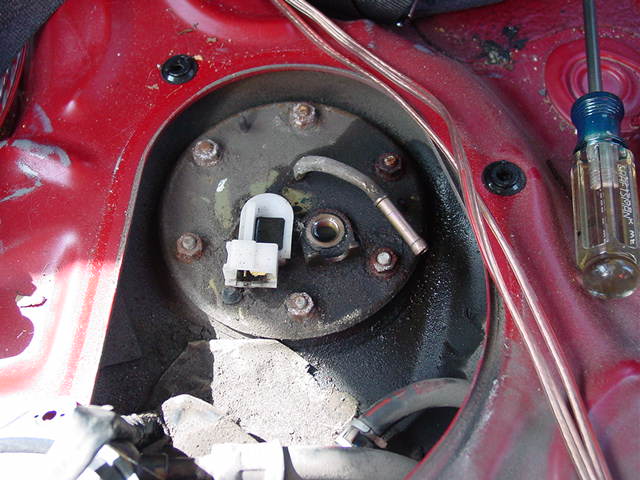
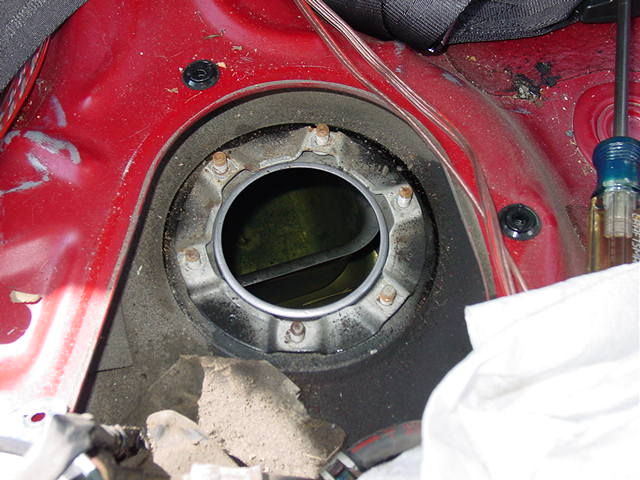
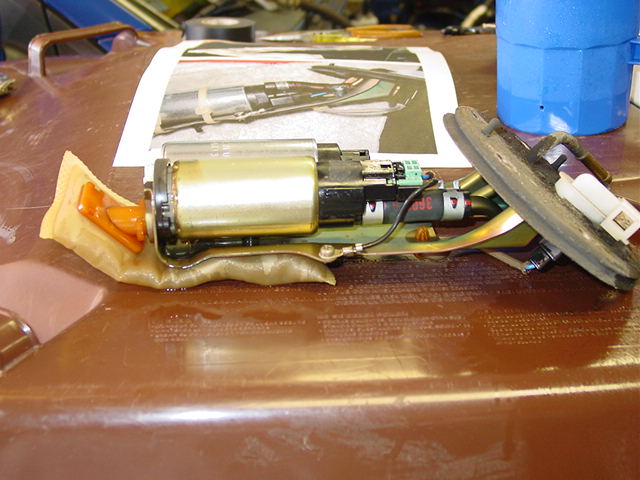
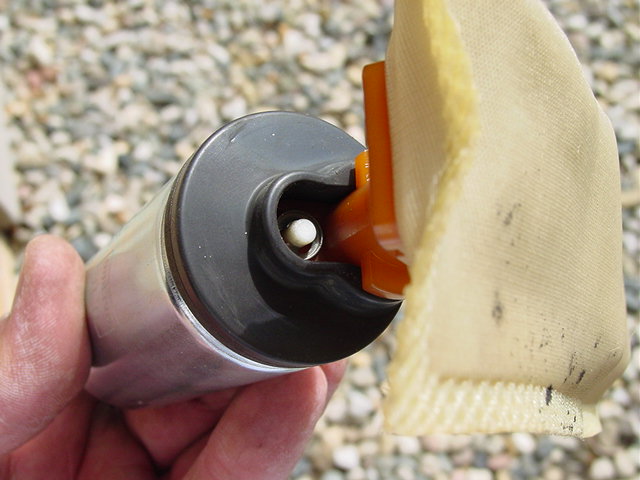
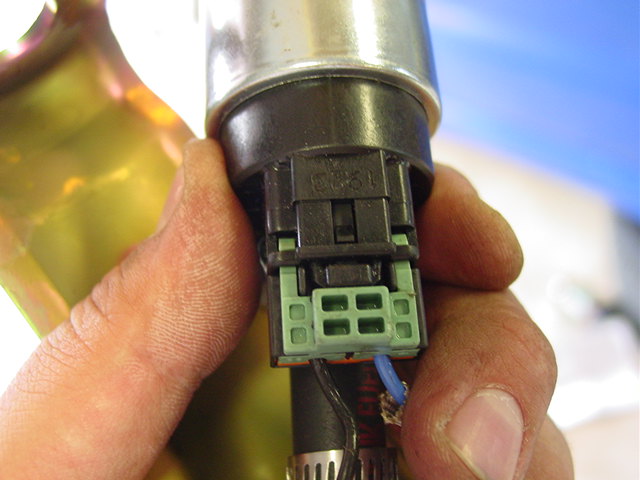
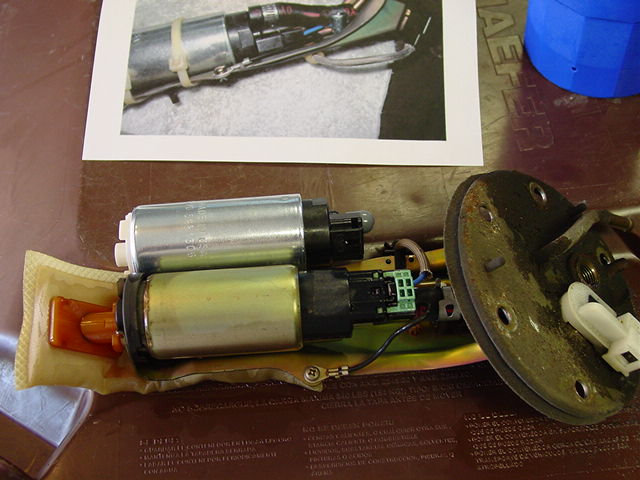
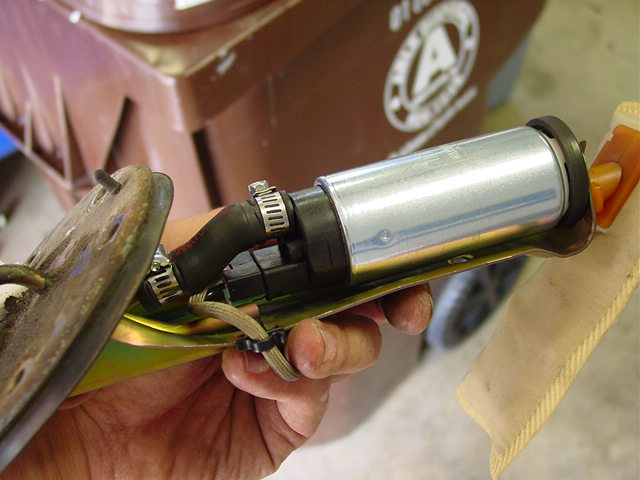
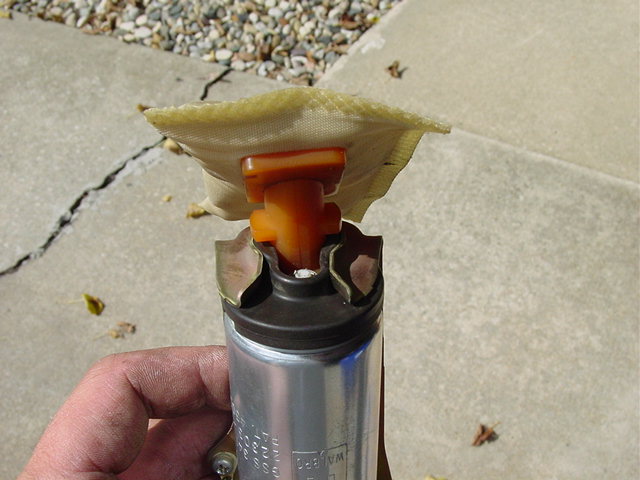
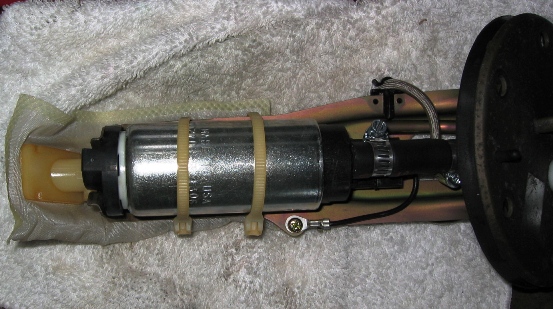
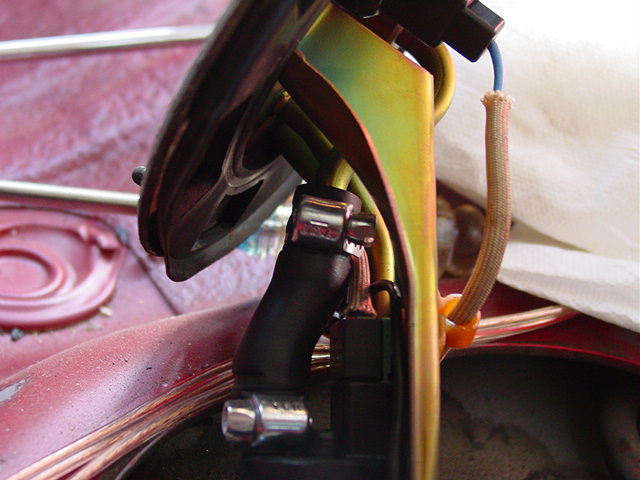
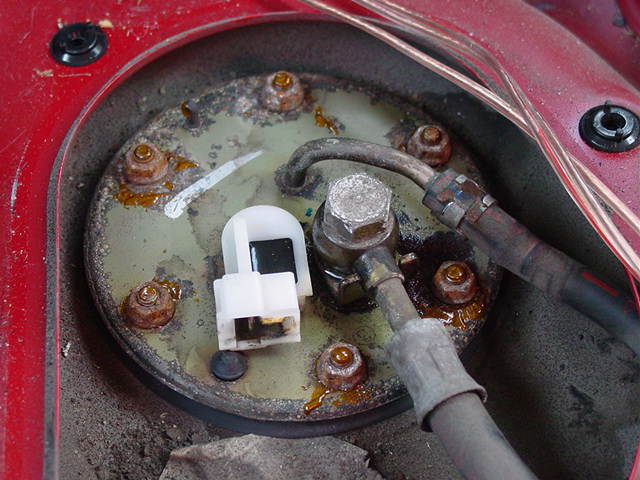
You’ll find the top of the fuel tank under the rear seat.In Civic and Integras, there is a small 10mm bolt that needs to be removed. Once you get that out of the way, wiggle the seat until it is out of the way.The first cap that you see, is the weather seal. Remove the 4 screws and move it out of the way.With the cover out of the way, you will have access to the pump bracket.Remove the dust shield from the electrical connector and disconnect the harness.Remove the banjo bolt for the fuel feed line, and slide off the hose for the fuel return.Remove 6 nuts and slide out the fuel pump bracket.This is what you should have once you’ve removed the pump and bracket from the tank.With the pump removed, you will need to clip the rubber tab on the back side.You will need to use a small screwdriver to remove the clip that retains the fuel pump sock. Be careful not to damage this, as you will need to reuse it for the new pump.In the case of my civic, the harness plug for the stock pump will work on the Walbro pump. If you need to replace the harness plug, I would suggest using butt connectors and crimping the wires.Setting the new pump into the stock bracket is not very difficult. The new pump is slightly longer than the original, but this will not be a problem.Since the fuel outlet tube is on top, I needed to bend the supply line on the bracket in order for the hose to be connected properly. Be very gentle, as this pipe is easy to kink.Attach the rubber hose to the pump, attach the harness plug, place the original rubber ring on the bottom, and slip it into the bracket by attaching the hose to the feed first, then sliding the bottom end into the bracket.
I reused the stock vibration isolator (rubber ring on the bottom) and fuel sock. The new pieces that were included with my pump would not have worked in this bracket.
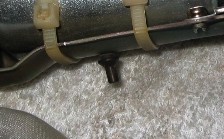
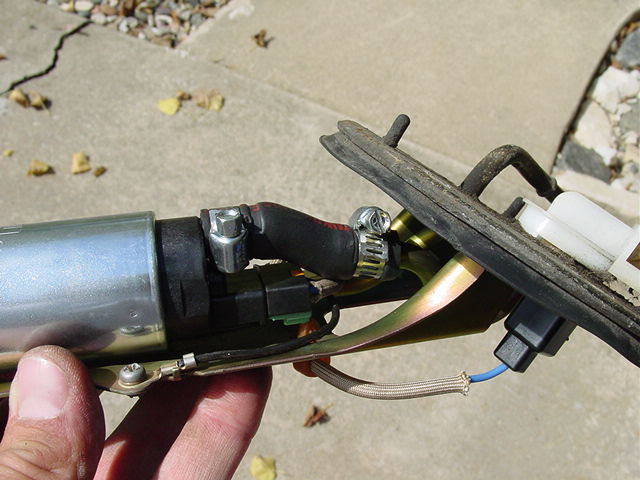
Attach the sock by reusing the clip ring you pried off earlier.You will need to use cable ties to secure the pump to the bracket.If you are using new hose clamps, like the ones in the pictures, make sure the screw portion is off to the side (as they are in the picture). If the screw is on top, you will not be able to get the pump back into the tank.
Installation is essentially the opposite of removal. Slide the pump back into the tank, fasten with six nuts, attach fuel lines and reconnect the harness.
Before replacing the cover/seal, turn on the ignition and make sure you do not have any leaks. If everything is dry, reinstall the cover and the seat cushion and you’re ready to go.
I had installed a fuel pressure gauge prior to swapping the pump. Without making any other changes, my pressure increased from 35psi to 41psi at idle.
At this point, enjoy your new pump, or take the time to install an adjustable fuel pressure regulator.