

The kit
This kit was part of a lot that I bought on Ebay. Interestingly, looking back at the lot, which included a couple of Vipers and Diablos, I can’t remember which of those I was most interested. More than likely, it was this Vette since it looked like the most complete kit of the bunch. The kit was partially built and mostly painted. It wasn’t pretty. The only parts missing where the tires and whitewall inserts. No matter, I’ll fine replacements.

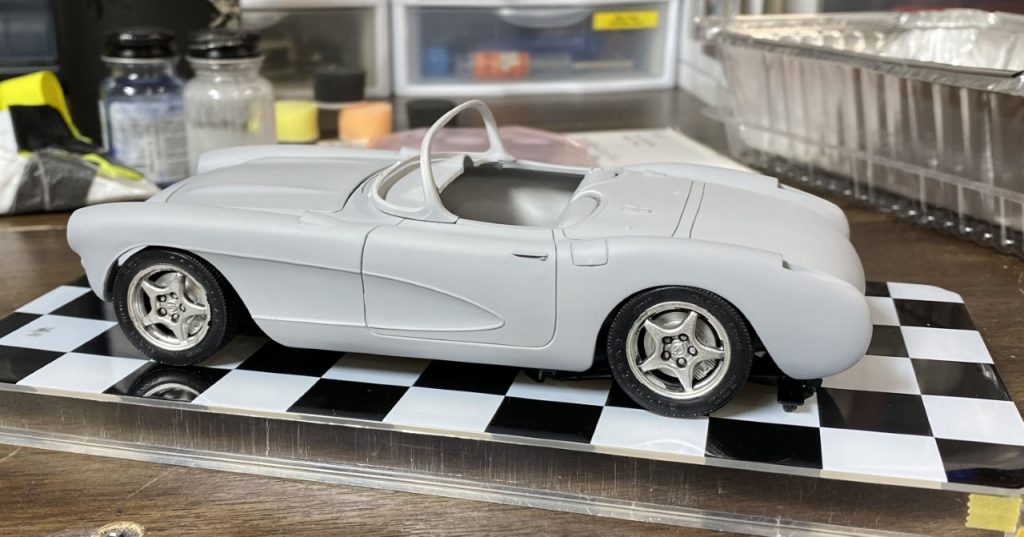
As I mentioned, taking stock of the kit, I learned that nothing truly important was missing. After laying everything out, I soaked every last part in floor degreaser. There is nothing better than a clean slate!

Chassis/Engine
After stripping all of the parts, I finished dismantling the chassis and suspension. I wanted to make sure every part was properly prepped. The sink marks in the chassis were filled with putty and sanded smooth. Shortly after, I reassembled the front suspension and attached the radiator. These would all be painted the same color. I also attached the mufflers and filled the seams with putty. One last coat of primer and the chassis was ready for semi gloss black paint. The exhaust was hand painted with Vallejo silver paint.

The engine required substantial work to fix an aggressive seam between the two halves. I also had to replace the fuel line to the fuel filter and accomplished that with copper wire. Once complete, the block was primed and painted. The fuel injection system was stripped, prepped, assembled and painted.
Spark plug wires were added even though they would barely be seen when routed according to reference pictures. The large shield was used to reduce static in the radio. The last step was to attached the exhaust manifolds and accessories.

Once the engine was complete, it was attached to the chassis. The next step involved attaching the bottom of the body to the chassis. I used clamps to make certain the pieces were attached properly. Any issues her would result in a crooked car (possibly like the box art!)

Interior
Compared to other kits, the interior is an odd collection of parts. The upper dash is part of the main body. The interior tub has part of the body as well as the engine bay (not so unusual I realize), a separate lower dash and door cards. Careful planning is necessary depending on what color scheme you are using!
I chose a buff color that I felt complimented to body color well. For the carpet, I blended a light tan and brown to match the paint color.
The lower dash panel was detailed with Model Car Garage’s photo etch set and hand painting.
After painting the base color and sealing it with semi gloss clear, I masked the main tub to paint it semigloss black.

The interior tub bottom and engine bay were sprayed with semi gloss black. I also masked and sprayed the upper dash panel and sealed it with semi gloss clear.

Once everything was painted and detailed, I finished assembling the interior. The photo etch steering wheel spokes, horn button, rear view mirror and shifter plate look really great in the interior.

Body
This was one of the more challenging bodies to properly prep. There were heavy mold lines and really poor transitions between the body and lower valances front and rear. In order to ensure a smooth finish, I attached the front and rear lower valances and started the process of filling and sanding all of the seams. I couldn’t tell you how many times I filled/sanded/primed the body to address the abnormalities. In the end, I probably got it about 90-95% correct.
Once all of the issues were corrected, it was time for paint. I sprayed the scallops Tamiya Pure White.

Shortly after, I masked the scallops and sprayed the rest of the body Tamiya Italian Red.

Rather than eliminating the emblems entirely, I ordered a Model Car Garage photo etch set. I polished the pieces then hand painted them accordingly then attached them prior to clear. I did forget to add the fuel injection script to the front. Oh well.

The body was sprayed with 2 part clear after the photo etch pieces dried.
As with most cars from the era, there are many chrome pieces. The front and rear trim on the corvette consisted of several small pieces. Due to poor chrome plating and mold lines, I decided to strip everything. I prepped the parts by filling sink marks and removing mold lines. They were primed, sprayed with enamel gloss black and chromed with Spaz Stix chrome paint.


One other detail worth mentioning involves the windshield frame. I knew there was no chance I could get it attached without pins. I carefully marked and drilled the windshield and body then glued pins into the windshield frame. Attaching it at the end of the build was an easily and clean affair!
Suspension/Wheels
As I mentioned at the beginning of this write-up, the kit was missing tires. The artwork on the box suggested a really wonky stance. Neither of these issues was going to ruin my build! From day one, I had considered using C4 Grand Sport/ZR1 wheels. They were ok even with the chunky tires.
When I was preparing to push forward to finish this build, I pulled out a set of Zoomon wheels. Although not a typical or classic look, I absolutely loved them! No matter what challenges I faced, I was going to use them!
The mock-up of the Corvette with the Zoomon Rays wheels sold me on the idea!

I decided to paint the inserts gold to compliment the red paint.

When the time came to start working towards attaching the wheels, I realized there would be clearance issues with the rear leaf springs. For whatever reason, I didn’t notice this while mocking up the wheels. Too late to turn back; they were going to fit! There was shaving and cutting involved and in the end, they fit. For brakes, I used a set from Pegasus.
Attaching the rear wheels involved aluminum tubing to build up the diameter of the axles. The location of the front wheels’ pins were too low and not quite the right spot. To remedy the problem, I cut the pins and elected to glue the wheels to the upright.

Eventually, I sorted all of the challenges with mounting the wheels. Both the front and rear would need to be lowered to fit the look of the new wheels. The rear was accomplished by moving the axle up. It was time to permanently attach the wheels. I used epoxy to provide a strong bond and time to get the alignment correct.

The front wheels no longer had an attachment point. I filled the void in the brakes with epoxy to provide a “flat” surface for glue.

I fixed the Corvette to my mirror and set the front ride height with a couple of business cards. Next, I glued the front wheels with epoxy and took great care to ensure proper alignment.

I realize this won’t be everyone’s style. The wheels and stance bring a fresh look to an otherwise completely stock build.

Final Assembly
Having completed the suspension and wheel challenges, it was time to wrap up the build. I finished sanding and polishing the body then added Bare Metal foil for trim where needed. Lastly, I painstaking glued all of the bumperettes, indicators, grill and headlights. I really wish the kit had pins for each of these parts. It would have been much less stressful.
The windshield required a bit of sanding and shaving to fit. Although it is not a perfect fit, the work was done and I had a completed build. The last step was gluing the body to the chassis and attach the rear plate.
One glaring omission is the front bumper. I really didn’t want to block the grill with a bulky crash bumper. Seeing reference online without, I made the decision to leave it off.
Complete!
I. Love. This. Build.
If it were box stock including the wheels, it would have been nice. The new wheels and stance really give it a fresh appearance that I appreciate.


Final Thoughts
Thinking back over the course of this build, I didn’t mind the aggressive body work necessary to make it look correct. I’ve also grown accustomed to stripping all chrome and starting over so no big deal there. Overall, I’m pleased with the kit and I love the finished build.
Also worth noting: This build tipped me over the top for breaking last years’ record for the most models built in a year. (not including 1/64 scale diecast projects)
Completed: December 2020