Project Overview
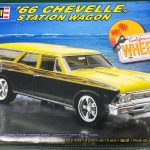
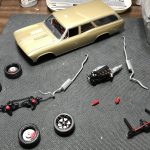
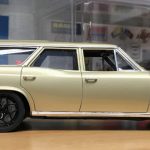
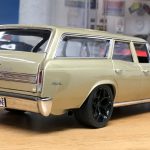
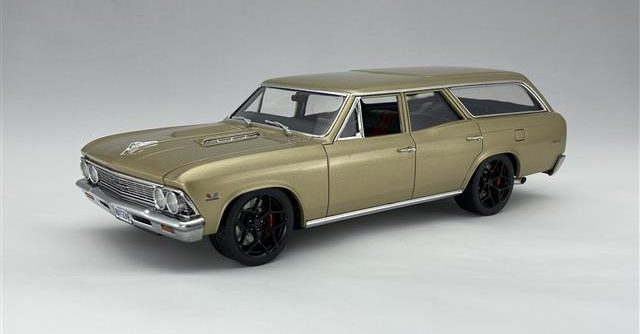
Here is a project I almost started more times than I can count. I can go through my project pictures and see where I pulled it out, and later put it away. Rinse and repeat. This time around, I finally dug into the build! For some reason, the ’66 Malibu/Chevelle is one of my favorite years for the name. For a model kit, building the wagon version is just plain fun! I think my earlier hesitations revolved around not knowing how I wanted to finish it. I did settle on a color a couple of years ago. That helps.
My original plans for the build:
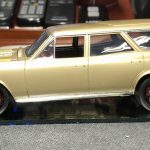
Tamiya Titanium Gold paint for the color.
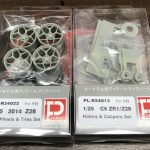
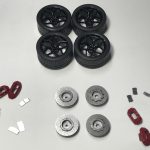
Plamoz Z28 wheels/tires
Plamoz Z28 brake kit
Clearly Scale LS engine
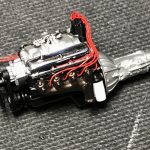
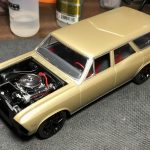
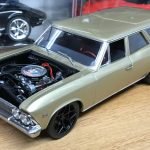
Everything fell into place except for the LS engine. After waiting months for delivery, I tried to cancel the order through Paypal. Shortly after, the engine showed up. The casting was so poor that even after assembly and painting, I couldn’t bring myself to use it. I decided to stick with the kit’s big block.
Prep and paint
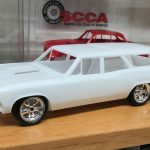
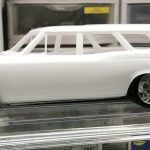
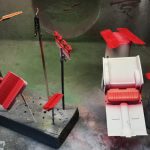
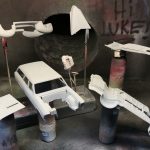
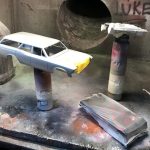
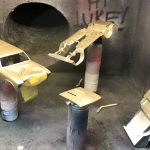
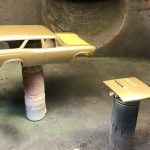
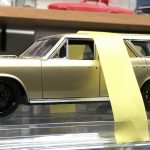
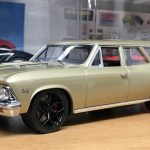
The body work and prep was fairly simple I had to fix a couple of small sink marks and deepen the panel lines of which there are many! Once the body was prepped and cleaned, I sprayed it with Tamiya primer. I started airbrushing the decanted Tamiya Titanium Gold paint but found that it was very difficult to avoid tiger stripes in the paint with the brush. After the first wet coat, I switched to spraying directly from the can. The end result was a smooth even coat of paint. After applying a few decals on the body, I sprayed it with decanted Tamiya Clear.
Sanding and polishing was fairly straightforward and yielded a nearly flawless finish.
Wheels, Tires and Brakes
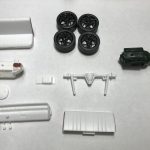
This wagon deserved a mean stance and a great set of wheels to nail the pro touring look. I had recently discovered Plamoz and fell in love with their Z28 wheel and brake kits.
Interior
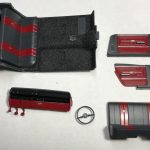
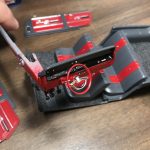
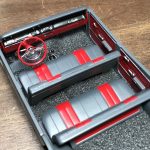
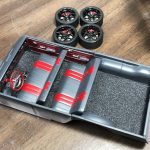
I wanted to add as much detail to the interior as possible simply because there is so much of it! I chose a two tone grey and red combination. It seemed like a color combo that fit the pro-touring theme of the build. I wrapped up the detail with flocking for carpet and a combination of bare metal foil and Molotow chrome for trim details.
Details and Final Assembly
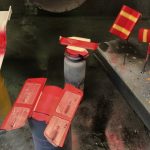
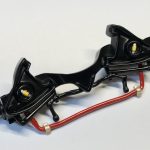
Up to this point, the build went smoothly. The bodywork and interior required minimal effort. The engine build came later because of the Clearly Scale debacle but it went together and detailed nicely. I detailed the suspension with yellow shocks and red swaybars and springs to mimic Koni and Eibach respectively. That’s when things started giving me trouble.
The suspension was the first real challenge. The ride height in the rear, compared to the front was entirely too high. Fortunately, cutting the springs took care of the problem. The problem in the front involved a front assembly that placed the wheels too far back in the wheel wells. I had to auger out the spring holes and cut all of the mounting tabs to position it properly. I used 5 minute epoxy to give me time to properly position the part. In the end, it still wasn’t quite right. I ovaled out the mounting hole in the wheel to give me the flexibility I needed to get it right. I then discovered that I had lost the chrome trim piece that attaches to the hood! I made one out of sheet styrene and wrapped it in Bare Metal foil.
Lastly, I had hoped to use the bumpers without stripping and applying Spazstix chrome but I found a flaw I couldn’t ignore. After botching the first attempt at chroming the front bumper and grill, my second attempt was a success. Oh, I can’t forget to mention the new exhaust tips made from aluminum tubing to give the exhaust a more menacing look!
The list of challenges goes on and on and I eventually finished this build. I had to polish and re-polish blemishes in the clear and touch ups here and there. I can spot my mistakes but they are relatively small. Overall, I love this build. I accomplished the pro-touring look with a couple of subtle changes while maintaining a mostly box stock build.
Completed: December 2018

