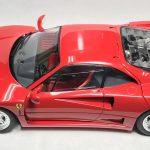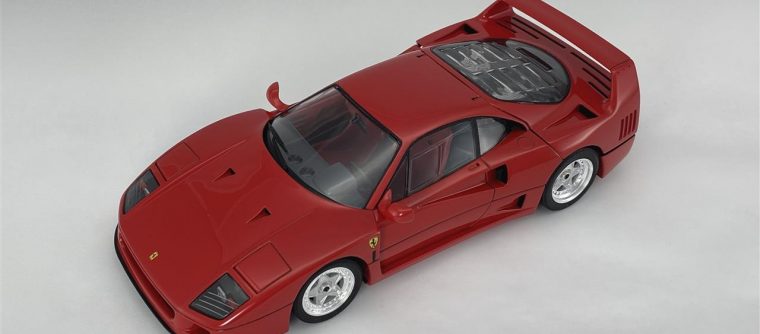
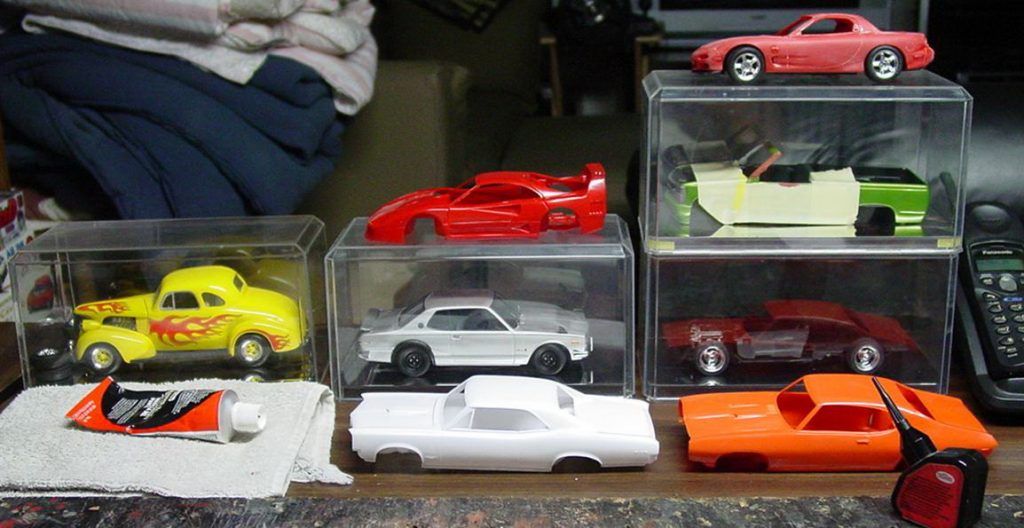
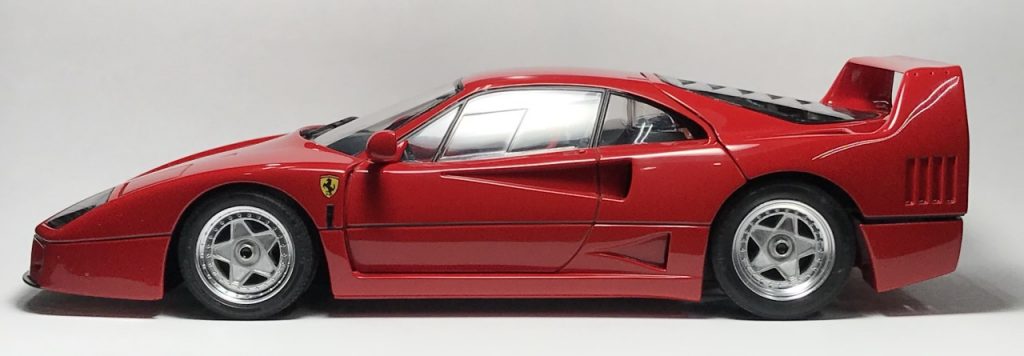
The Ferrari F40 is by far one of my favorite cars. As everyone likes to point out, this car represents Enzo Ferrari’s final effort before he passed away. I’m also pleased to share that I had a chance to ride in one on a race track! What a ride!
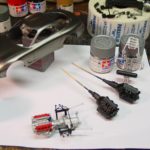
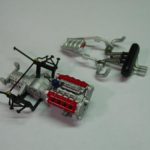
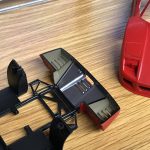
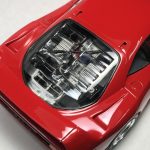
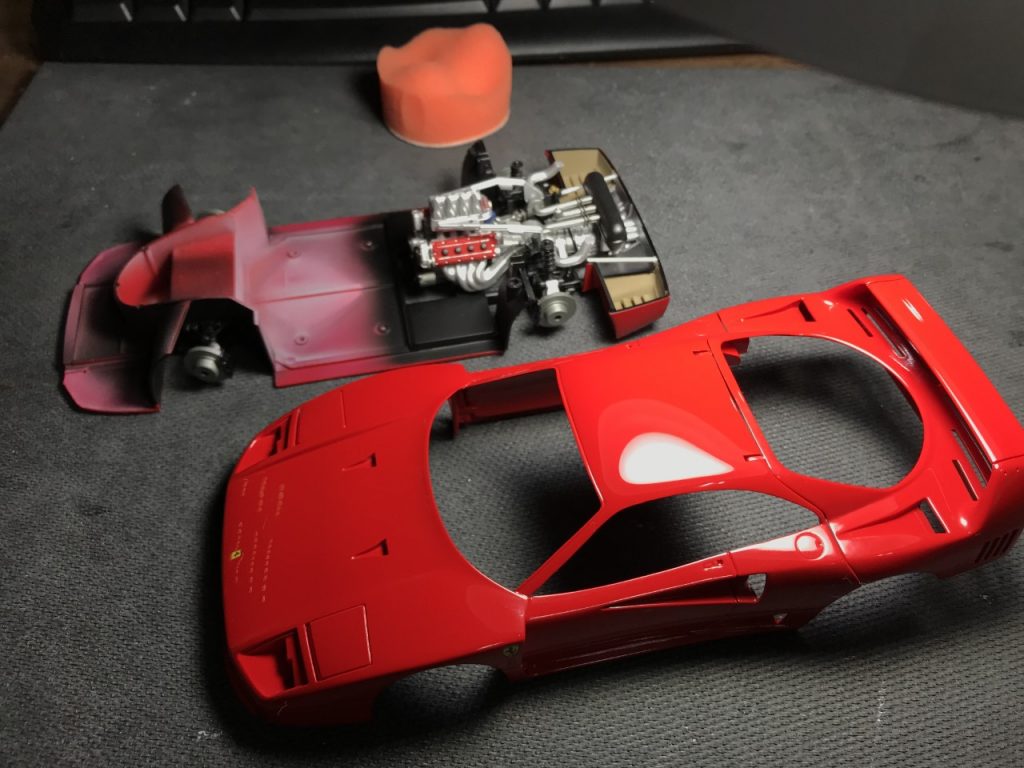
I started this model in 2007. I worked on it fairly diligently until I finished the majority of the engine. Shortly after, I decided to shelve the project until I felt like I had developed my modeling skills to where I believed I could do this kit justice.
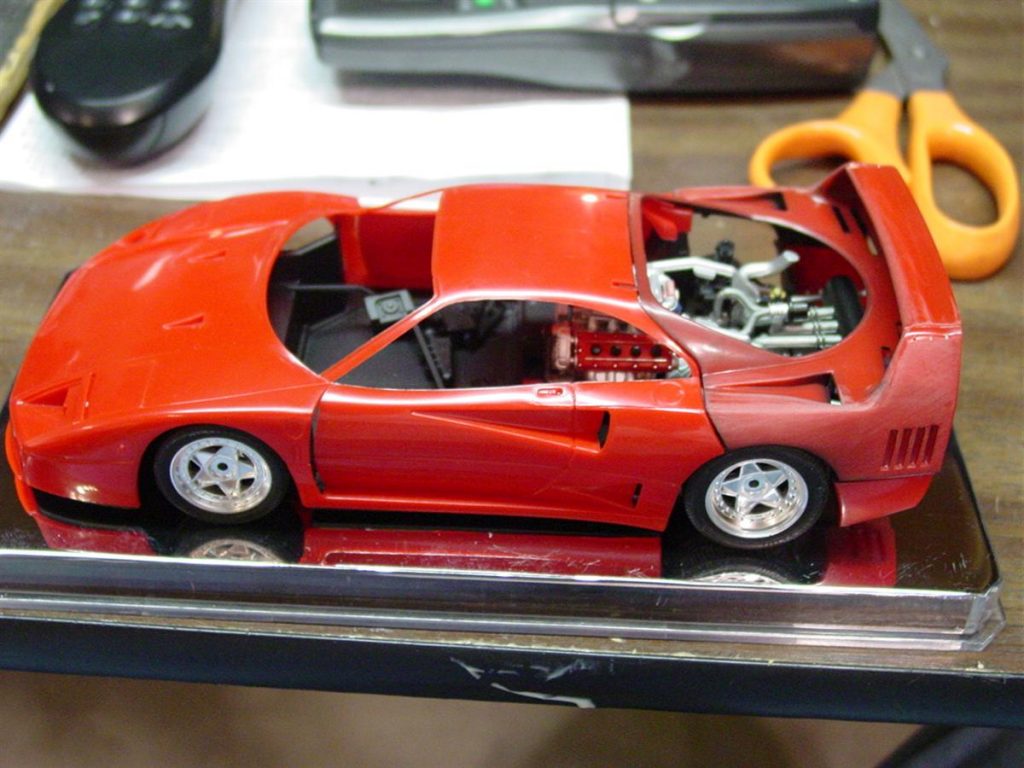
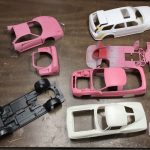
In 2017, I knew I had honed my surface prep and painting skills to the point where I could continuing the work on this kit. I had contemplated blowing this kit completely apart and starting from scratch. When I looked over what I had completed, I decided that the engine and carriage were more than adequate. The paint that I had completed on other parts needed to be stripped. As a side note: I always find it interesting looking through work that I had completed in the past.
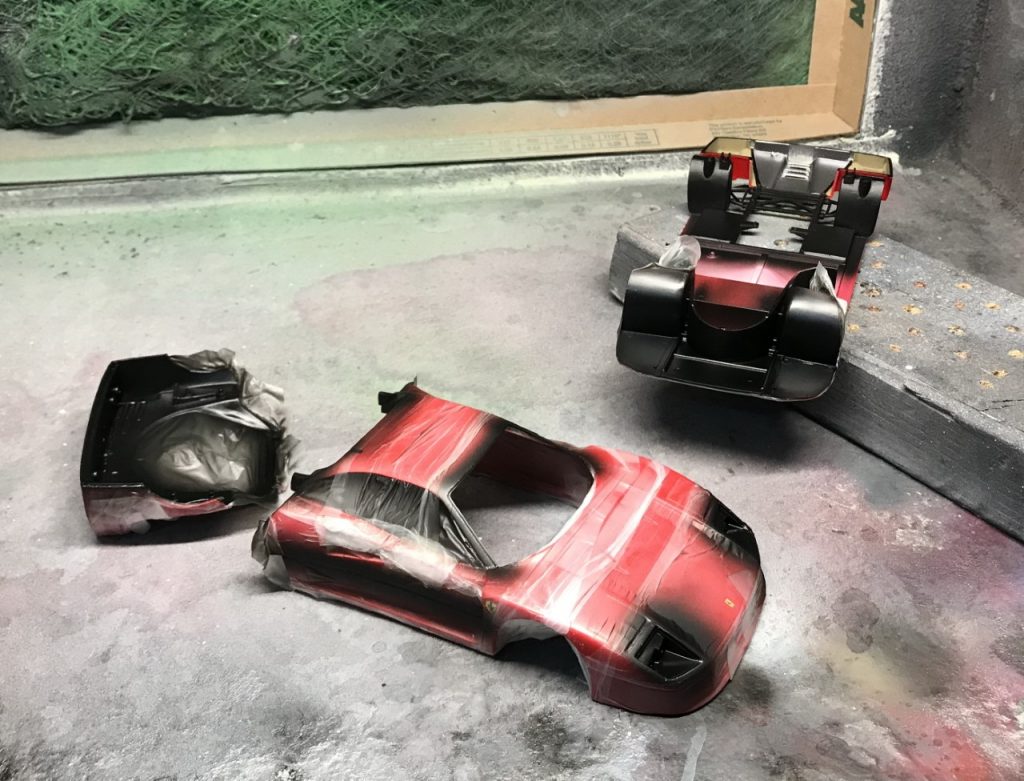
For what seemed like an eternity, I spent quite a bit of time working the sink marks since most of them would be seen. I had also read about how the engine cover would not fit correctly once completed. I worked on heating it and creating more clearance. More on that during final assembly. After scribing panel lines and finishing the body work, I sprayed the final coat of primer and it was ready for paint.
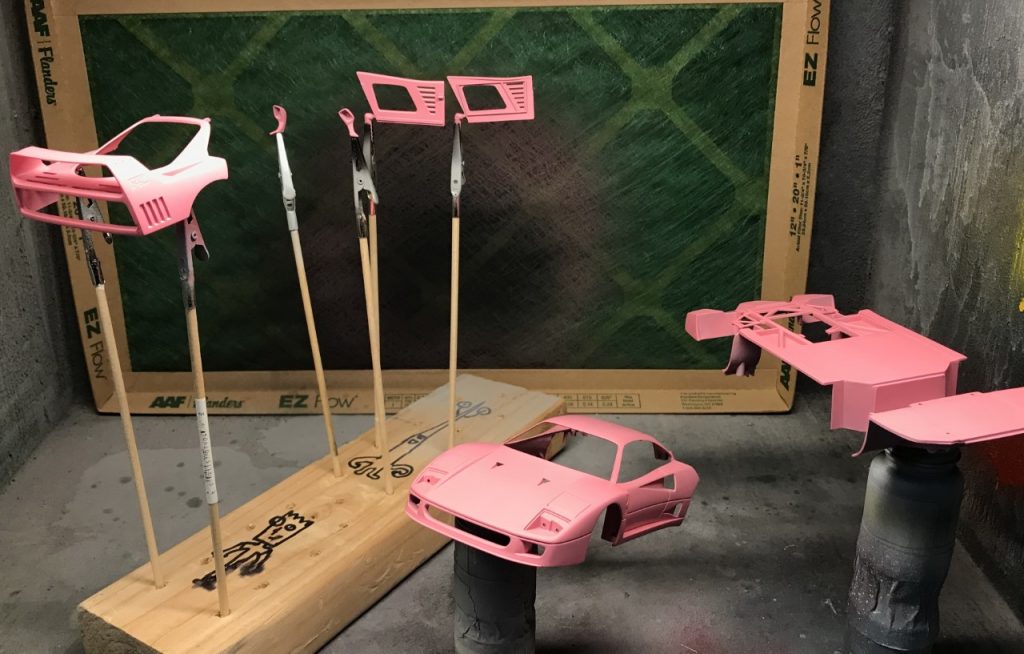
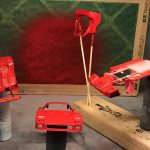
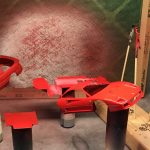
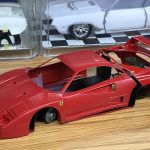
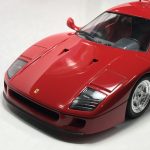
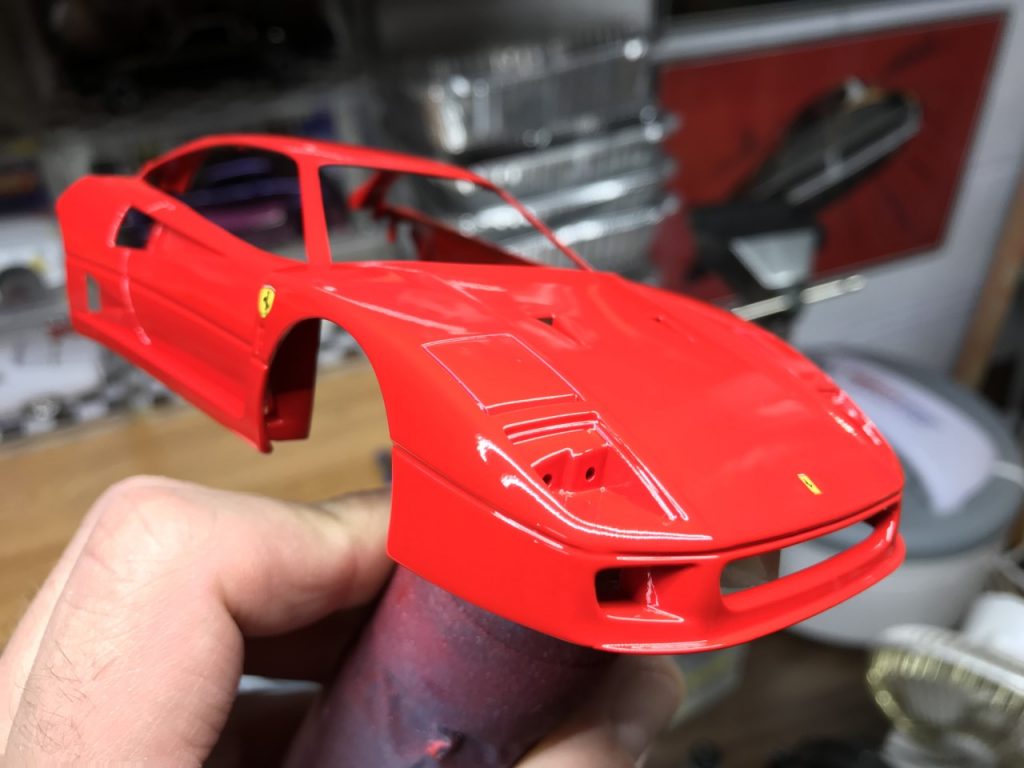
I started spraying the body in decanted Tamiya Italian Red. I found that the volume of paint seemed slow and decided to finish the color with paint straight from the can.

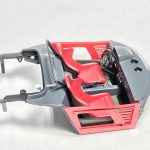
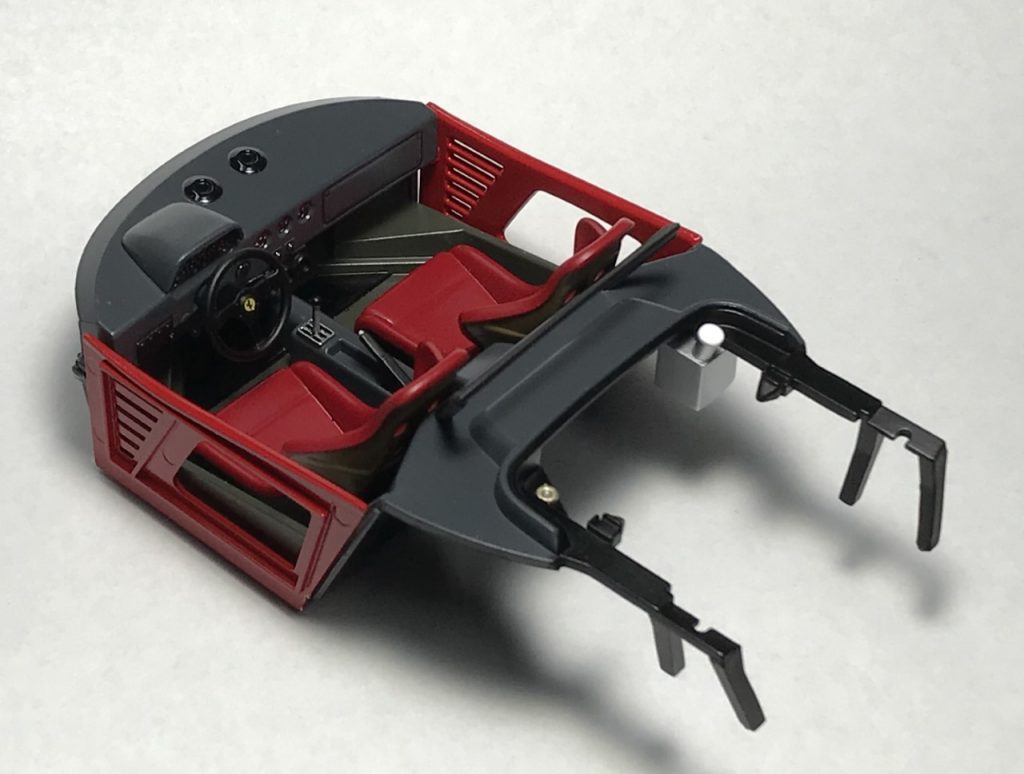
Interior
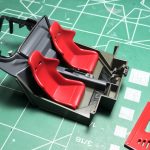
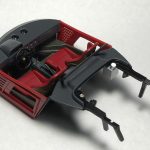
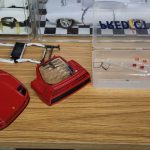
As simple as the interior is to build, I was always reluctant to start it. Once I painted the body, and the interior parts that are body colored, I was able to quickly paint, detail and assemble the interior. According to the instruction’s call-outs, I mixed two separate colors for the tub and seat-backs. I started by spraying the base gray color, masked and sprayed the mixed colors. The seats were sprayed red, then masked for the seat-back color.
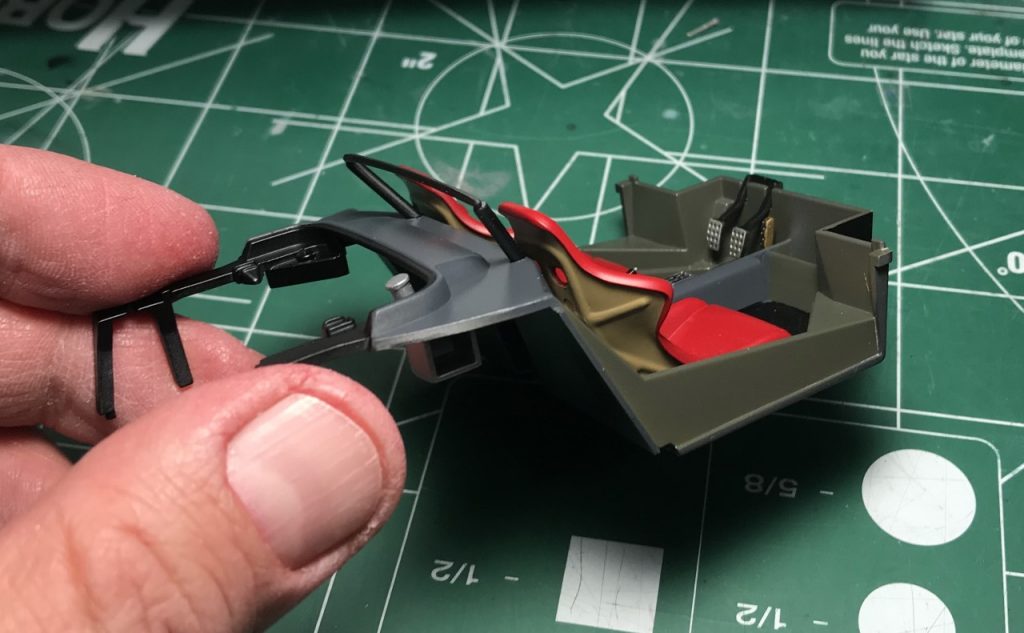
The dashboard was primarily gray with satin black details. Once the dash was sprayed the base color, I made masks using a punch to get perfect circle masks. Once that was complete, I added the decals for the gauges, used Molotow chrome for the shifter gate, and finished assembly.
Clear Coat and Details
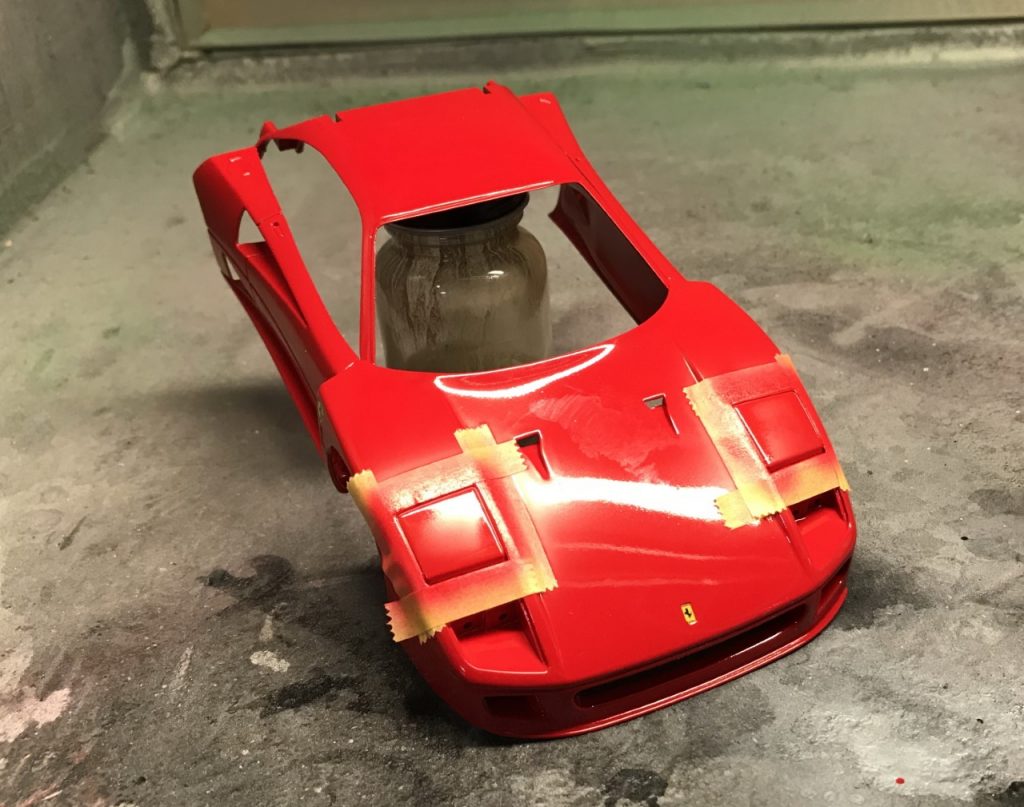
After applying the decals on the body, it was time for clear. Prior to committing to finishing this build, I finished a Mazda Cosmo where I used 2 part clear for the first time. The volume of paint and build-up during spraying was fast and effective. Switching back to decanted Tamiya clear was rather painful due to the slow build-up. After spraying one coat, I switched to Tamiya clear from the can. I had never tried spraying directly from the can and was surprised by how thick it sprayed. The result was paint that went on too fast. I had a problem with the color pulling away from corners and paint that ran. Oh boy!
Discouraged my mistakes, I let the clear set for a few weeks. I did have a plan even if it wasn’t the perfect solution but it prevented me from having to start over. The plan involved slowly spraying color around the light edges. I masked around the headlights but knew I would be dealing with a lot of over spray. In the end, the fix worked out perfectly!
Sand, Polish and Final Assembly
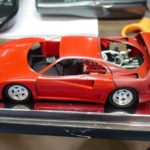
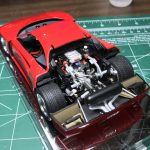
Having corrected my clear coat blunder, I sanded and polished the body. Watching the paint come alive through the process was amazing. The Tamiya Italian red is a beautiful color.
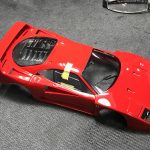
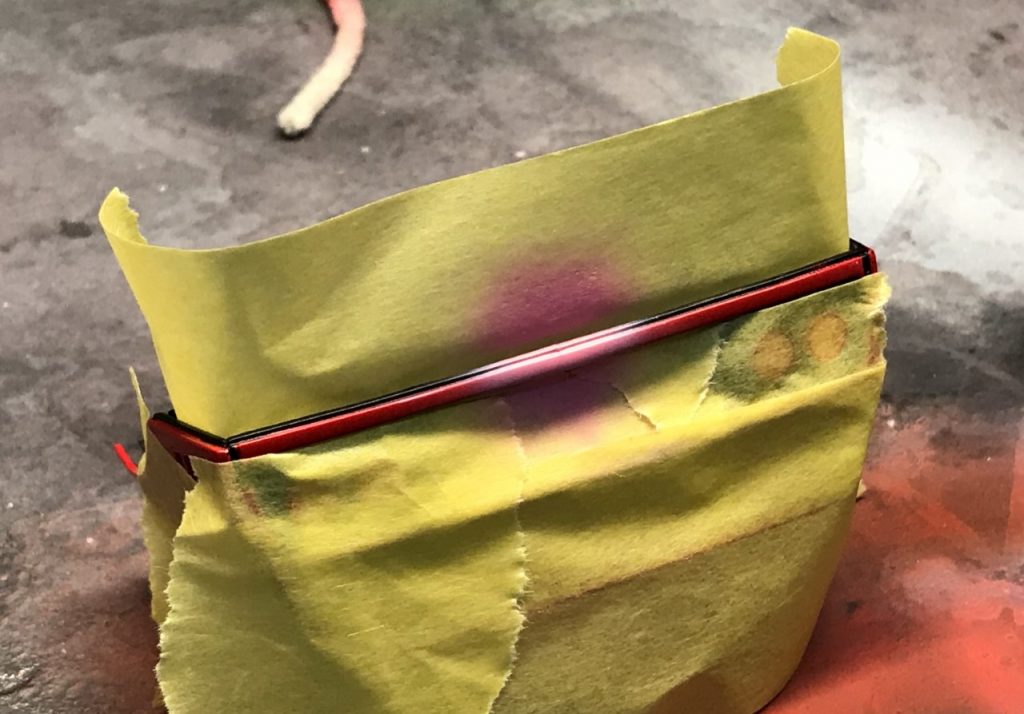
Once the sand and polish was complete, it was time to dig into the details of which there are many. There is a fine trim line that runs around the midsection of the body. Using parafilm, I carefully masked the trim. In this case, I masked and sprayed in two sections to avoid making mistakes. The end result is excellent.
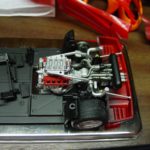
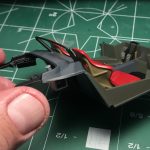
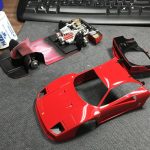
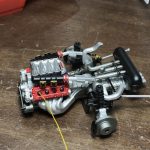
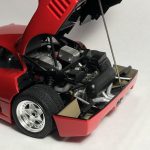
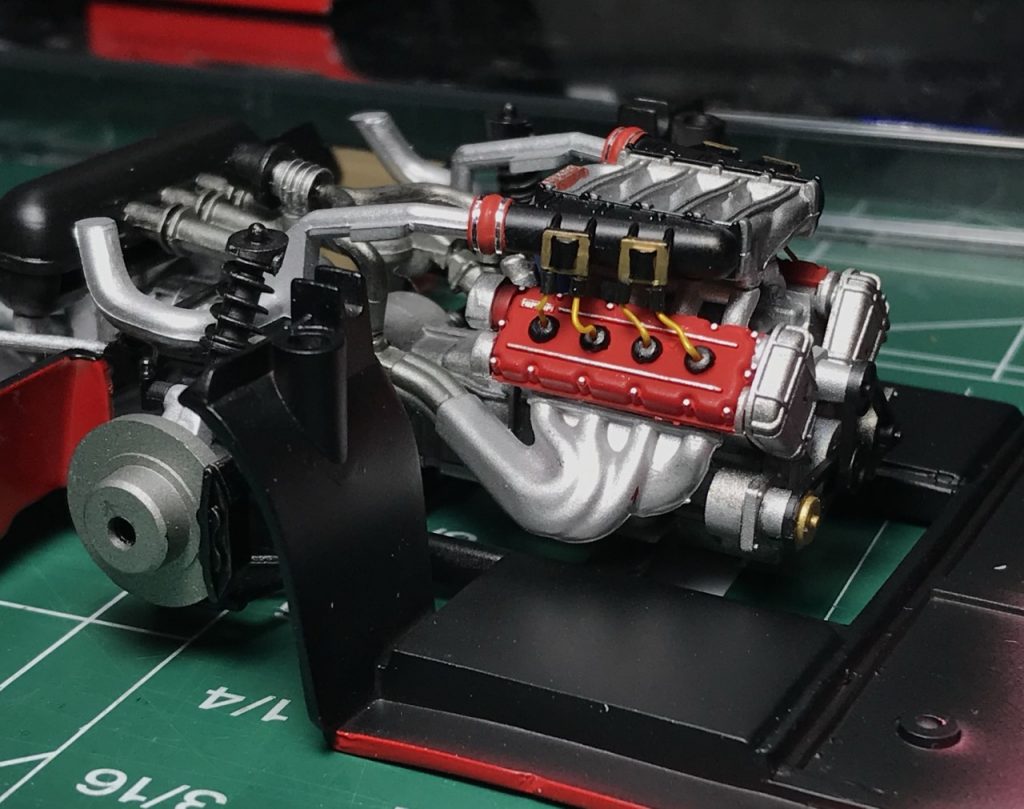
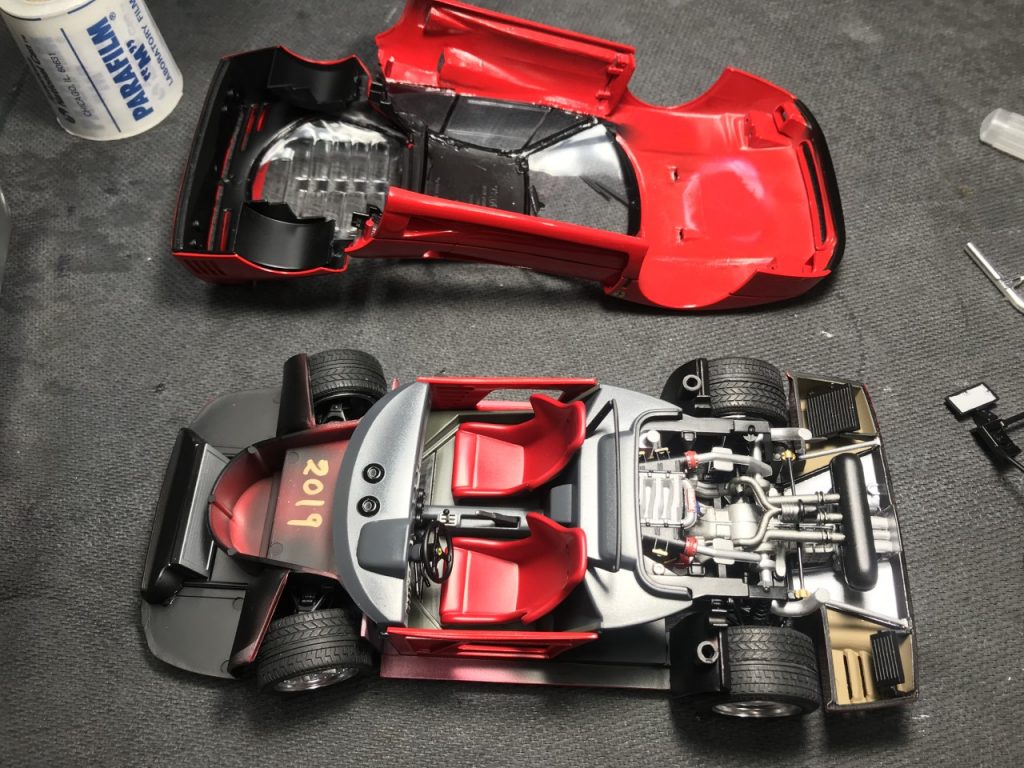
Now that most of the body detailing was complete, it was time to start final assembly. I decided to add plug wires to the engine even though they are almost impossible to see. What is important is that I know they are there! Wrapping up the engine build, I finished the intake manifold assembly by spraying the coupling red and using thin strips of bare metal foil to simulate clamps. after this, I glued the engine in place.
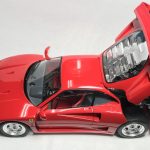
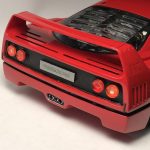
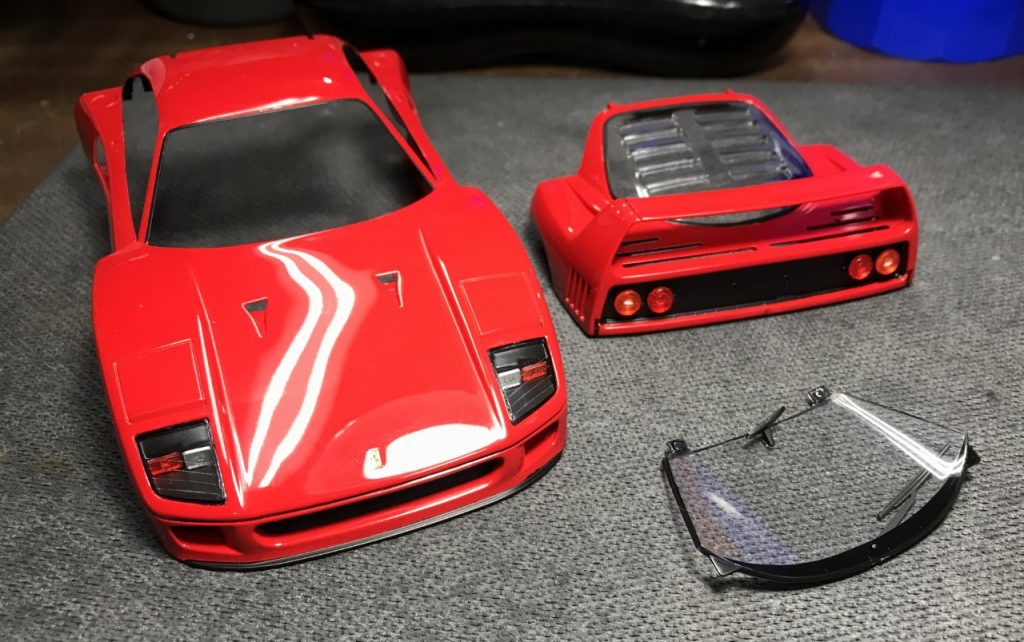
Once the trim was painted on the glass, along with the body color section on the side glass, I glued them in place. I was disappointed by how poorly the windshield fit. Part of the issue was resolved by using window glue to fill the gaps. I also painted the front lenses and tail lights with Sharpie markers. I’m still trilled by how well the markers work!
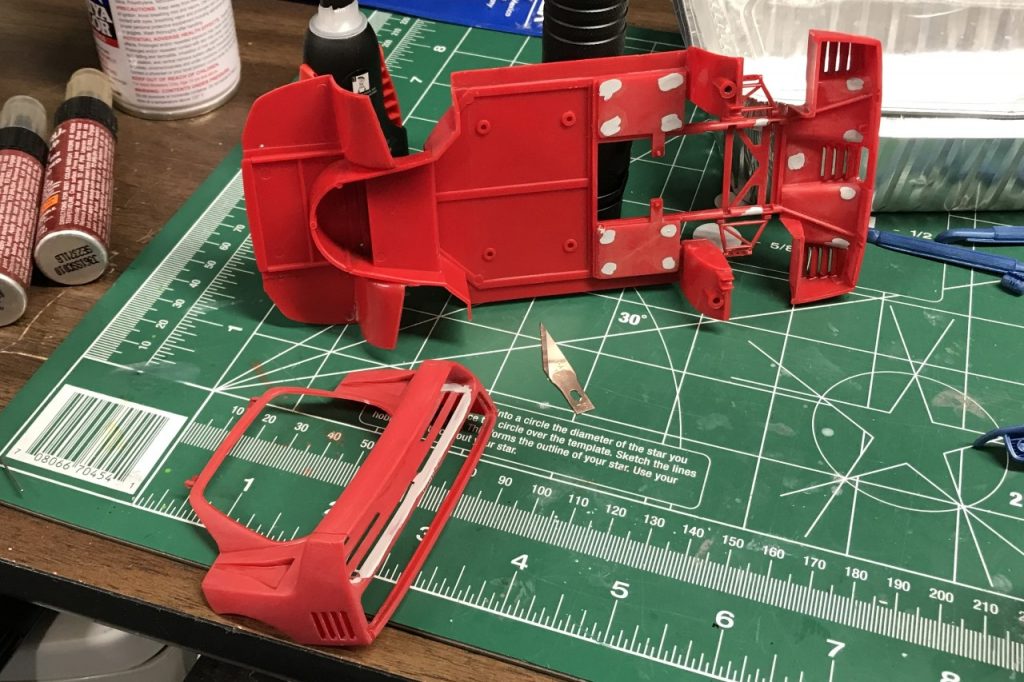
No project of mine ever gets to the finish line without repairs. During the build, I managed to break the delicate part of the engine cover. I had hoped it would survive the painting process but broke again. I had to work the damage and go through all of the painting process. Overall, it is nearly invisible.
With the engine cover repaired, it was a race to the finish line. I attached the engine cover to the body, a challenge on its own due to the delicate hinges. I then married the body to the chassis for the last time and finished the engine compartment assembly. Before I attached the body, I had to address the fact that the exhaust pipes did not line up with the hole in the lower valance. I had to slowly heat the pipes with a heat gun and pushed them into place.
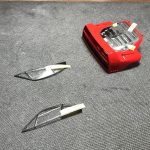
The last part of the build was attaching the rear view mirrors.
Final Thoughts
I’m beyond ecstatic with the quality of this build. I know, without a doubt, that it would not have turned out as well as it did if I tried finishing it over a decade earlier. Here’s a list of what I’ve changed and learned over the years that led to the success of this build:
- Lacquer paint versus enamels for exterior colors
- Tamiya acrylics for all other paint versus enamels
- Better body working materials and skills
- Panel line scribing
- Sharpie markers for lens paint (or Tamiya)
- Better use of Parafilm for masking
- Bare metal foil and Molotow for any chrome
- Persistence in removing all mold lines (the engine still has them due to building it in 2007)
- Being more patient and thoughtful when things go wrong.
The kit itself is decent except for the fit of the engine cover. I tried my best to get it to fit correctly. However, since the kit has to be built to know the fit, it is hard to get it correct before paint. I haven’t seen anyone correct the issue in their builds so I don’t feel completely discouraged. I could pose it with the cover open but it takes away from the lines of the kit. Beyond that, I love this build. It looks great and am proud to share it with the world.
Build Started: September 2007
Build Completed: June 2019