Why is this important?
It really isn’t…I just thought I would share the idea.
While I was working on the upgrades that I outlined in “Project Civic – Letting it Breath” write-up, I needed to install gauges. I’ve never been a fan of gauges mounted in non-OEM locations and because of that have always avoided adding gauges to my Civic.
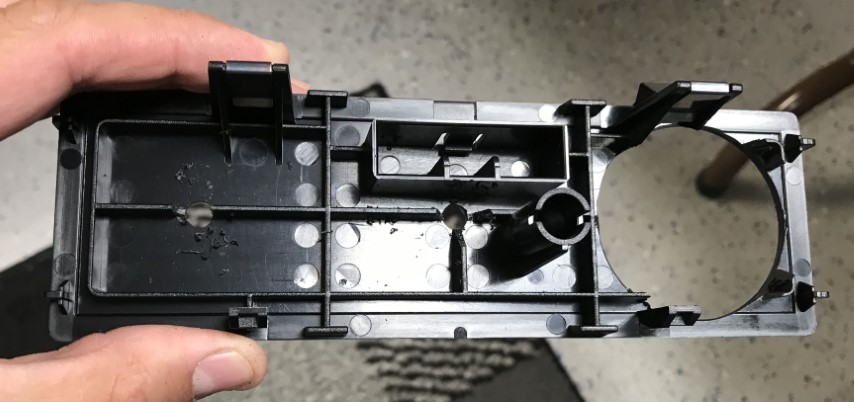
Years ago, I ditched the stereo and added the factory block-off plate that normally came with Civic of this era due to the fact that a radio was optional on most trims. Until recently, this plate was still available new from Honda. Ebay may be you friend if you want to find one.
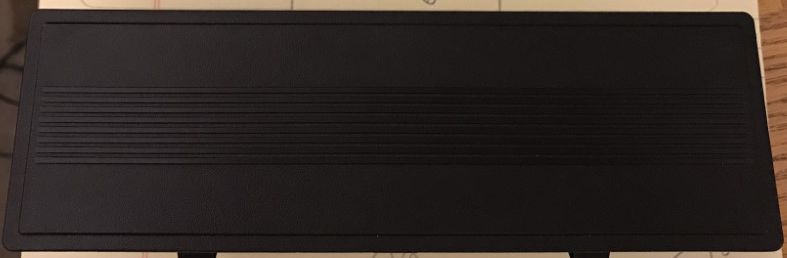
I decided to use that block-off plate to install gauges. I felt it was a clean spot to add gauges without cutting other parts of the interior.
This write-up only covers using the OEM plate to install gauges. The rest is up to you.
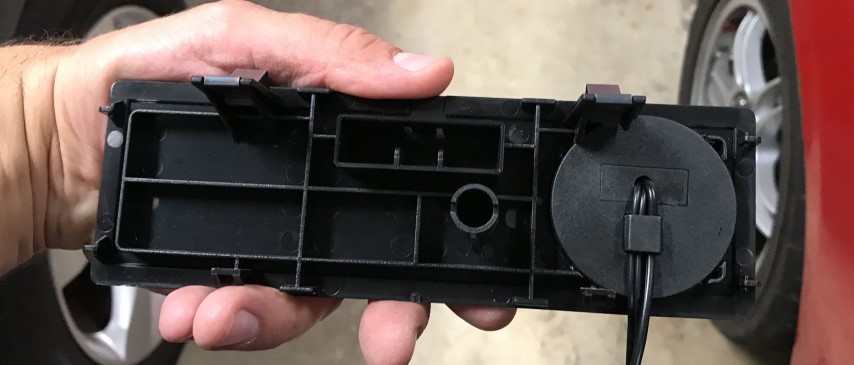
Also worth nothing, the 6th Gen Civic also has a block-off plate available. Bonus, it is a double DIN giving you even more space to install gauges!
Tools Necessary
- 2″ hole saw (or a 2 1/16″ if one exists)
- Sanding drum
- Drill
- Tape measure or ruler
Measuring Twice…
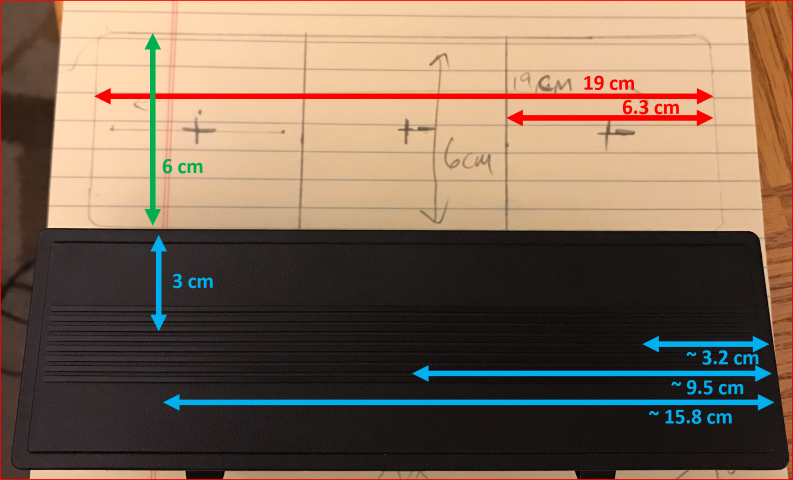
A 2 1/16″ gauge will fit in this space. There is room for three gauges. In order to get the spacing right, I took measurements and mapped out “centers” for drilling the holes.
In the picture below, you can see all of the dimensions and where the marking for the center needs to be. From the top, 3 cm down. From the side, measure 3.2 cm, 9.5 cm and 15.8 cm.
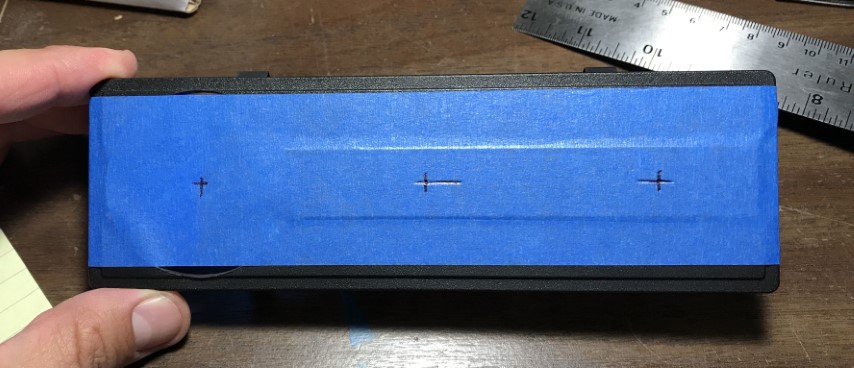
Marking the centers is easier if you cover it with masking tape.
Before drilling holes, I would suggest cutting away the webbing. When I drilled mine, the center hole’s webbing caused the drill bit to shift off center. I was able to work around the mistake by ovaling the hole. Cut the webbing as indicated below.
Ultimately, you can start each hole using the drill of your hole cutter. I didn’t have a 2 1/16″ hole saw so I used a 2″ saw and then ground out the hole with a Dremel tool. Once thing to note: Even thought he plastic is somewhat pliable, drill very slowly to avoid breaking it.
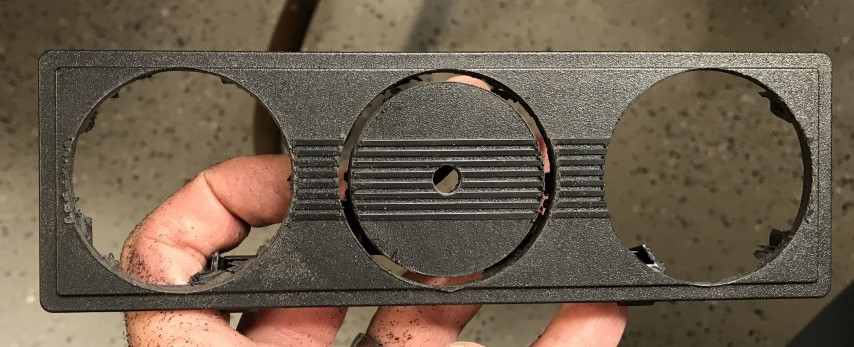
If you have to use a 2″ hole saw as I did, it’s a good idea to slowly open the hole with a drum sander. In the case of this PLX guage, there is no bracket to hold it in place. It needs a tight fit. Slowly open the hole and frequently stop to test the fit. Most other gauges will have a mounting bracket and not require a perfect fit.
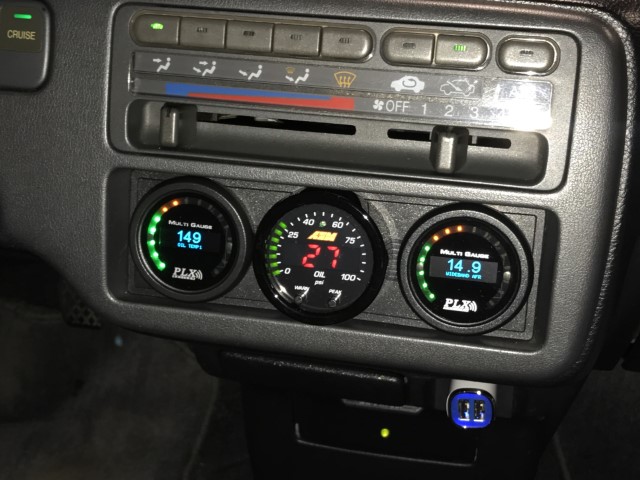
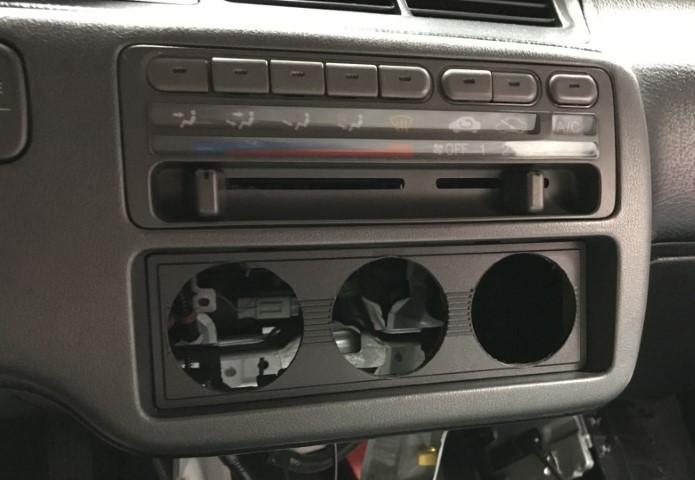
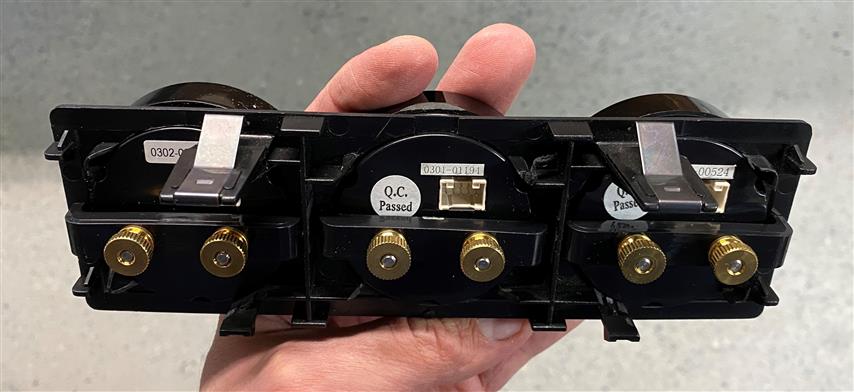
Considering that most gauges have some form of mounting bracket that is installed from the back, there is no worry about making the hole perfect. As long as the gauge slides in, it will be held in place by the bracket. Below: I’ve recently loaded the panel with AEM gauges.
Final Thoughts
Using the original radio slot is not the best location as compared to mounting gauges on the pillar or on top of the dash, but it gives you a chance to install gauges without cutting up the rest of your interior.