Justification
Following the 2016 refresh and having addressed all of the stumbling blocks I encountered, I realized that I needed to develop a long term plan based on how I use the Civic. Building an engine that makes huge power sounds like a blast but what will I gain? I run very competitively at my local autocrosses but realize that I would be pounded at a national level. Will I ever run nationals? If I do, will it be to win at nationals? I may venture out to nationals for the experience but I won’t make it my life’s work. I don’t need the most powerful, best handling car in my class if I’m just heading out for fun. Also, if I target big horsepower, I will have to bump up tire sizes and upgrade more of the suspension. All of this is considerably expensive for minimal gains. Worst yet, it is a huge sunk cost that I could never recover if I decided to sell that car.
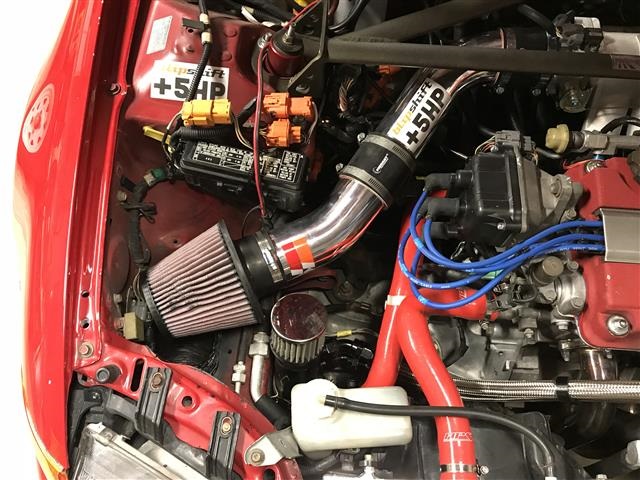
With that in mind, I knew I needed to draw a line…a stopping point where more money isn’t going to give me more value. I would continue to maintain the car and replace work/broken parts as necessary but not have plans for huge upgrades. What was that line? I spoke to Mikey Singhaseni of Mspec Tuning fame. I explained my intentions and we came up with a plan. He explained that the older engine computers do not have the ability to properly compensate for breather modifications and tend to run lean when breather modifications are introduced. Knowing that, I decided to install a Hondata equipped ECU. After that, he recommended a fresh set of injectors to replace the 20+ year old OEM units, an aftermarket intake manifold and throttle body. He also strongly recommended a wide band O2 sensor.
The Parts List
Armed with a plan, I started accumulating parts. Here’s what I bought:
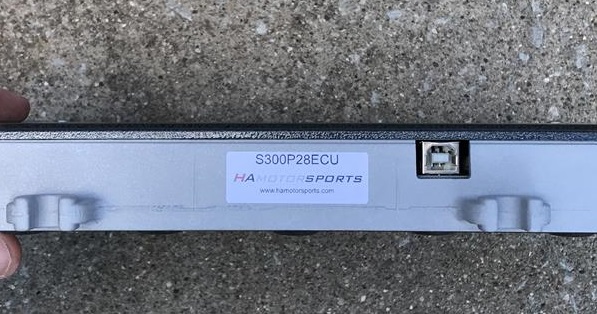
- A refreshed P28 ECU equipped with Hondata S300v3 upgrade from Hamotorsports.com
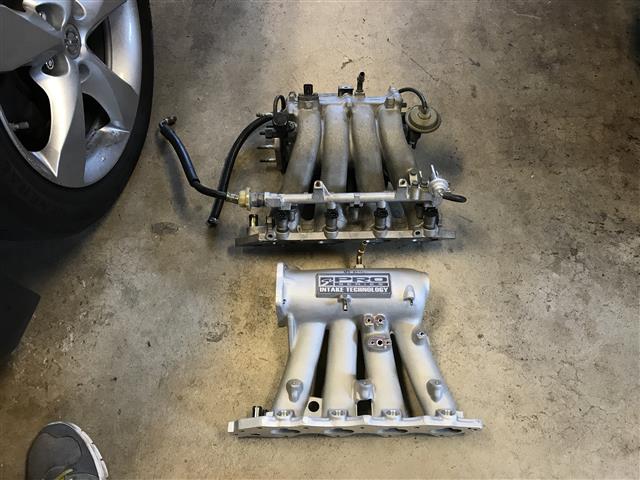
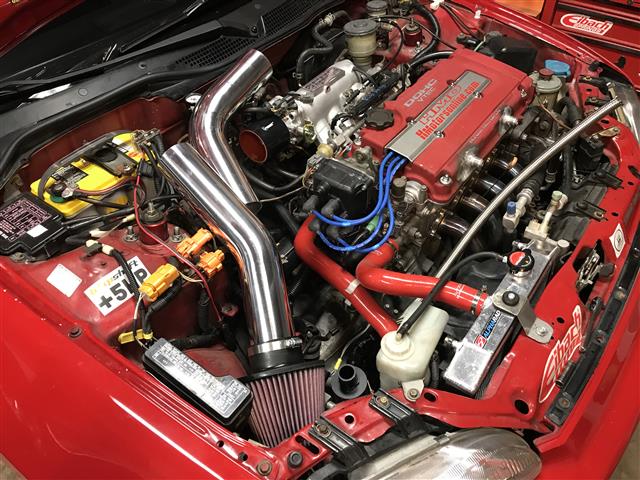
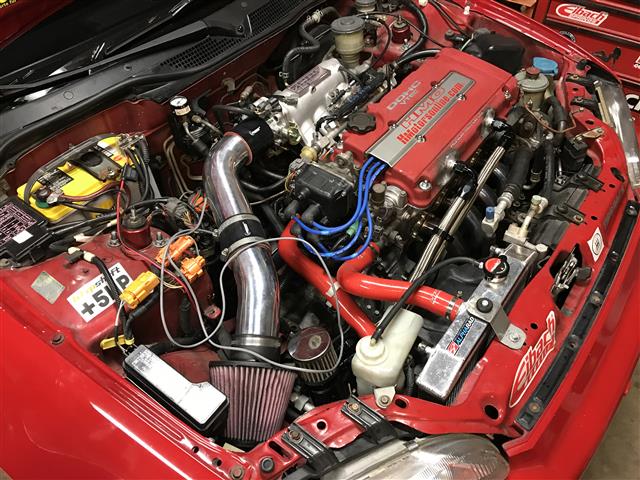
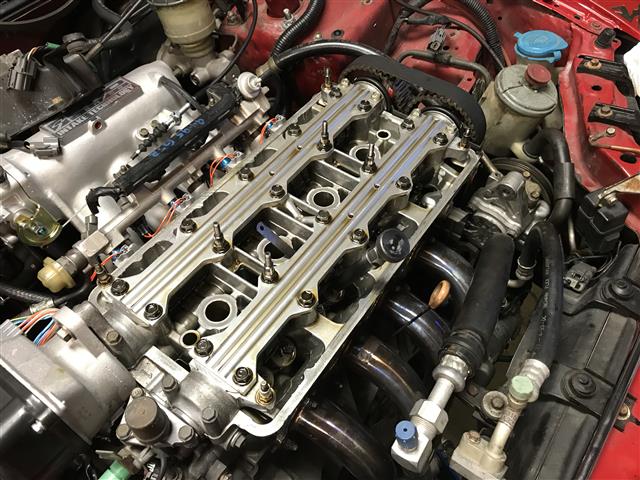
- Skunk 2 ProSeries intake manifold from JHPusa.com
- Skunk 2 Alpha series 66mm Throttle body JHPusa.com
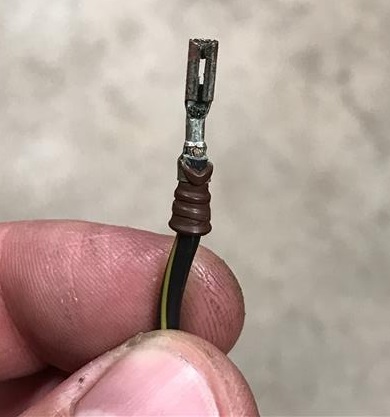
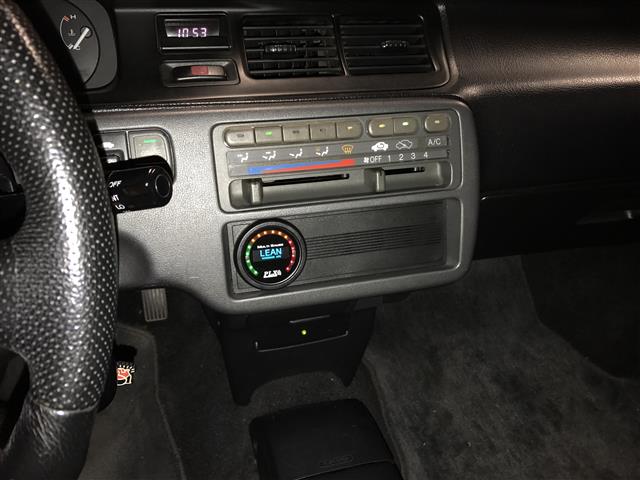
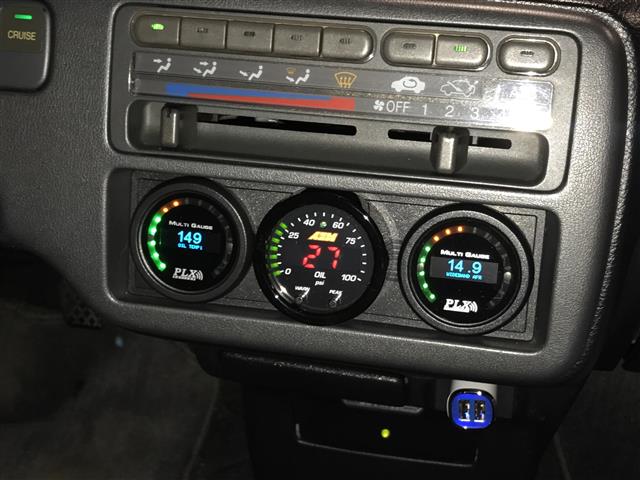
- PLX SM-AFR Wideband DM-6 Gauge Combo (GEN4)
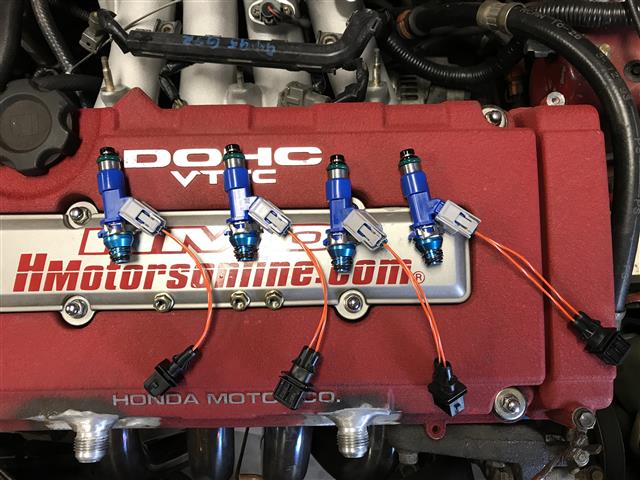
- OEM Acura RDX 410cc injectors and adaptors from Xenocron Tuning
- Blox TPS sensor
- OEM Type R throttle cable
- OEM Type R throttle cable keeper
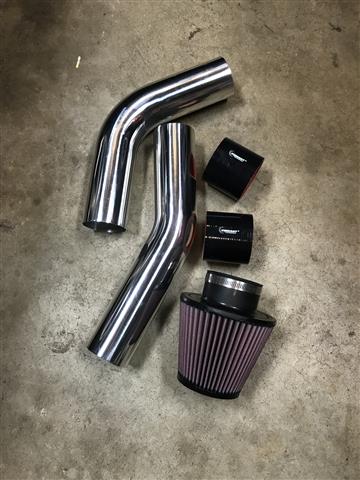
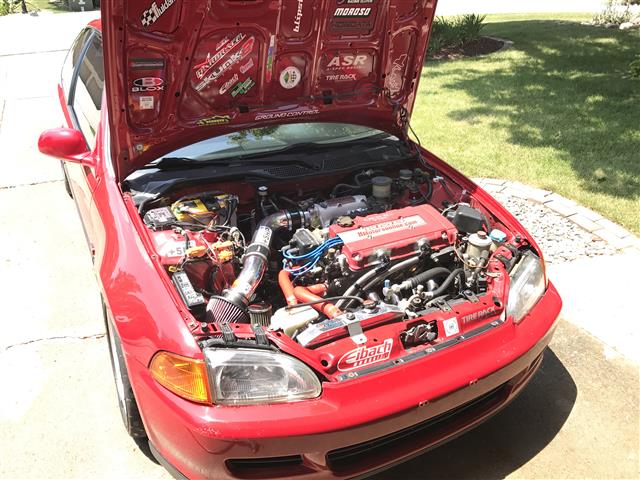
- Vibrant Performance 3″ Aluminum tubing and Silicon Couplers
- 3″ K&N Filter
- PLX SM-FLUIDTEMP – Fluid Temp Sensor Module
- AEM X-series oil pressure gauge
On with the story!

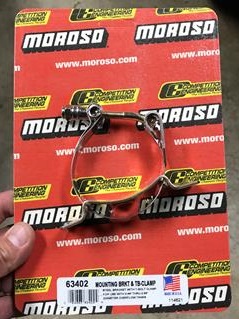
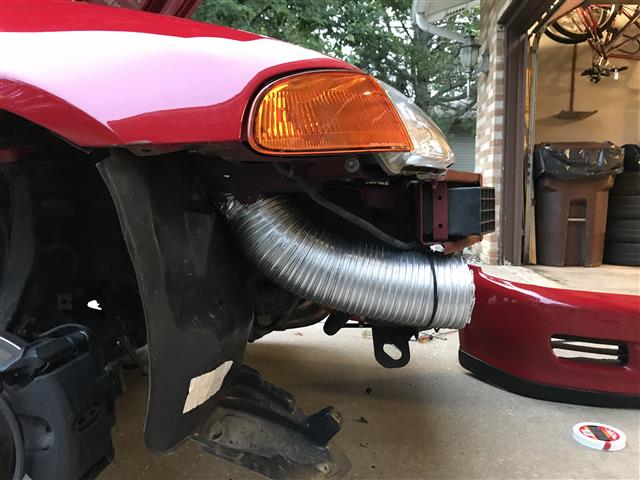
Knowing the breather lines would interfere with the air intake’s new location, I elected to move the can down by the transmission mount. B&R’s breather can has a nice mount welded to it that makes it very challenging to install…anywhere. I needed the Moroso clamp to attach the can once I ground off the attached mount. The new bracket was much easier to use.
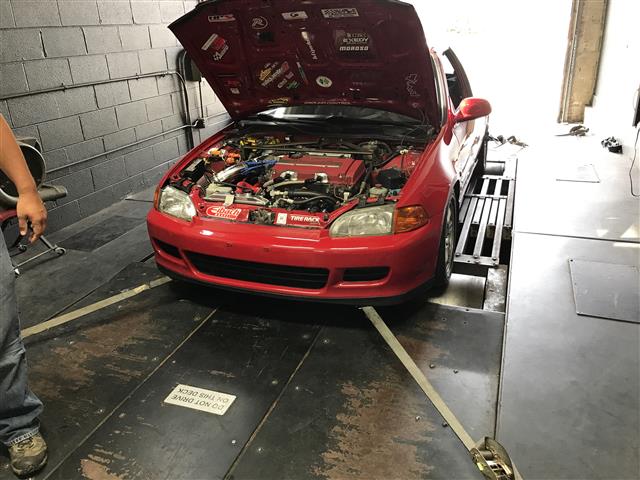
Wrapping it up and the tune
Mikey had to reschedule my dyno appointment which put me in a bind. I had an autocross the following weekend and didn’t want to run it without a tune. Mikey put me in touch with another tuner who helped generate a base tune using data logs. After passing data back and forth over email for a few days, the tune was good and safe to run hard. The only issue I had was rapid throttle tip in which only revealed itself during autocross runs. The wideband would bottom out on the rich side causing the car to hesitate. Not to worry, my time on the dyno was a few days away.
One more thing
Conclusion
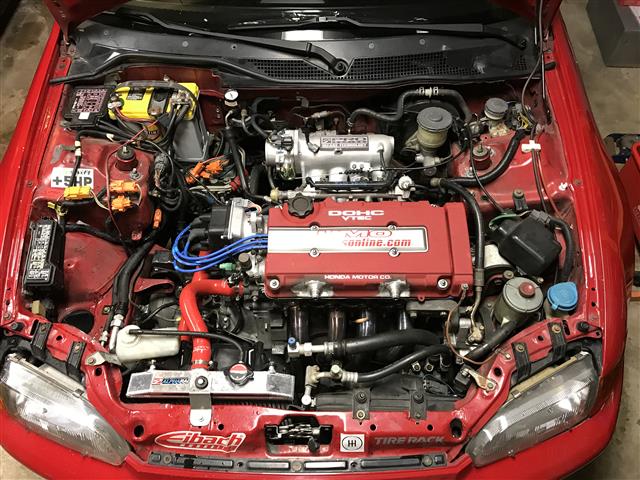
I would love to say that all the work made a huge difference. In reality, the changes were subtle. The engine still makes good torque and power even though I dumped the dual runner intake manifold. Was it better? My autocross runs felt stronger than I ever remembered. Better power delivery in the mid-range helped me edge further up the overall results at my events. Power gains aside, one very big difference was the improvement in throttle response.
Overall, I’m glad I did the work. Any future work I chose to do on the engine will benefit from the parts I installed this summer. During my discussions with Mikey, we talked about a mild build to freshen the untouched 20+ year old engine. Fresh internals, head work, cams, etc, etc….it’s that whole slippery slope of modifications. If I can keep the engine together for the next few years, I may be more amenable to a build.
Unrelated to the Civic:
Over the past few years, I’ve thought about the fact that I’ve been driving and building this Civic (and the coupe before it) for nearly 24 years. I’m very comfortable with it and can drive it at the limit like it was an extension of my body. However, I want to try something different to hone my driving skills. Something RWD. I miss my old 240SX and in some ways wish I still had it. I have no intention of buying another and I can’t afford another project car even if I sold my Civic. In order to accomplish the idea of trying something different, I’ve asked to co-drive a friend’s Firebird next season. I’ll chip in for mods/tires for the season which will be significantly cheaper than starting from scratch. I look forward to the challenge!
Next year:
If all goes well, I hope to keep my Civic expenses to a minimum with fresh brakes and track-day fun. Here’s to hoping!
Read more about Project Civic Here