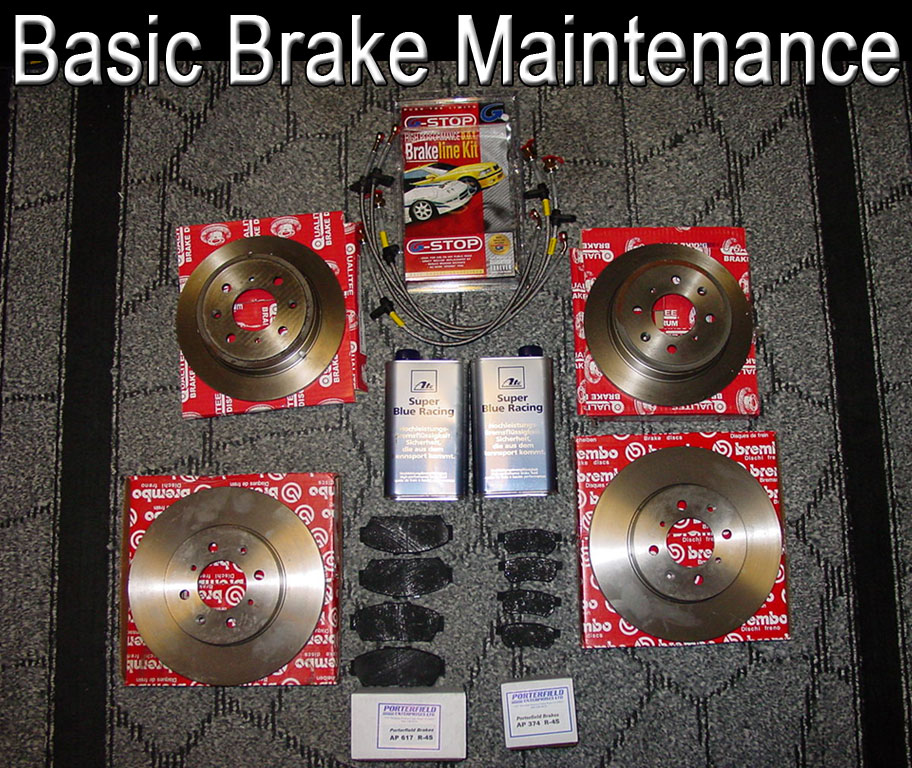
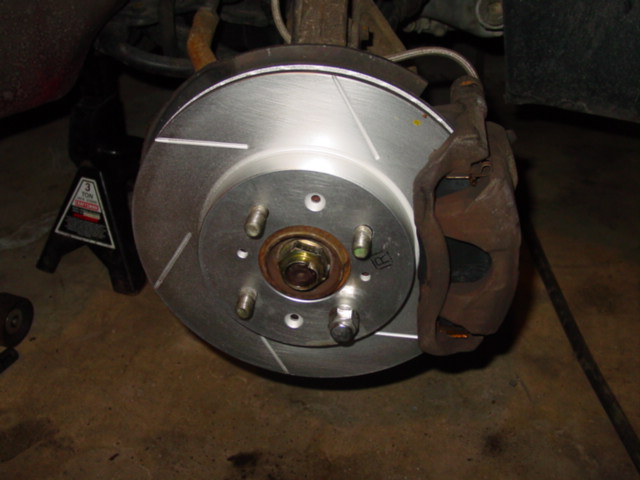
You can save a great deal of money if you can take care of your brakes on your own. Honestly, there isn’t much to it. Personally, I prefer to change the rotors along with the pads. You can find inexpensive rotors are at your local auto parts store.
Tools Necessary:
- Reliable socket set
- Hammer
- High temp caliper lube
- Anti squeak lube or anti-seize
- Brake cleaner
- Large Screwdriver
- Impact driver (available from Sears or most automotive shops)
- Caliper piston compressing tool, front and rear (can be purchased at most automotive parts stores or Sears) or large channel locks
- Jack and jack stands
Note: I’ll be discussing brake maintenance for a Civic. The procedure will be correct for most automobiles where the differences will be minimal. My experience with drum brakes is very limited, so I won’t be discussing them.
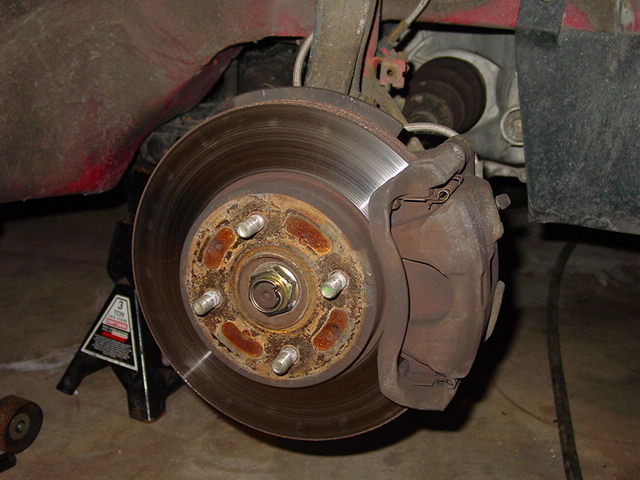
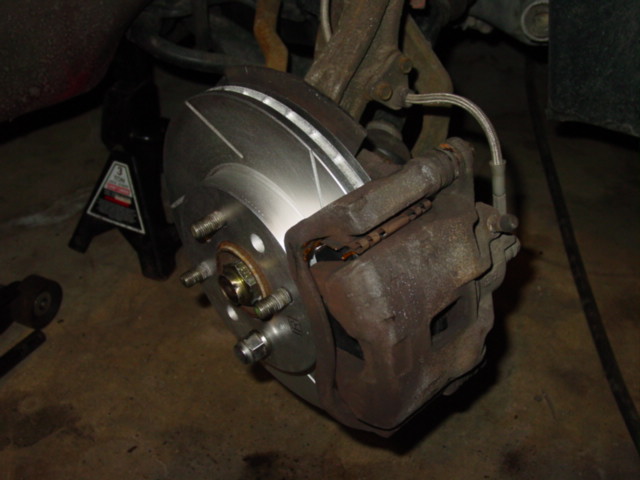
Start by raising and securing the vehicle.
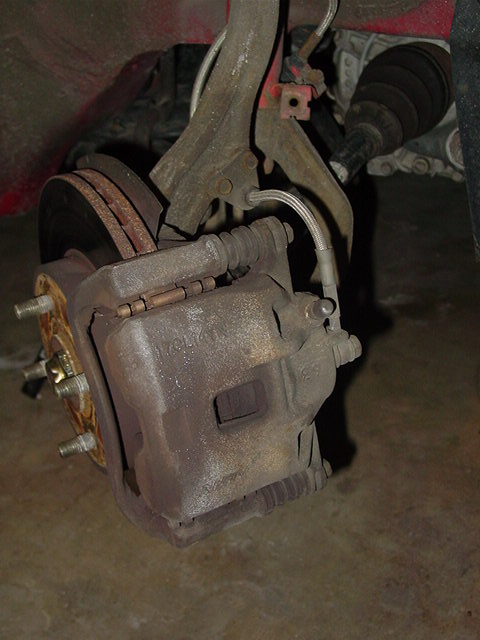
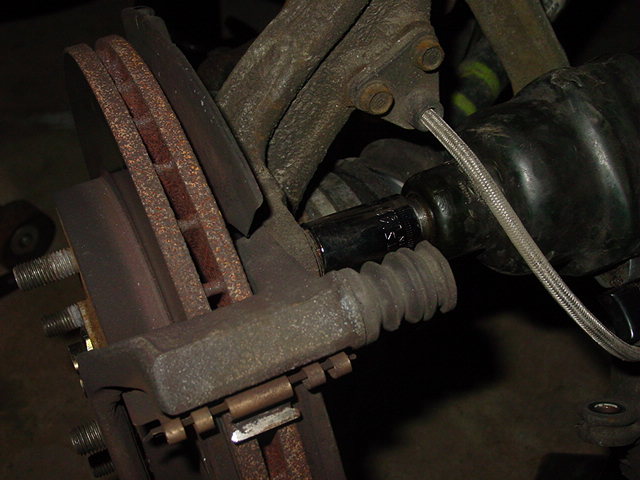
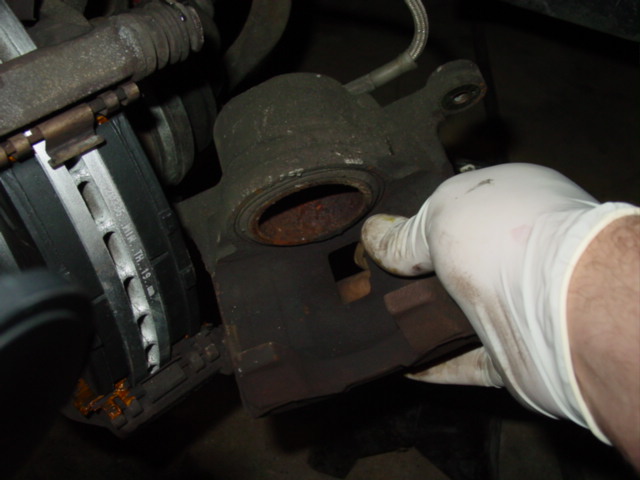
With the caliper sections removed, take a moment to lube any slider pins that may be present. Make sure the dust boots are in good shape. If the boot is torn debris can contaminate the grease, causing the pins to lock up and therefore render your brakes useless.
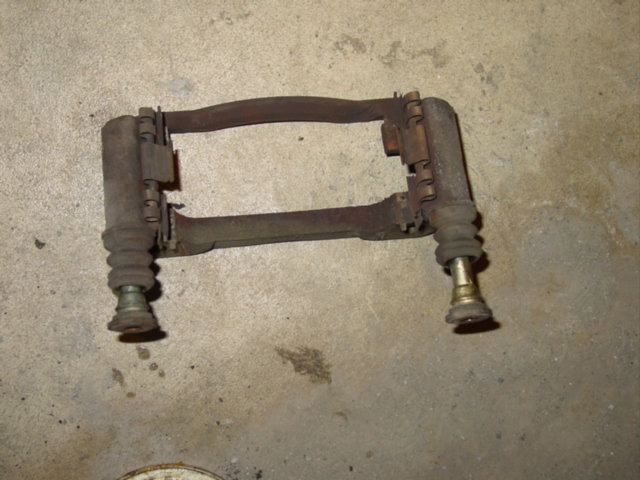
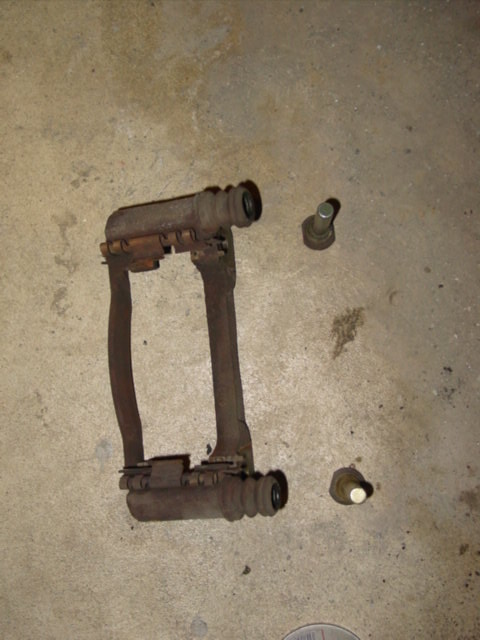
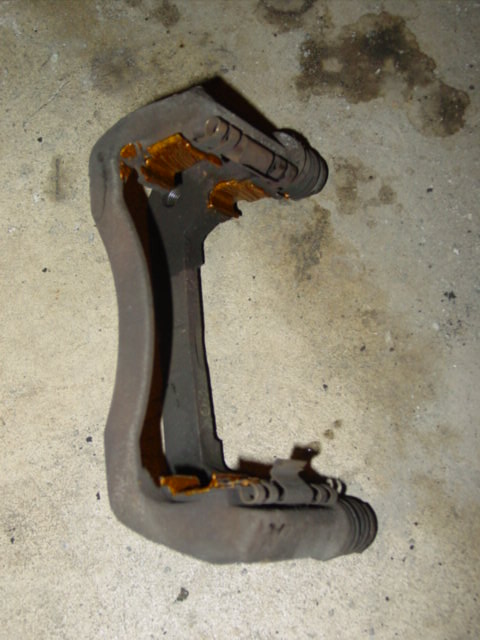
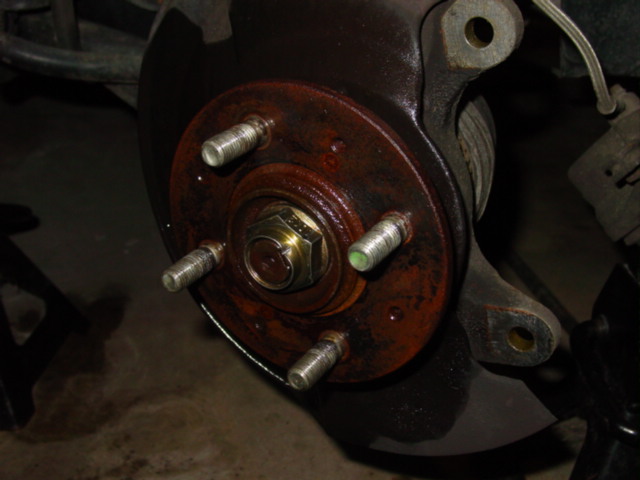
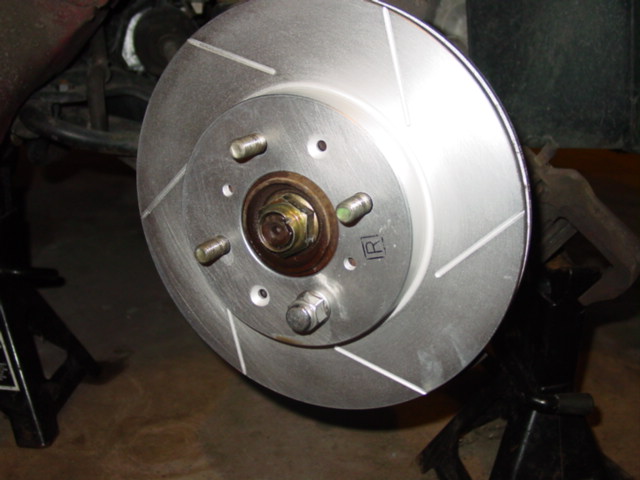
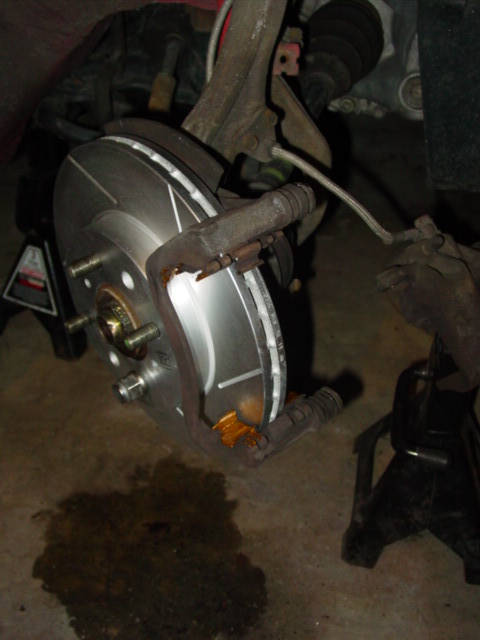
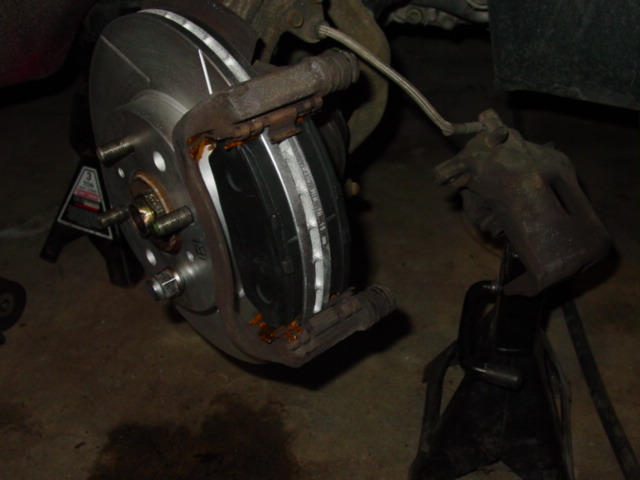
You will need to compress the piston before you put it back on the inner caliper. This can be done with a large pair of channel locks, a vice, or specialty compressing tool. It may also be necessary for you to keep an eye on the brake fluid reservoir and make sure that it does not overflow.
NOTE: Rear disk brakes are a bit more difficult to compress. This is where more significant differences can be found between manufacturers. For civic rear brakes, you can use either a specific tool designed for rear disk brakes or use a pair of hefty needle nose pliers. You need to turn the piston clockwise while you push. A bit of spray lubricant is recommended to help free up the piston and prevent tearing the seal.
Most Mazda’s require you to remove a small access plug on the back of the caliper and back out the piston with an allen tool and then adjust once the new pads have been installed.
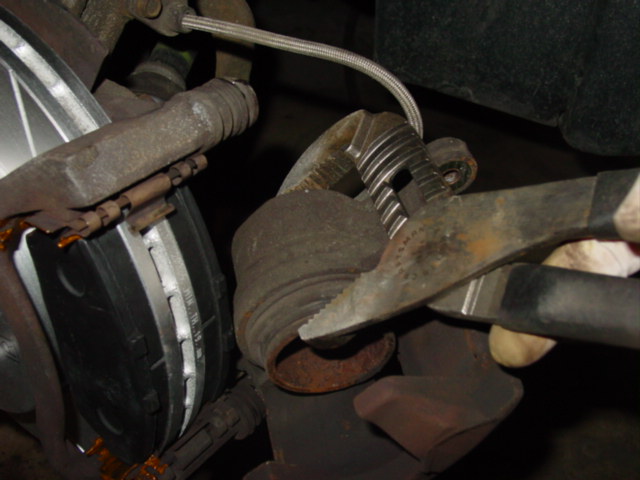
Brake bedding depends on the manufacturer’s specific instructions. Typical street pads require an period of 200 miles or so of easy driving. More performance oriented pads may require a more aggressive bedding procedure where track specific brakes need a rather abusive process for proper bedding. Your brakes’ performance, longevity and reliability is dependant on proper bedding. Please follow the directions carefully and be safe!
