I had originally intended this story to be covered in one post. However, I ran into several issues that needed to be resolved from the original work along with a few more issues that reared their ugly heads. There was enough content to justify a separate post. On with the story:
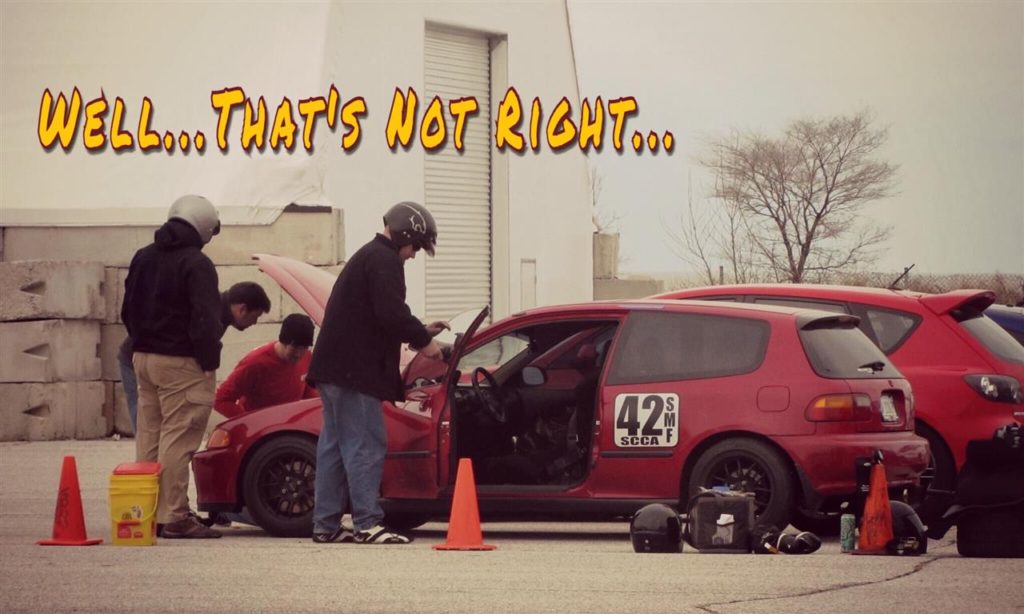
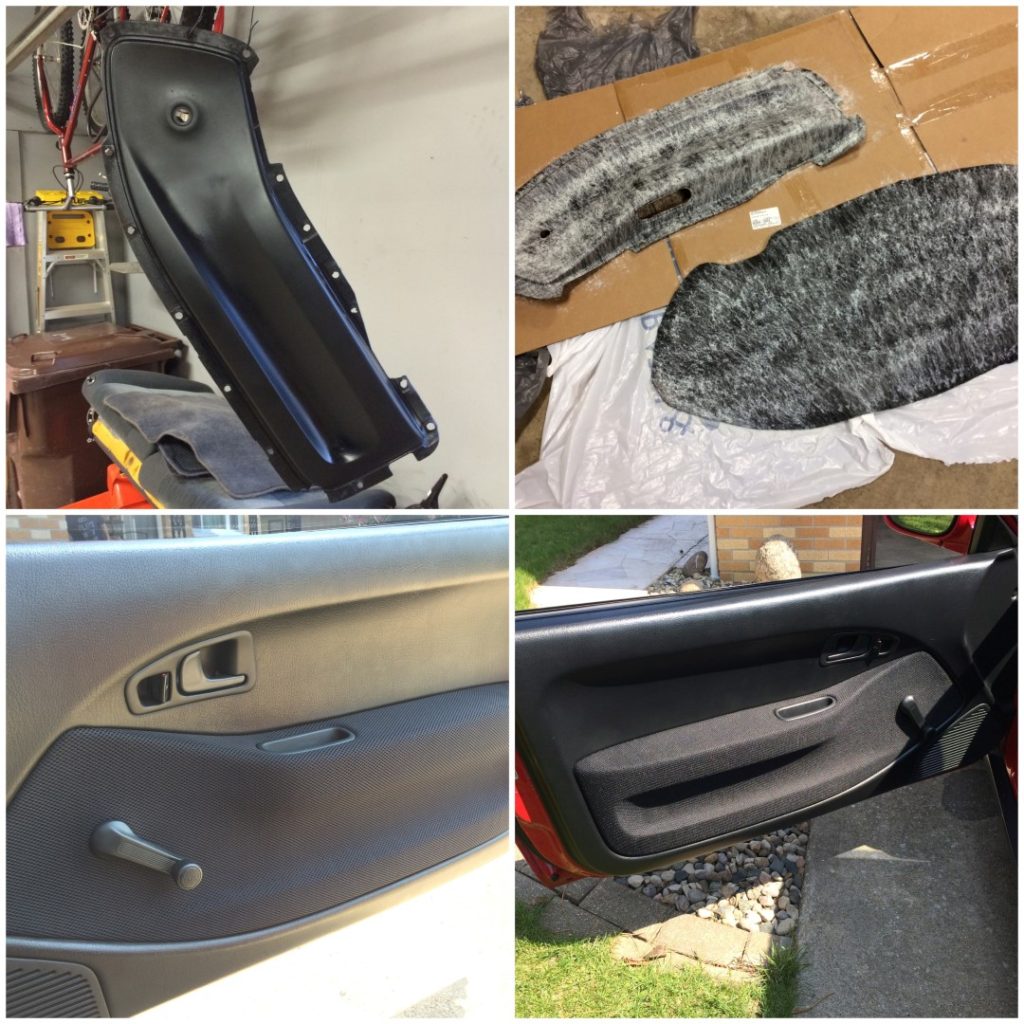
One last thing that wasn’t finished before the first race was my door cards. Out of all the work completed, it was the thing I didn’t need to go racing.
Breather Problems
The first issue that reared its ugly head involved my new catch can setup. If you recall from Part 1, I installed an engine block breather kit that vented through ports in the back of the block. I liked the idea of using the rear ports in the block to keep the installation clean and save myself from having to modify the valve cover. The installation went smoothly. Sadly, at my first event, I discovered that this configuration was not going to work.
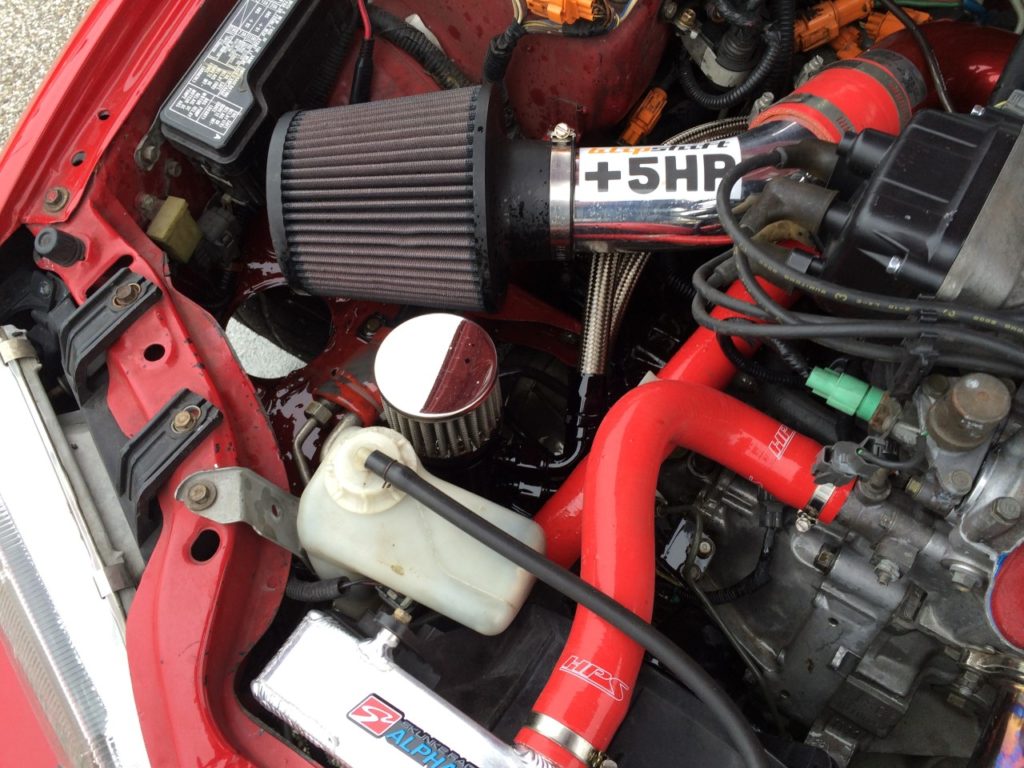
What happened? If you look at the location of the rear block ports, you’ll notice that they bolt into the channels where the oil returns from the head down to the block. Under most driving situations, the oil flows on the inside of that path. During autocross runs, that oil has a chance to pass over the openings where the vent lines are attached. Considering the constant pulsing of air that this area experiences, oil was being pulled into the hoses. Add to that the fact that I mounted the can low in the engine bay, the oil had a one way path out of the engine. Now what?
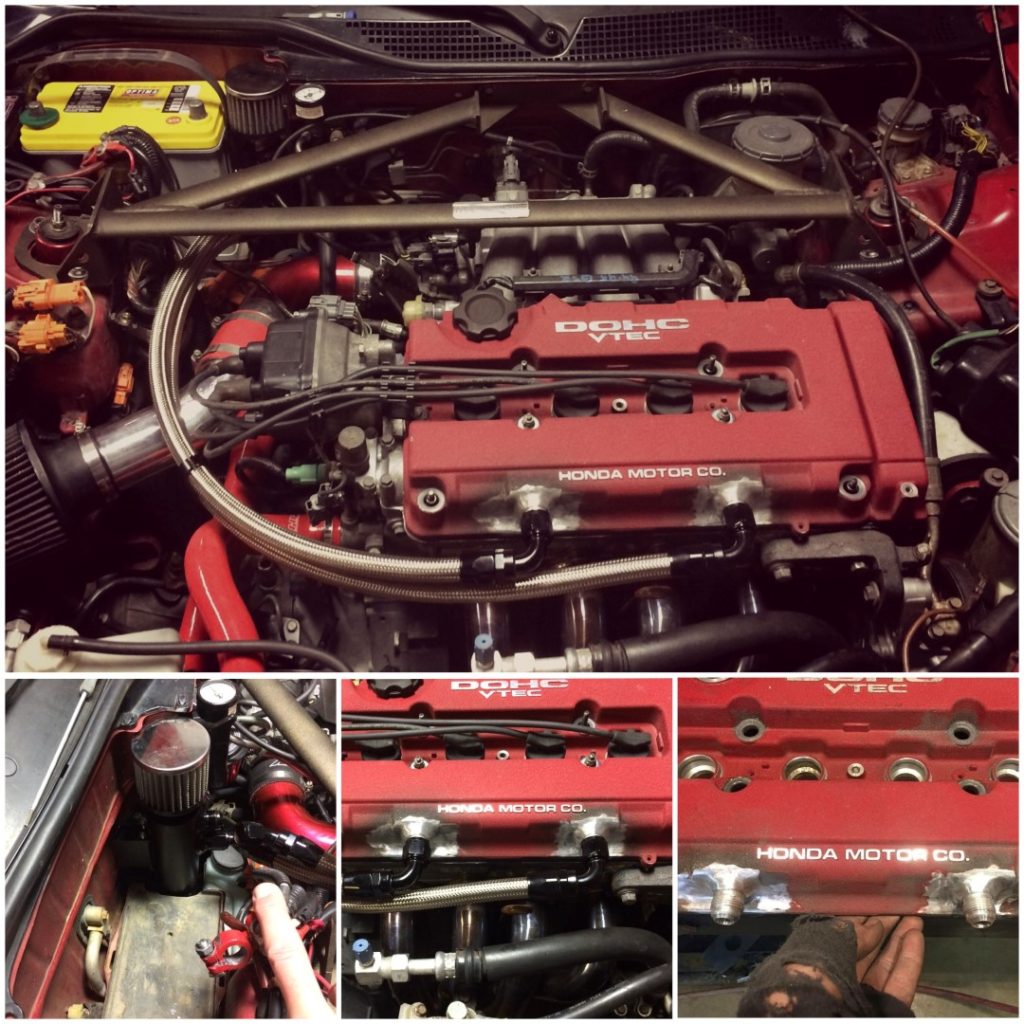
After ordering additional fittings, I met up with a local guy who would weld the fittings to the valve cover. I was really pleased with the Mad Max look so I skipped refinishing the cover. With the modified cover in place, I moved the can to the firewall. I had to notch the battery tray a little but otherwise, it fit in that tight spot well. To simplify the mounting, I used rivet nuts. The first autocross after the modification proved that this worked well.
Transmission Seal Problems
Feeling confident that my breather issue was resolved, I headed out to Gingerman Raceway. I finished all of my runs and the car ran great! I drove home, parked the car and called it a night. The next morning I went out to my garage and noticed oil under the car. Oh no! I opened the hood and saw quite a bit of oil around the passenger side…just under the catch can! I wiped the oil and it was purple. Since I use Royal Purple manual transmission fluid, the source was obvious. After a little digging, I discovered the source of the leak as the passenger side transmission seal. Other than the oil slick that covered the entire bottom of the car, the repair was straight forward.
Once I replaced the seal and topped off the case with fresh transmission fluid, I raised the car on jack stands and degreased the entire bottom of the car. That was fun…
A test drive confirmed that the new seal was working.
Block plug problems
The day after I replaced the transmission seal and degreased the entire bottom of the car, I ran an autocross. Earlier in the day, the work on the transmission seal proved to be a success. After several runs, between two drivers, I headed out for my last run of the day. Roughly 3/4’s of the way through the run, I heard something bounce out of the car, lost control for a moment, and noticed that something wasn’t right. I finished the run and as I came to a stop, the car was engulfed in smoke. I pulled off course and jumped out of the car. The heavy smoke cleared quickly and after a quick inspection, realized there was no fire. In the back of my mind, I knew exactly what it was.
The block plug.
Once I open the hood, I looked towards the back of the engine and saw oil. At first I though the transmission seal catastrophically failed, which makes no sense since that area is under no pressure. Looking back a little further, my suspicion was confirmed when I saw the gaping, oily hole in the back of the block. The plug popped out.
I will have to say that I was grateful that I bought a bare aluminum plug. I could actually see it glinting in the sun from across the course. Other than few dings, it was relatively unscathed. I slipped the plug back into the block and cleaned the giant oil slick as well as I could with rags and brake cleaner. I was not looking forward to another round of degreasing the entire underside of the car.
I have to be honest and say that I was always skeptical of the fact the plug was not held in place. There are options of the plug that include a fitting to drain back oil and include a small bracket. With my suspicions confirmed, I came up with a plan to hold the plug securely in place. I realized that I wouldn’t need a significant bracket considering the fact that the block is not under pressure especially considering the large vent holes in the valve cover. I also decided that I did not want to bolt a bracket to both the block and plug to avoid sealing issues as a result of changing temperatures.
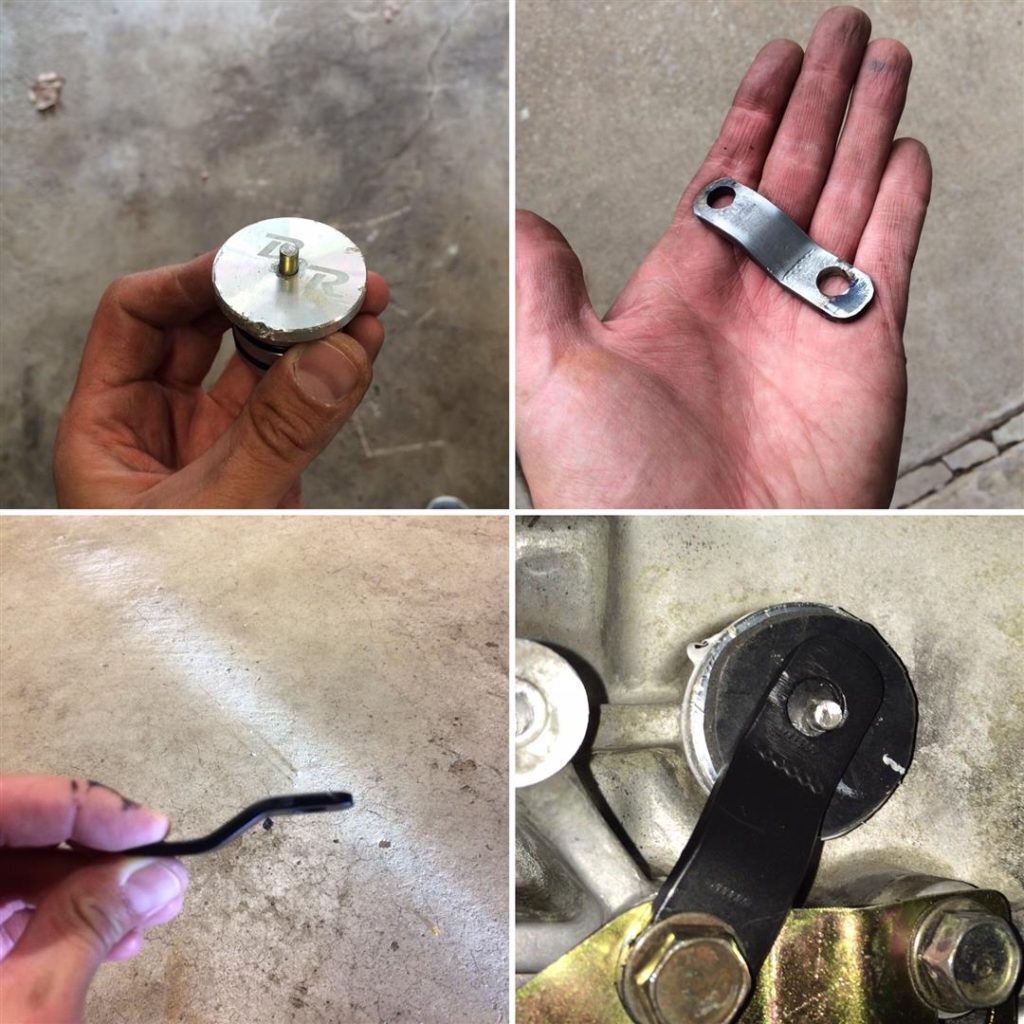
The stud and rubber pad on the plug side of my bracket was intended to allow for expansion and contraction of materials, especially between the steel bracket and plug. The stud would ensure that the bracket would not slip off in the event the bolt holding it in place ever loosened unexpectedly. Was all of this overkill? Yeah, I think so. I really didn’t want to have to degrease the bottom of the car again!
Misfire Problems.
Early in the season, the Civic started randomly misfiring. The distributor was an original unit which was now over 20 years old. I picked up a replacement distributor from Rock Auto along with a set of NGK plug wires and Denso plugs. I bought the plugs recommended in the service manual. The Denso plugs were half the cost of the NGK plugs, which were already half the cost of buying the same plugs through Hondapartsunlimited.com. A full set was $10. After installing the fresh ignition, the Civic ran smoothly.
Axles Problems
When I replaced the outer CV boots, earlier in the year, I was concerned that hammering the CV joint to remove it would have negative results. A few short months after the work was complete, I could hear the dreaded CV joint clicking sounds while cornering. Oh well. Drive Shaft Shop no longer makes a Race spec axle. They offer a base axle that is a considerably better option than buying re-manufactured axles. The next level axle was designed to handle nearly 300 horsepower at a considerably higher price. I called Drive Shaft Shop and they explained that any axle can receive their “Road Race” treatment. All internal components are micro-polished before assembly. Higher temp grease is also used along with vents for the boots. I chose their base axles with the Road Race upgrade.
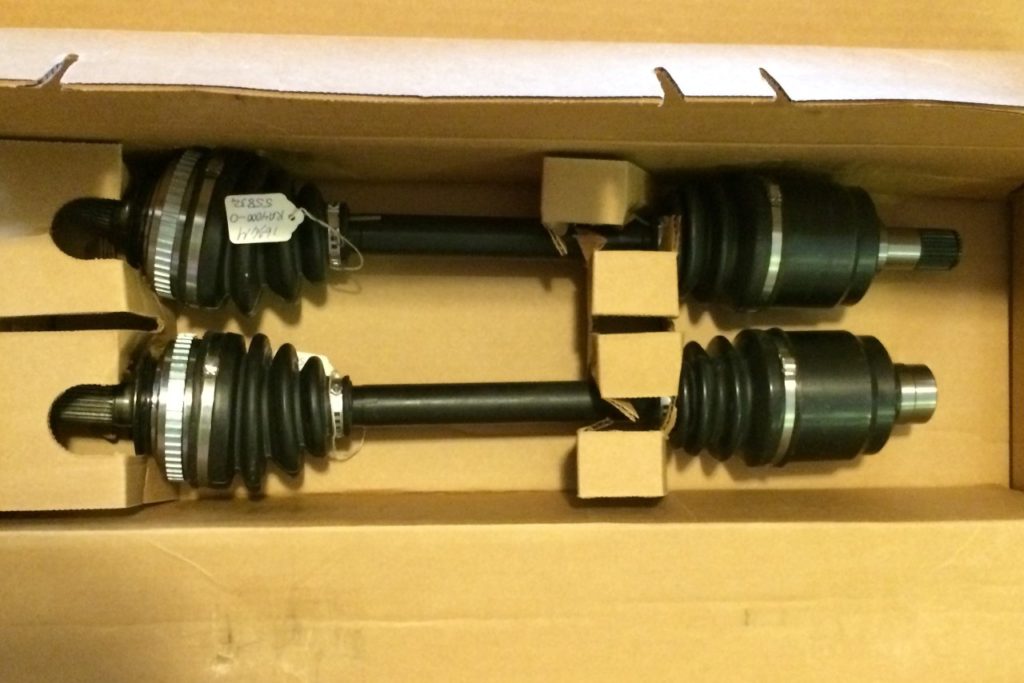
Installation is straightforward and I was back in business.
Clutch line problems
This season….seriously…
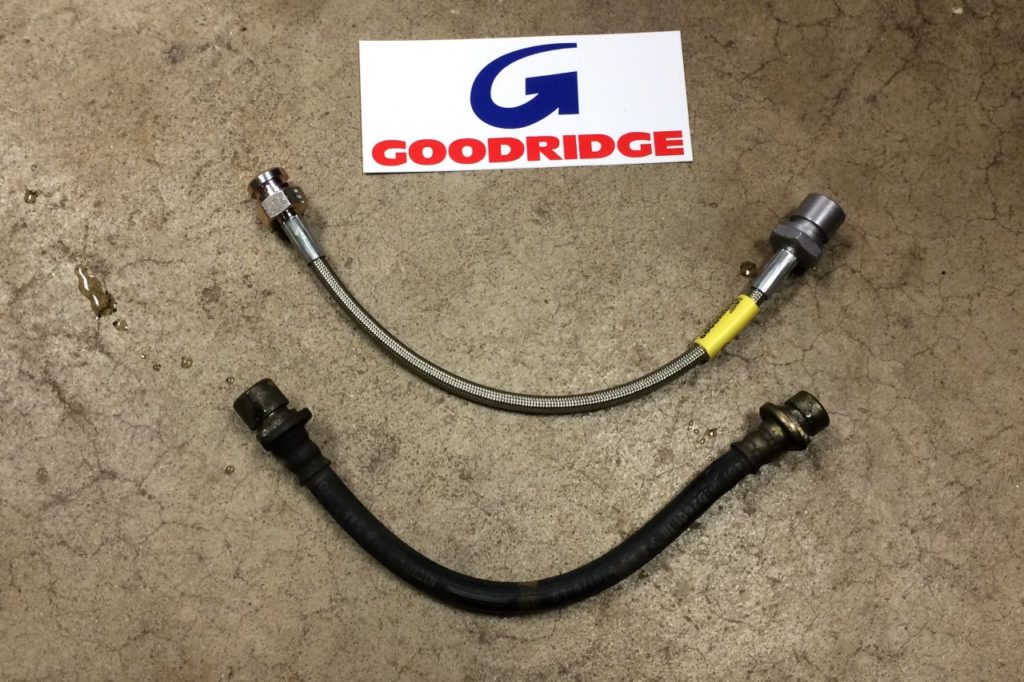
The day before an event, I took the Civic out for some spirited driving. Shortly after, I noticed that the clutch pedal wouldn’t return or just generally felt, “off”. A quick inspection revealed that a strange goiter on the rubber clutch line had finally ruptured. I will have to say, embarrassed as I was, that the goiter had been there for a couple of years. I should have changed this years ago. Old car problems….
Computer Freshening
I’m happy to say that by this point in the season, work performed on the Civic was voluntary. I had been eyeing capacitor refresh kits for the ECU for the past few years. I picked up a kit from Xenocron Tuning. Their kit came with all of the capacitor needed to replace the more than 20 year old original pieces. They did an excellent job of labeling all of the capacitors making it even easier to perform the work.

On to more mundane things…
Wiper Sprays
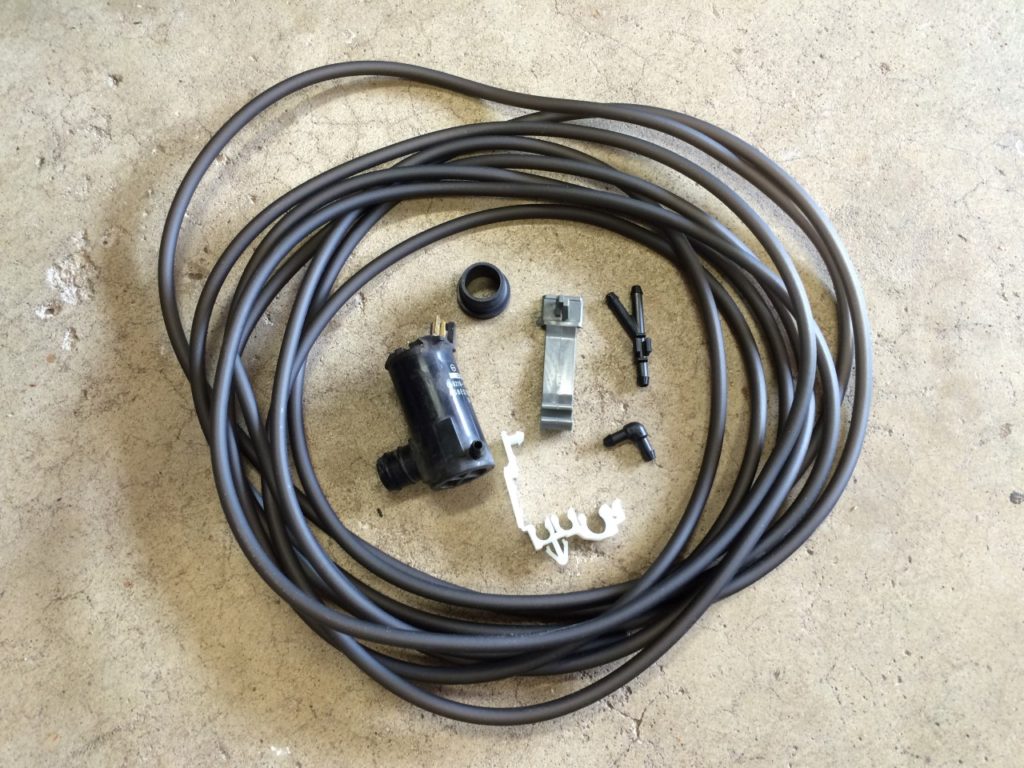
I take pride in maintaining a certain level of civility in my Civic. The AC is still there and works along with the ABS, power steering and cruise control. Functioning wiper sprays are just as important! After my front wiper pump failed, I decided to refresh nearly every part. I picked up a used pump and then purchased hose, brackets and fittings from Honda to wrap up my wiper spray restoration.
Last but not least…

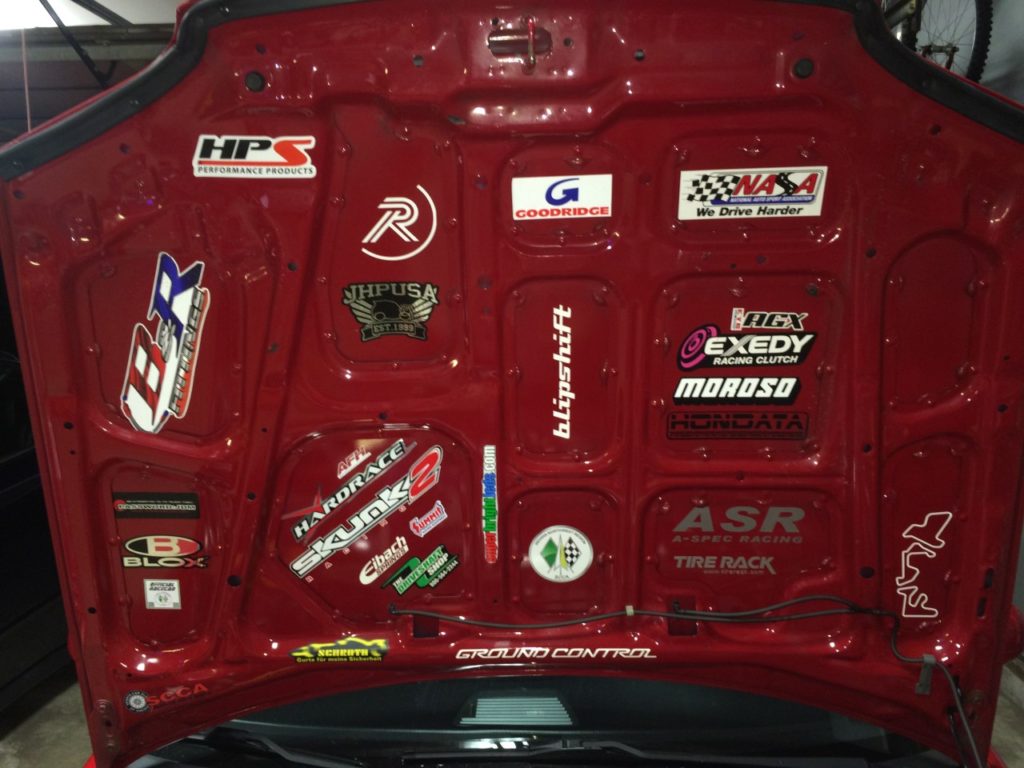
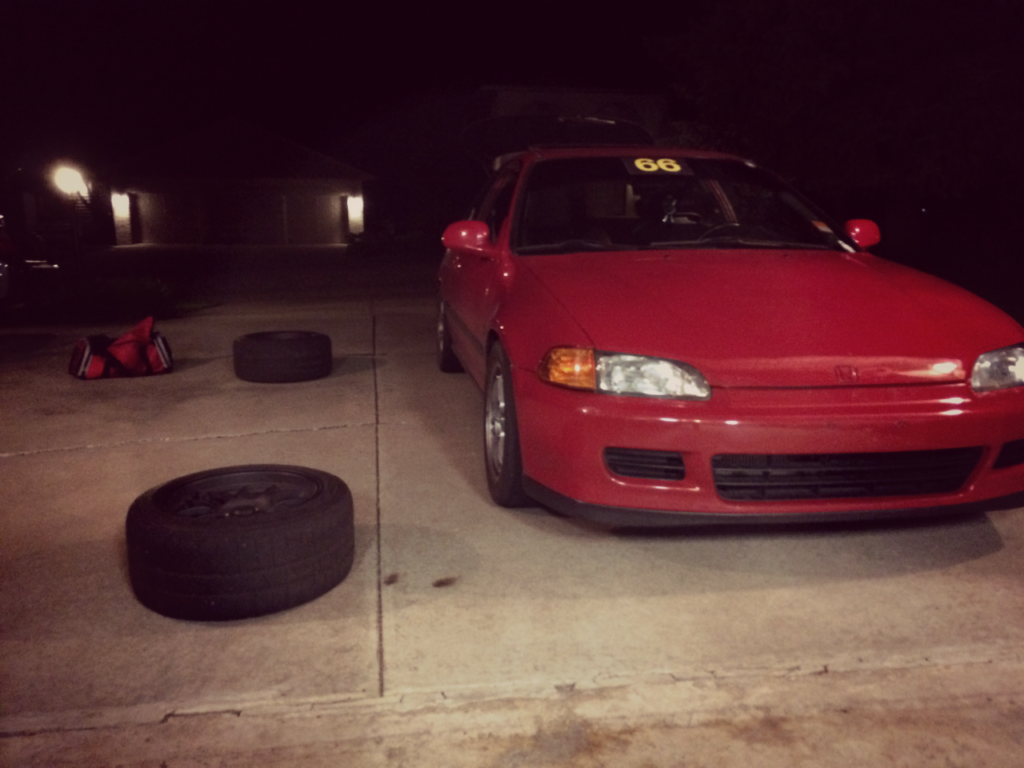
Wrapping up my 2016 refresh:
2016 Recap
Downside:
I wildly blew my budget for the year. Between scope creep in the early part of the project and the corrections and repairs that followed, I spent considerably more money than I had intended. Was it all worth the investment? No, not all of it. Looking at the list of parts I installed, there were definitely things I could have skipped and saved the money for another project. Parts like the oil pan. The pan itself did not resolve oil starvation issues. I still had to keep the oil level at the top mark or higher to prevent starvation at track events. Had I simply used the valve cover to properly vent my block, I would not have replaced the intake manifold gasket, studs and other misc parts. All with additional cost. Changing the valve seals did not resolve my oil burning issues during deceleration. The cost of the tools, seals and misc gaskets added up to no value.
Upside:
I replaced many worn out parts. I replaced several seals, boots, gaskets, and hoses. I also replace several considerably worn out bushings. Once corrected, my new crankcase breather ensures that I stop sucking oil into the wrong part of the engine as well as eliminate the chronic breather can leak from which older Hondas suffer. Although none of the work would make the car faster, I know it will keep going for years to come.
Read about the continuing adventure in the next installment of Project Civic!