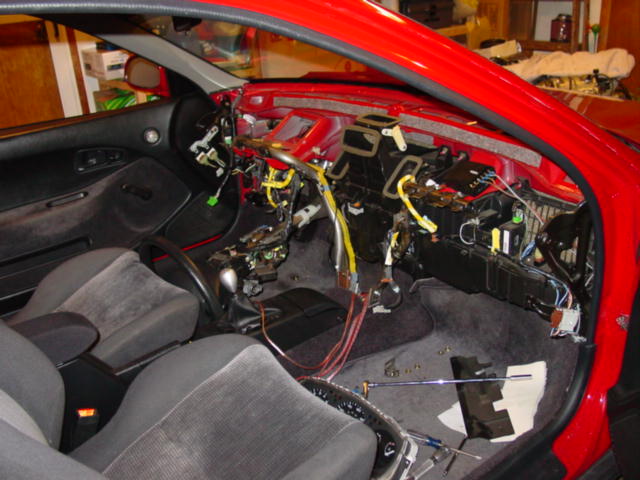
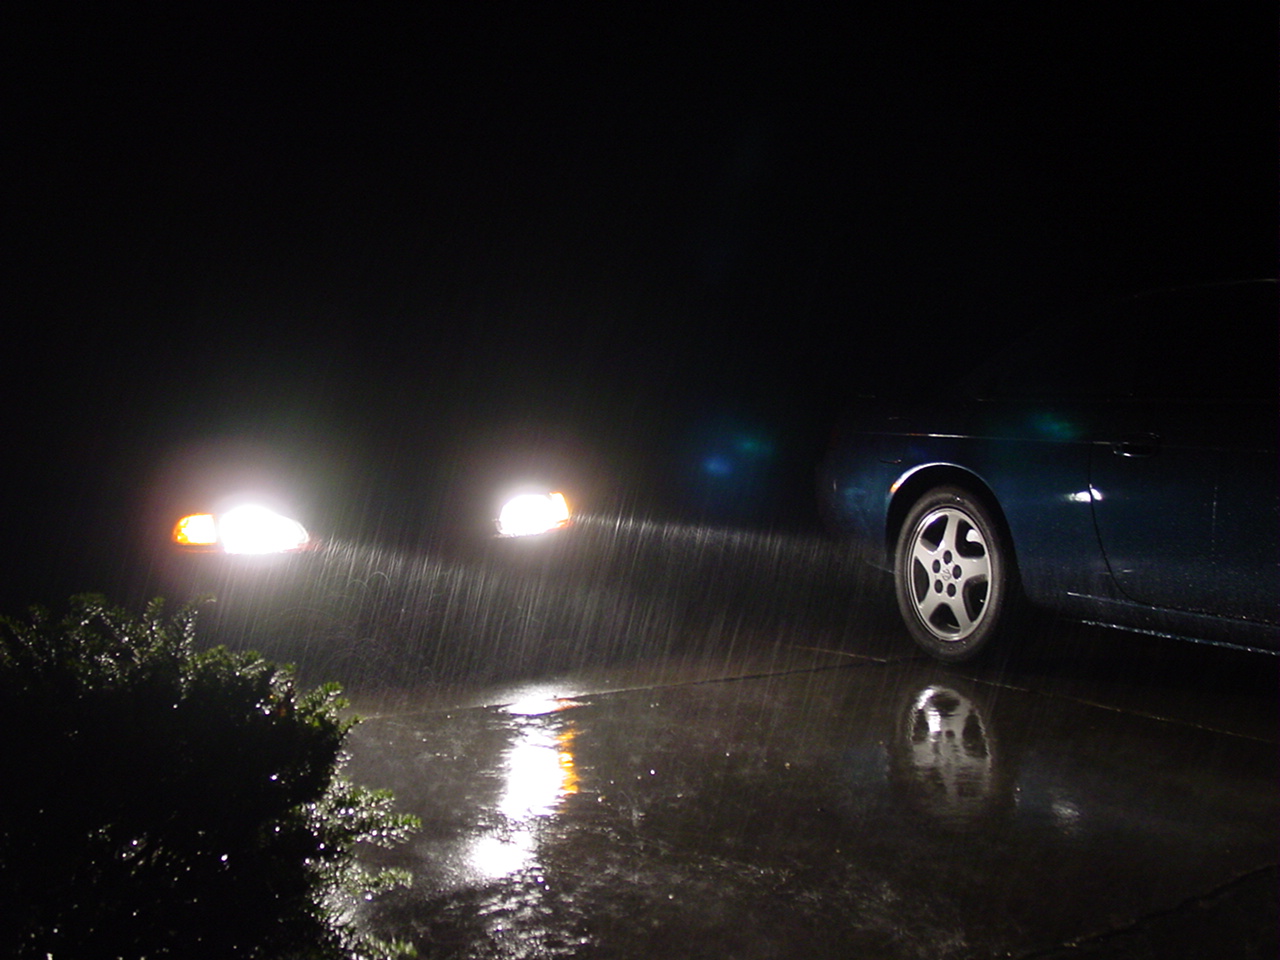
This installment of Project Civic covers the major upgrades that came after the initial clean-up, general repairs and minor upgrades I discussed in the project introduction. For the most part, this car became the continuation of the work I had planned for my coupe. The engine swap and brake upgrade were carried over from the coupe allowing me to essentially start where I left off on the last car. Swapping the dashboard, steering wheel and steering rack were in the works prior to the accident. I even had some of the parts on hand.
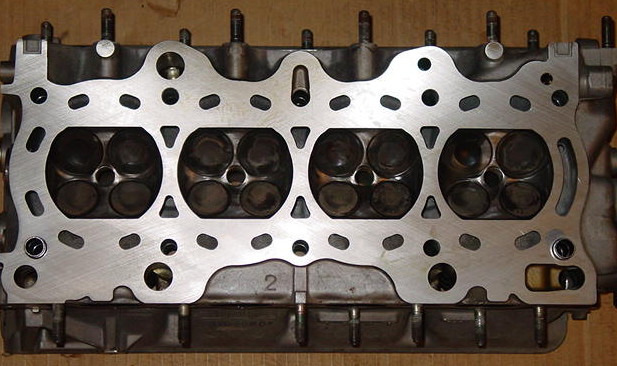
Although the engine from my coupe was damaged, internally it made it through the accident with no issues. I elected to removed the head and have a machine shop inspect and clean it for peace of mind.
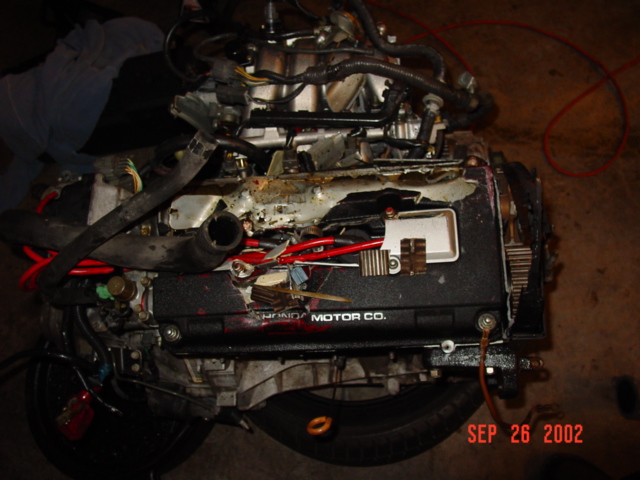
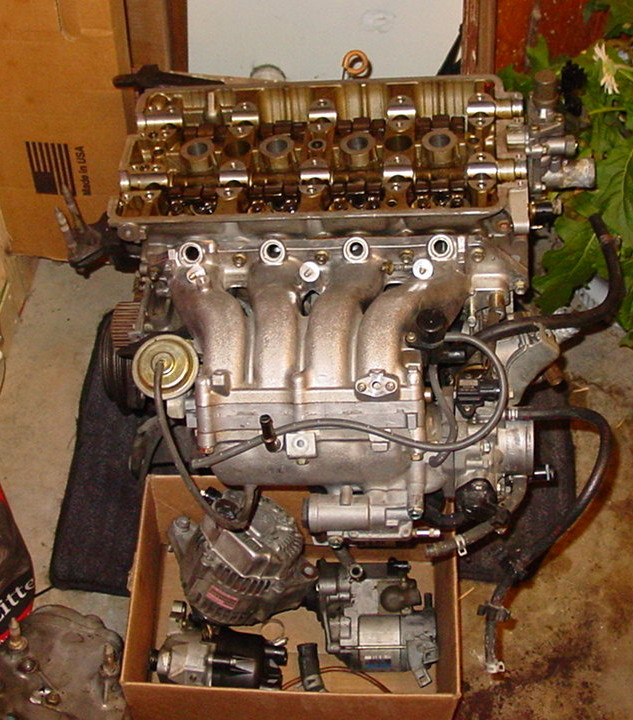
As I dismantled the engine, I took inventory of the damaged parts and decided what needed to be replaced or what could be repaired. The valve cover and some of the valvetrain components were scrap along with the intake manifold. The wiring harness was damaged but repairable. The mounting point on the transmission, for the rear engine/transmission mount, was destroyed.
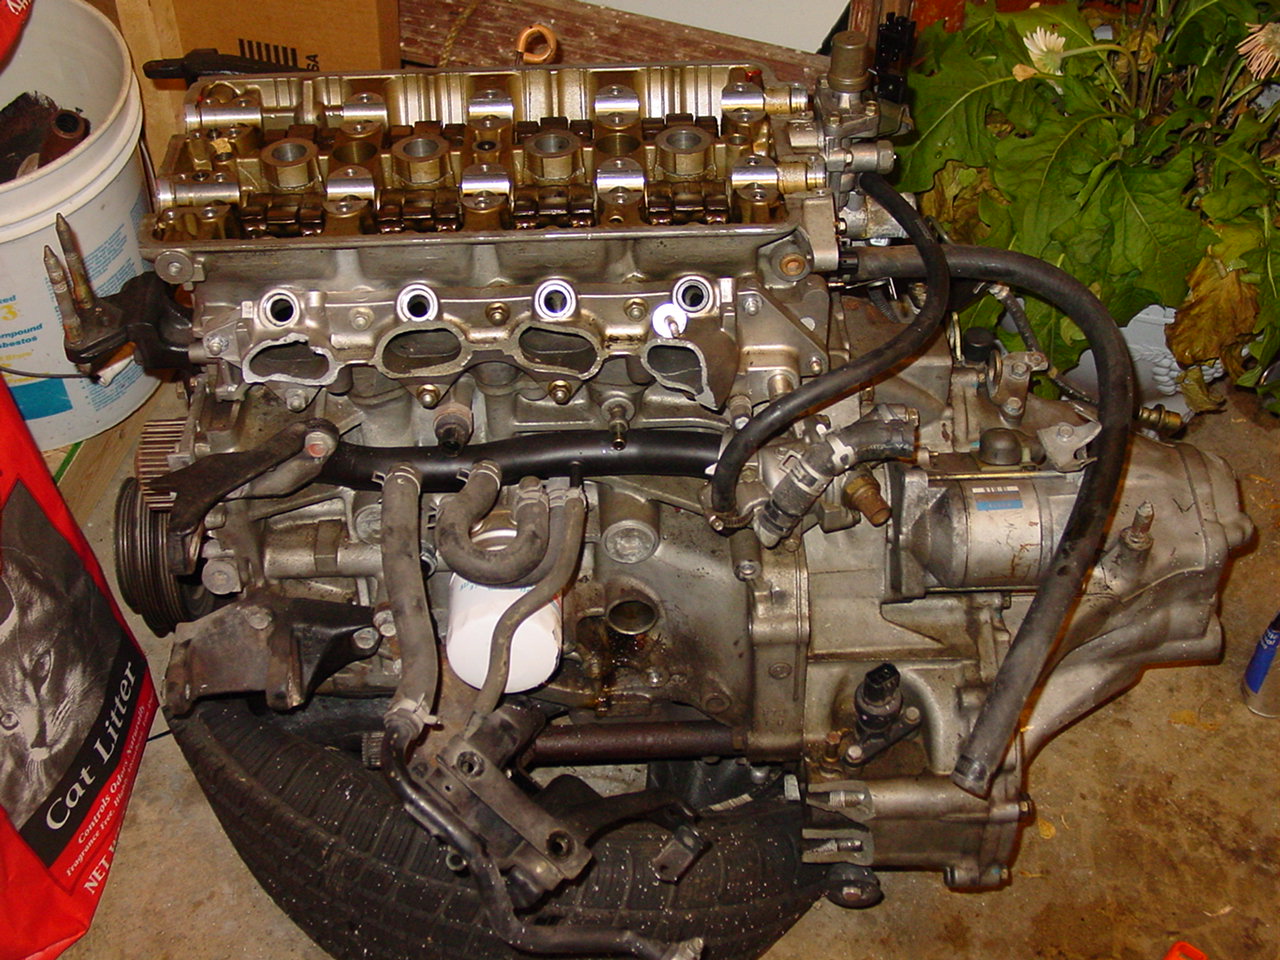
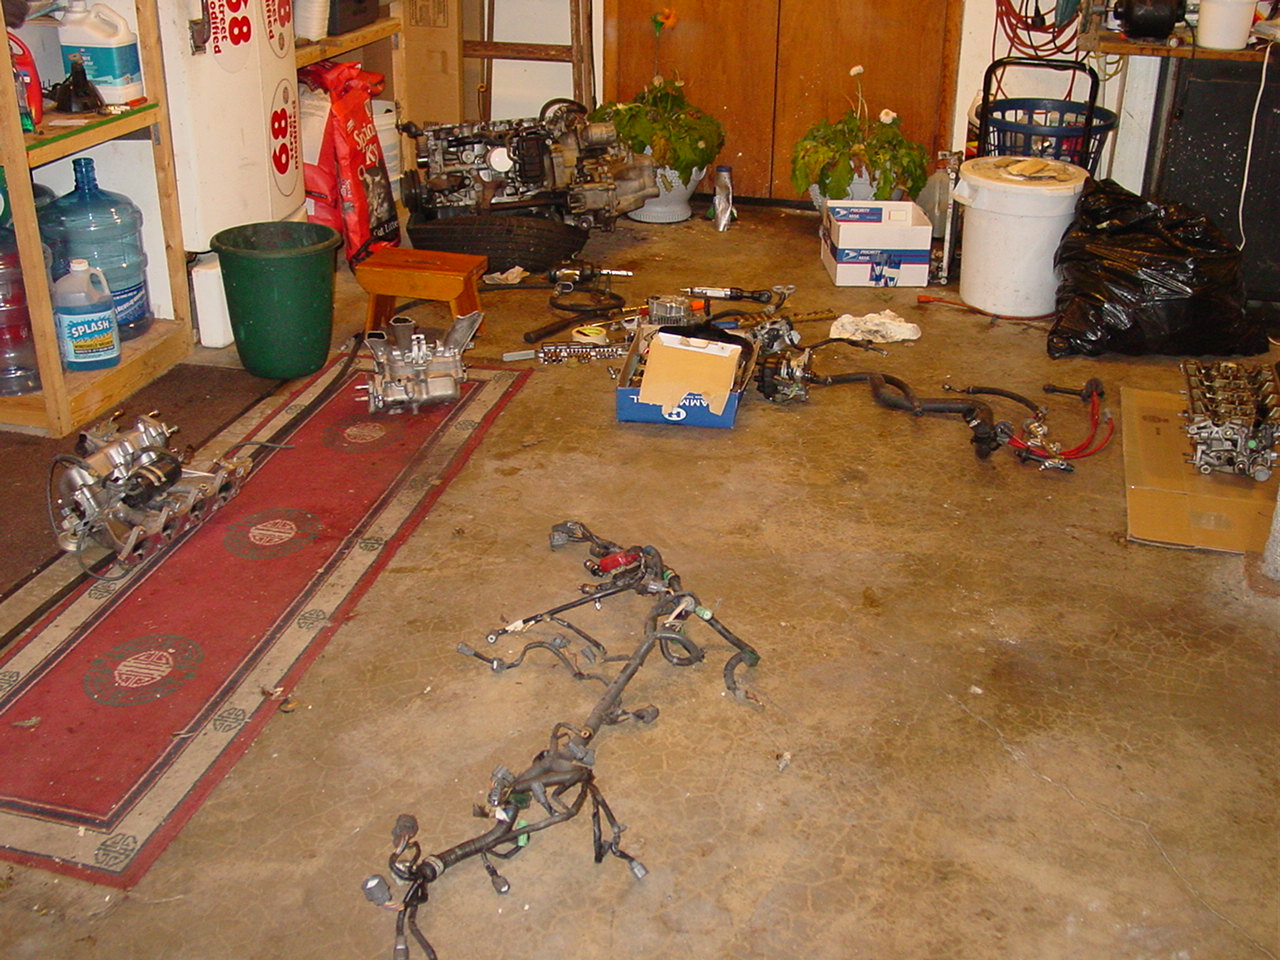
A close friend of mine had the valvetrain components I needed to get the head back in working order. I ended up buying a brand new case half to fix the transmission. The only other part I needed was a complete intake manifold which I bought through a used Honda parts shop.
Once everything was apart, I took the transmission to a local shop to have it rebuilt with the new case half. The cylinder head was inspected and cleaned by a local machine shop. Once the head was given a clean bill of health, I started reassembling the engine.
As the parts started rolling in, I assembled the engine. Slowly, it started to resemble a complete working engine! I also decided that I had had enough with ACT’s clutch. The Extreme pressure plate and heavy duty disk were too much especially on a stock engine. I decided to give the Clutchmasters Stage 1 clutch a try. Click here for my thoughts on clutches.

While I was sourcing parts to reassemble the engine, I also included a few additional projects that could be completed at the same time. I chose to swap out the steering rack and brake MC since they were going to be significantly easier to accomplish with the engine out of the way. Why would I want to swap out the rack? The stock Civic Si steering rack is a powered unit with a mediocre steering ratio. The rack from a 3rd gen Integra is a much faster and well worth the effort.
Click here for the steering rack swap write-up.

The brake master cylinder swap is another inexpensive and worthwhile upgrade. I had the 1″ Integra master cylinder in my coupe and knew how much it improved brake feel. I ordered another booster and master cylinder along with the steering rack. The installation is straight forward especially if you have an ABS equipped Civic.
Click here for the brake master cylinder swap write-up.
Once the steering rack and brake booster were installed, it was time to drop in my B18C1. My transmission was built, picked up and bolted to the engine. Other than a few small issues, the installation went smoothly. I also picked up an Integra GSR AEM intake and modified it to fit in the Civic. Within a couple of days, I was back on the road!

Sub Frame Dilemma
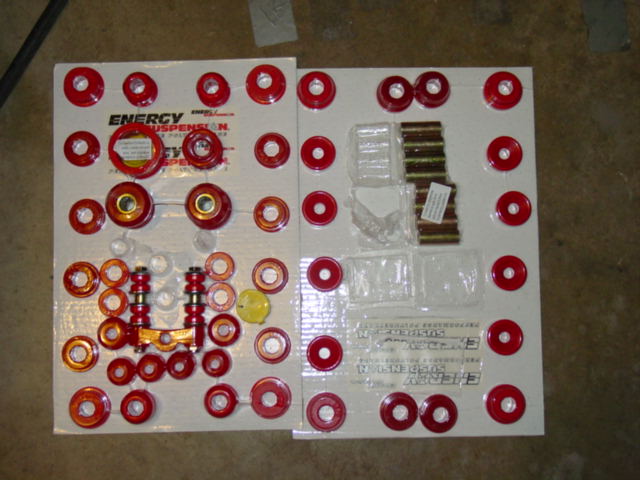
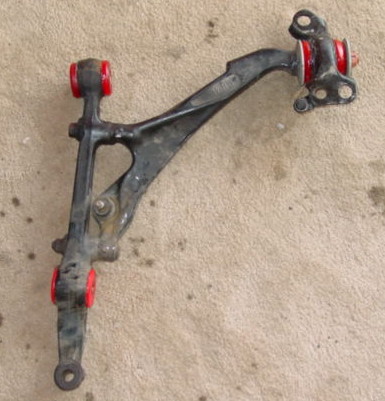
Shortly after I bough the Civic, I discovered a strange handling issue. It would pull hard in one direction while on the gas then jerk back off the gas. It wasn’t torque steer, but I couldn’t figure out what it was. The problem was rather unnerving. I took the time to install Energy Suspension’s bushing kit up front (the rears were installed later) Sadly, the bushings didn’t solve the problem.
I did discover that the bushings made a tremendous difference in road feel. I was expecting a harsh ride but instead, gained a more comfortable ride. Rather than experiencing a vibration, caused by the soft bushings, the components do their job quickly and efficiently with no negative effects.
One day, while doing some spirited driving, I was braking heavily heading down a bumpy hill. I heard a massive pop up front! My steering was completely erratic. Once I made it back home, I quickly discovered that my right front lower control arm mount, in the sub frame, was broken.
With a new sub frame and a fresh alignment, the Civic felt rock solid.
Steering Wheel Swap
Shortly before the engine swap I started the the steering wheel swap. It was a project I was preparing to do in my coupe. After I installed the Momo steering wheel in my 240SX, I knew I needed the same performance advantage in my Civic. Not only does the new wheel freshen the look of the interior, the lighter and smaller wheel provides much better feedback. The first part of the process was swapping the dash to a ’92-’93 dash that didn’t have a passenger side airbag.
The last step in the swap was modifying the wiring to retain the cruise control and horn functionality.
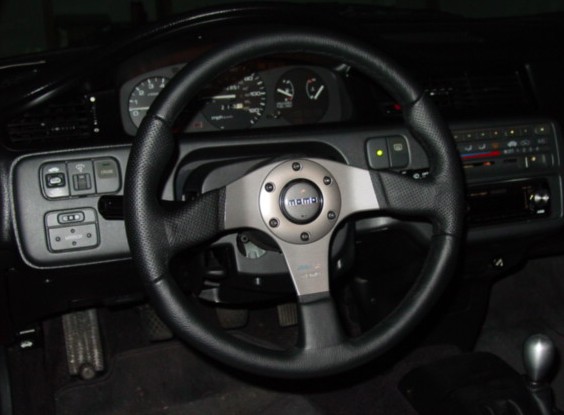
Click here for the steering wheel swap write-up.
Recaro Seat
A friend of mine was selling his Recaro racing seat and I jumped on the opportunity. It had all of the necessary hardware to mount it in a Civic. After I did a couple of adjustments and acclimated to the shape of the seat, I was hooked! The extra support is phenomenal giving me the confidence that I never expected.
Since the EM Si wheels were used for snow tires, I needed another set for summer tires. The same friend selling the Recaro seat was selling a set of Rota Sub Zero wheels.
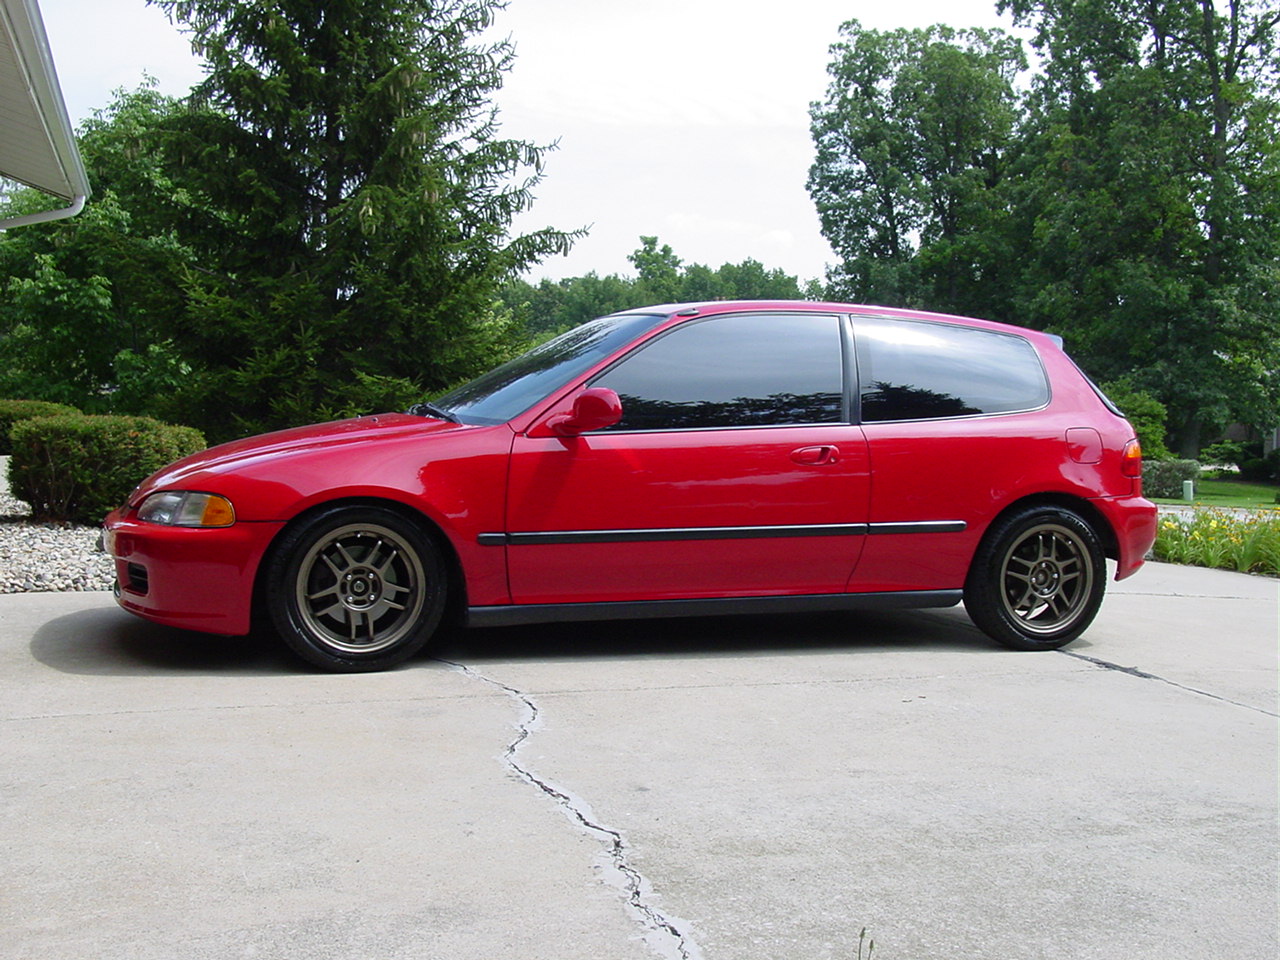
Within the span of a year, I was able find a replacement for my coupe, rebuild the engine that mostly survived the accident, perform the engine swap among many other projects. I recreated the my first car and made something even better. The next installment of Project Civic covers an engine mishap that lead to the hot rod engine build.
Read more about Project Civic here
