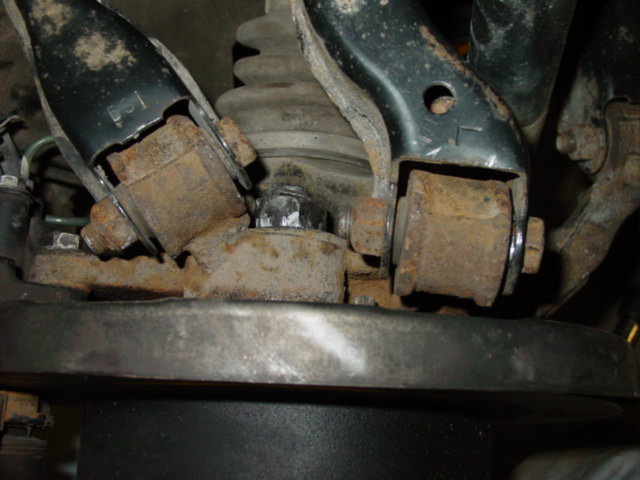
The rear brake swap is not impossible, but it can be difficult. I wouldn’t try it unless you have some decent experience under your belt. The reason for this “disclaimer” is that it requires nearly the complete disassembly of the rear suspension. Some believe that this swap isn’t necessary to complete an effective brake upgrade on the 240SX, but I wanted to go all out as well as have a complete swap to write this series!
Parts Necessary
- non-turbo Z32 e-brake/splash shield setup
- non-turbo Z32 hub/bearing
- calipers
- rotors
- R33 skyline GT-S e-brake cables (swap here)
- SPL Parts or PDM Racing SS brake lines
Tools Necessary
- Jack, Jack stands and Wheel Chocks
- Metric Sockets and Wrenches
- Flare Wrench (optional but handy)
- 12 mm x 1.25 pitch tap
Some people have been able to utilize the aluminum 300ZX upright, but it requires shocks with the correct lower mount. (SCC used JIC’s shocks with the aluminum uprights)
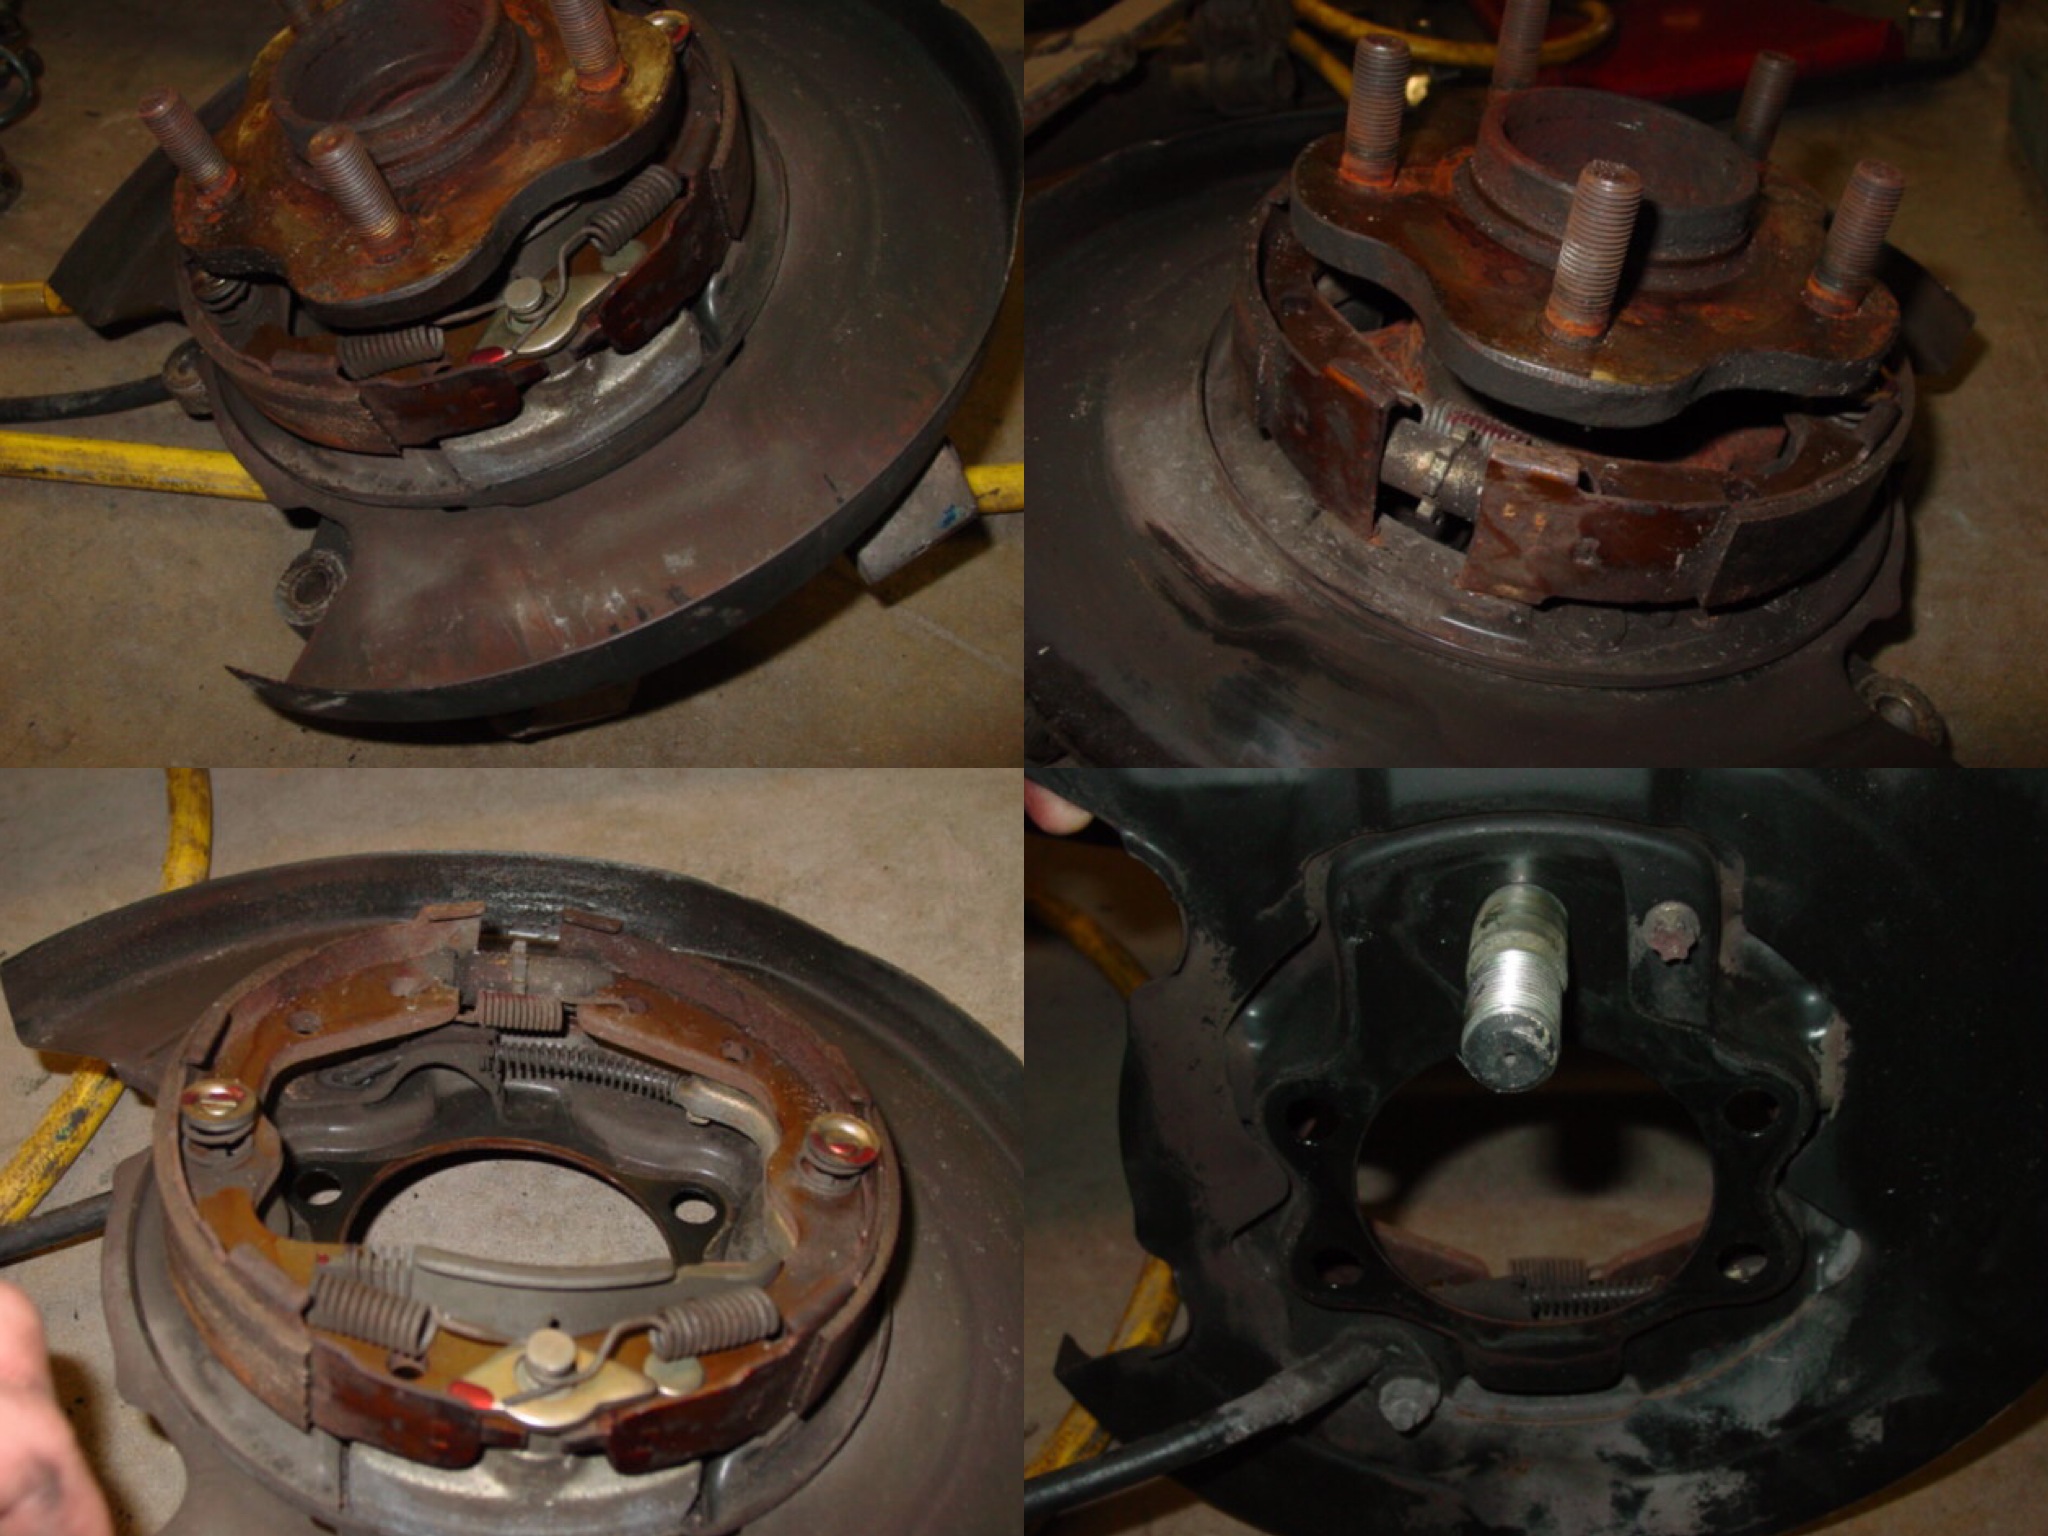
I’ve talked to many people regarding turbo vs non-turbo rear parts. Calipers and rotors are the same, however the e-brake hardware and hubs are different. The only year the hub was separate from the e-brake hardware was the non-turbo 1990. After that, the hub has the stud for the e-brake built in. In that case, you need to make sure to find non turbo hardware in order to get the correct axle splines. I always recommend, if possible, try to source all the parts from the same car. This will simplify parts compatibility.
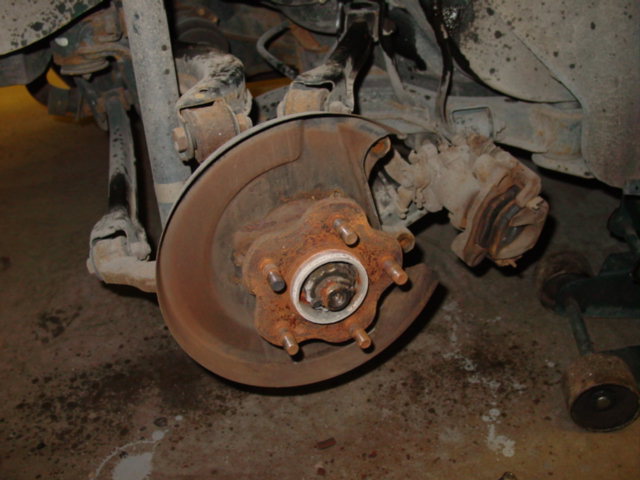
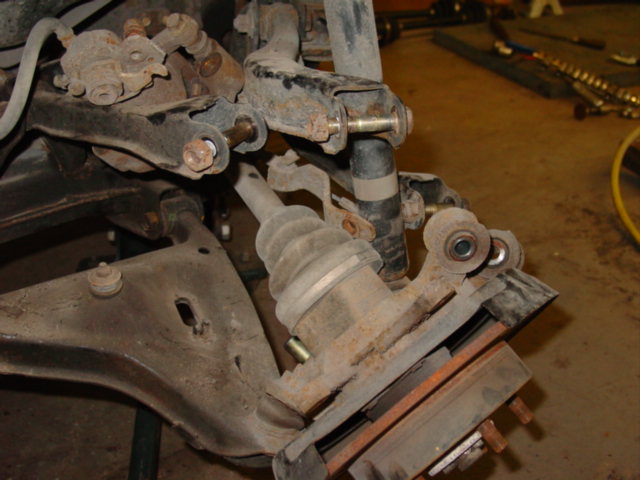
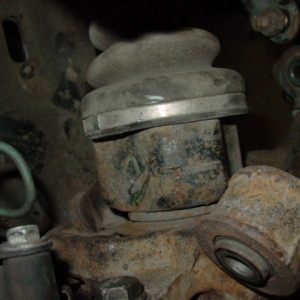
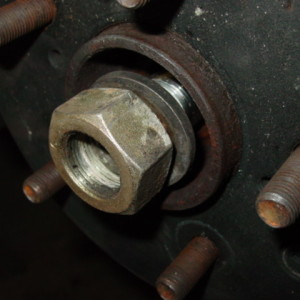
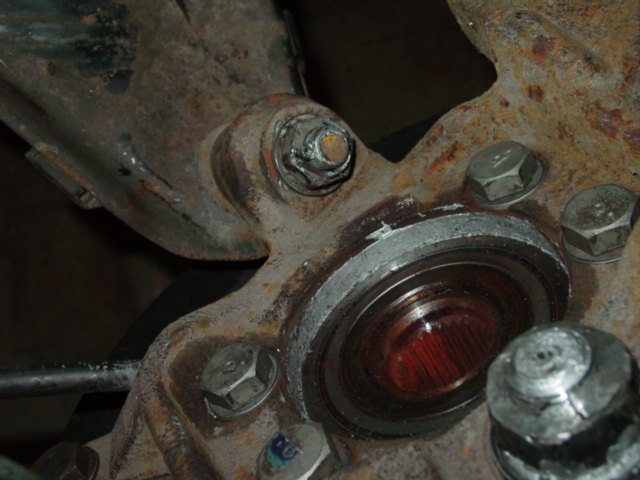

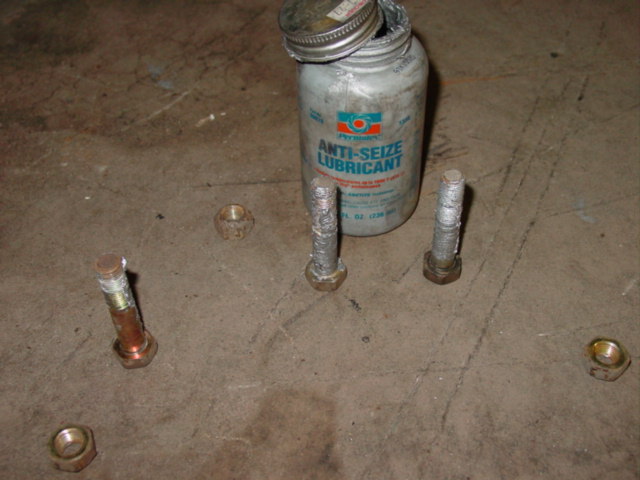
As you will see, there is a large hole in the original knuckle. This hole is used by the e-brake/backing plate hardware. The chances of this working smoothly are pretty slim. The hole has probably corroded over time and needs to be cleaned. A dremel tool with a grinding bit should do the trick. If this doesn’t work then you can use the big nut and an impact gun to act as a press. Make sure the holes are lined up properly. If you get them off center, the rest of the hardware will not bolt on properly and it’s very difficult to pull apart. Alignment is much easier if you place the hub/bearing assembly in the middle and slowly thread it’s bolts in while you tighten the large nut for the e-brake hardware. Make sure all of the nuts and bolts are tight.
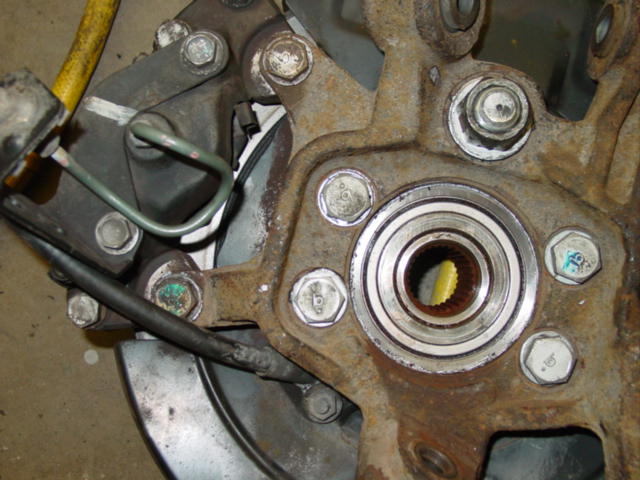
Begin reinstalling the knuckle. First, you will need to pass the e-brake cable through the sub frame (if already installed). Let the cable rest on the sub frame for now. Next, attach the lower ball joint, slide the axel back into the bearing, and reattach the rest of the control arms. With everything in, you can install the rotors and calipers, if you haven’t already done so.
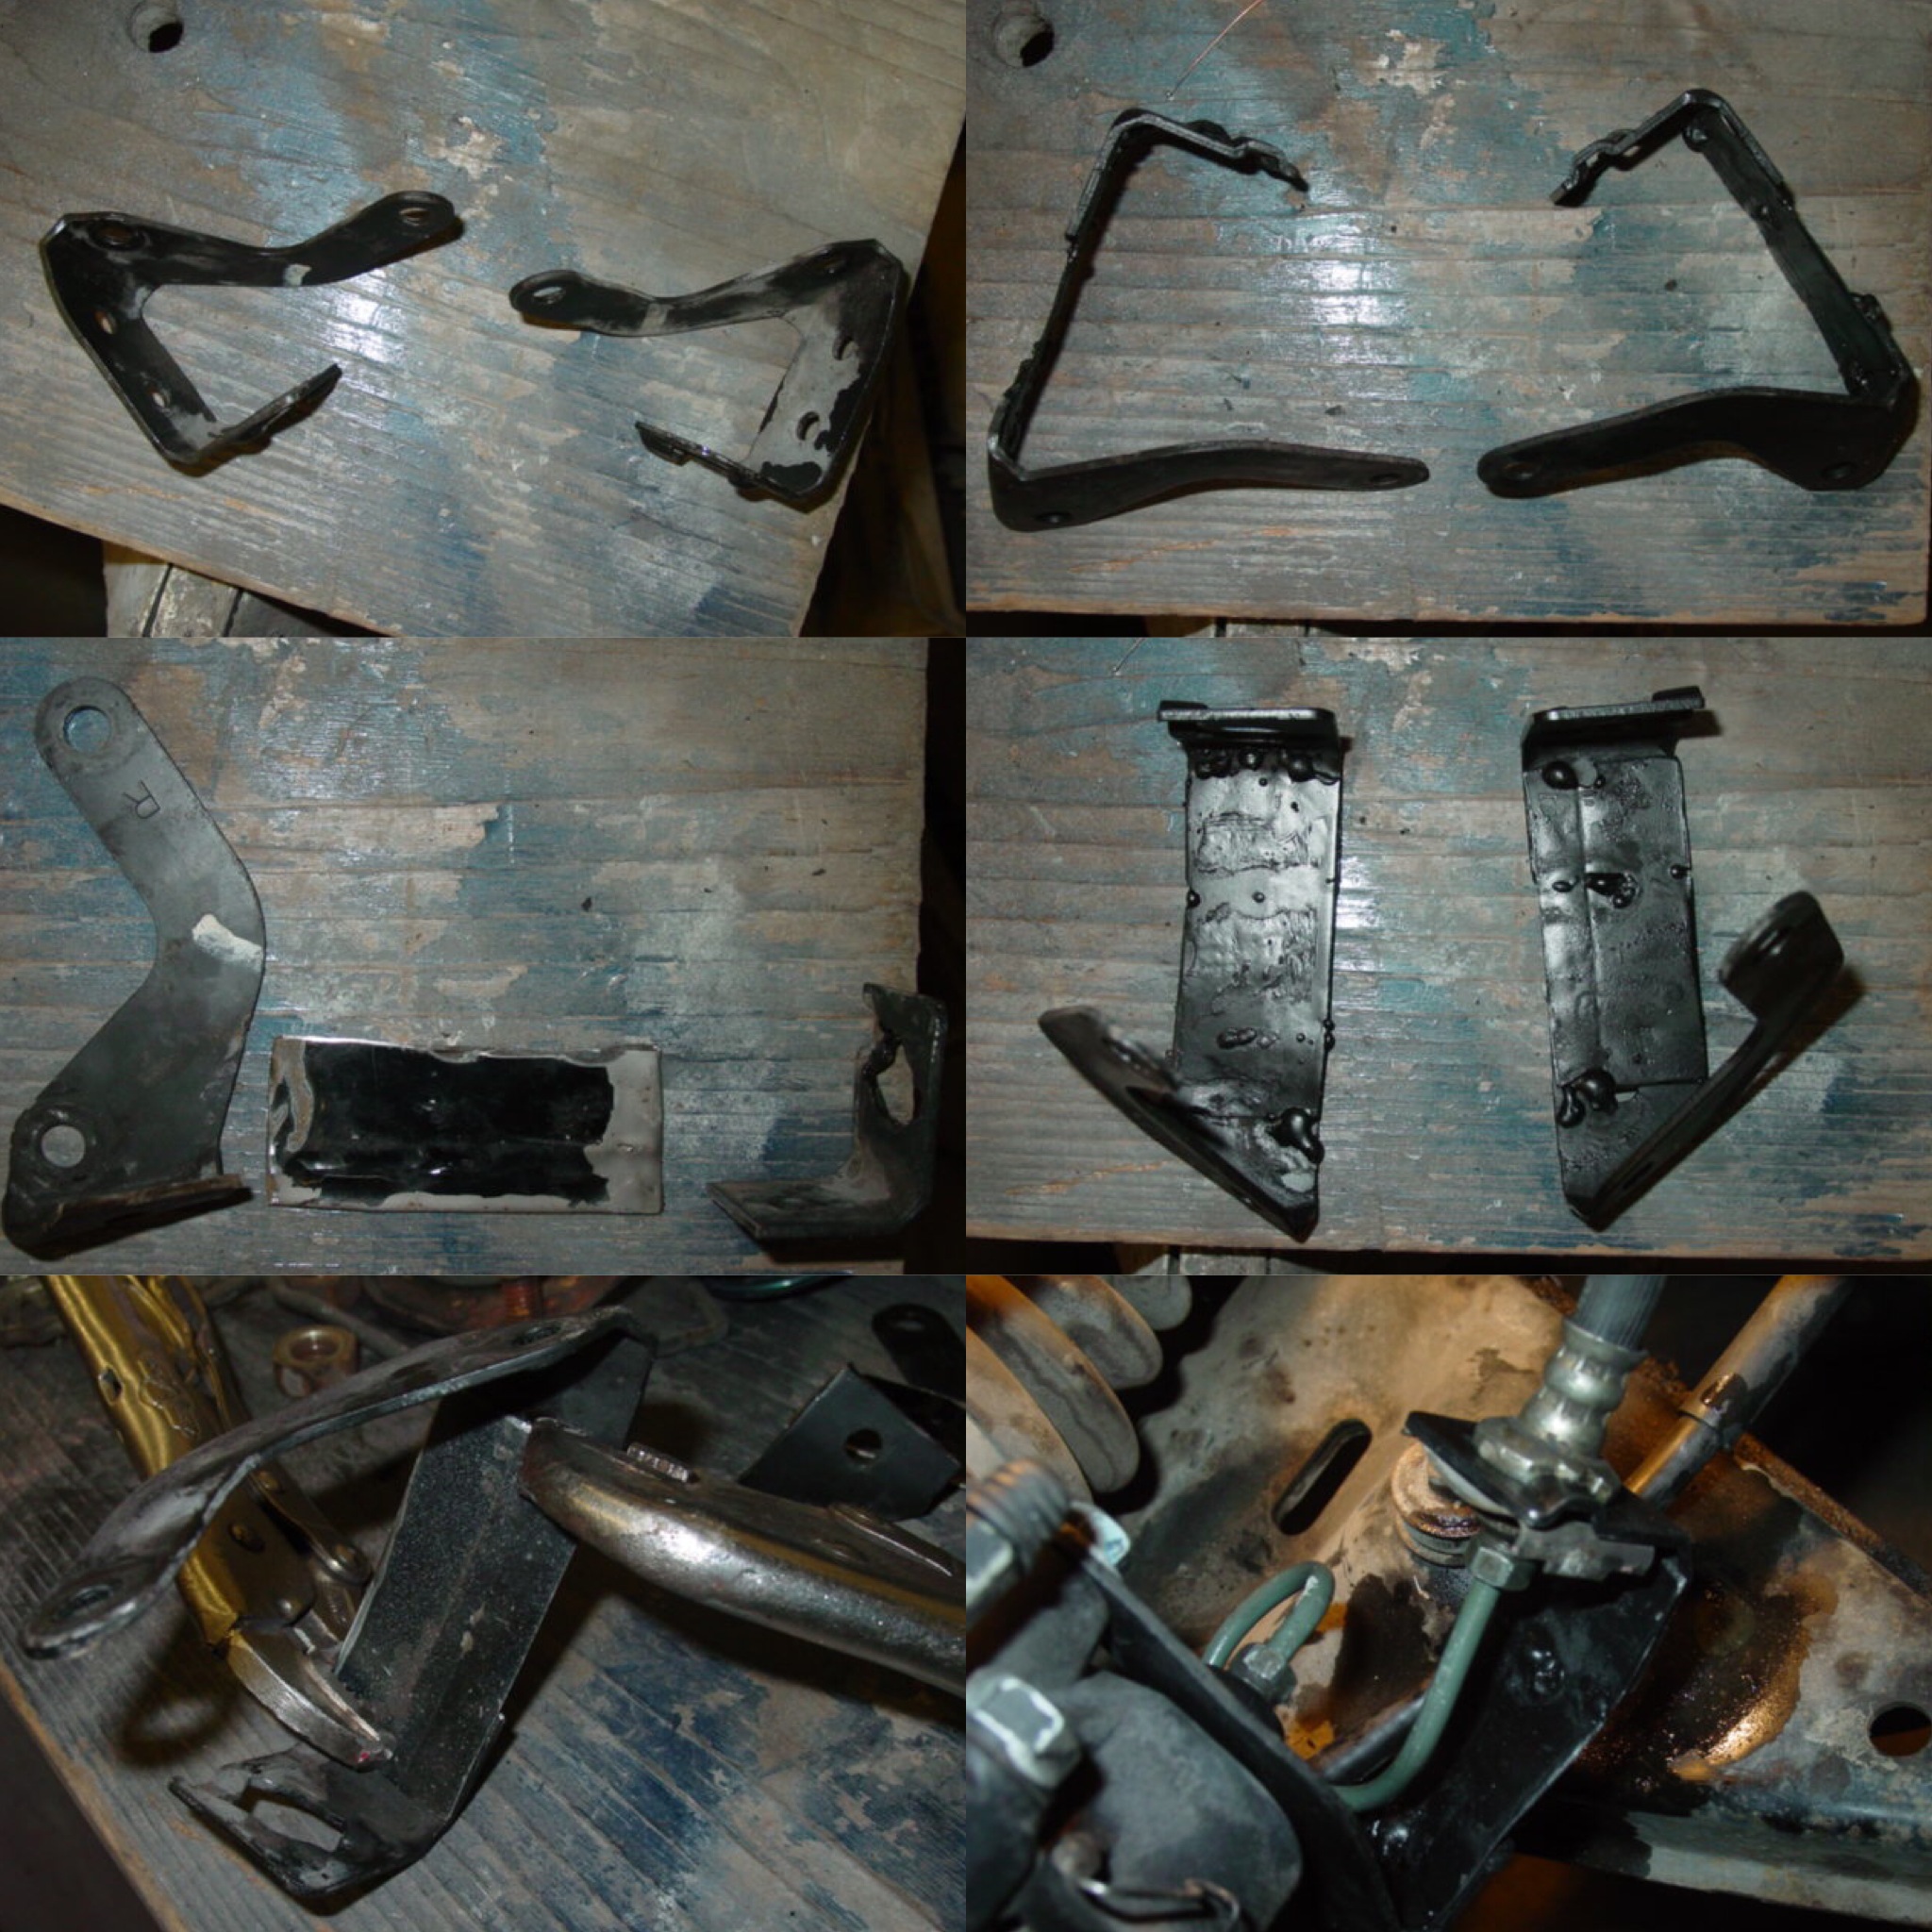
Ideal, alternative setup:
PDM racing and SPL Parts offers rear conversion lines that will be much easier to install and require no fabrication!
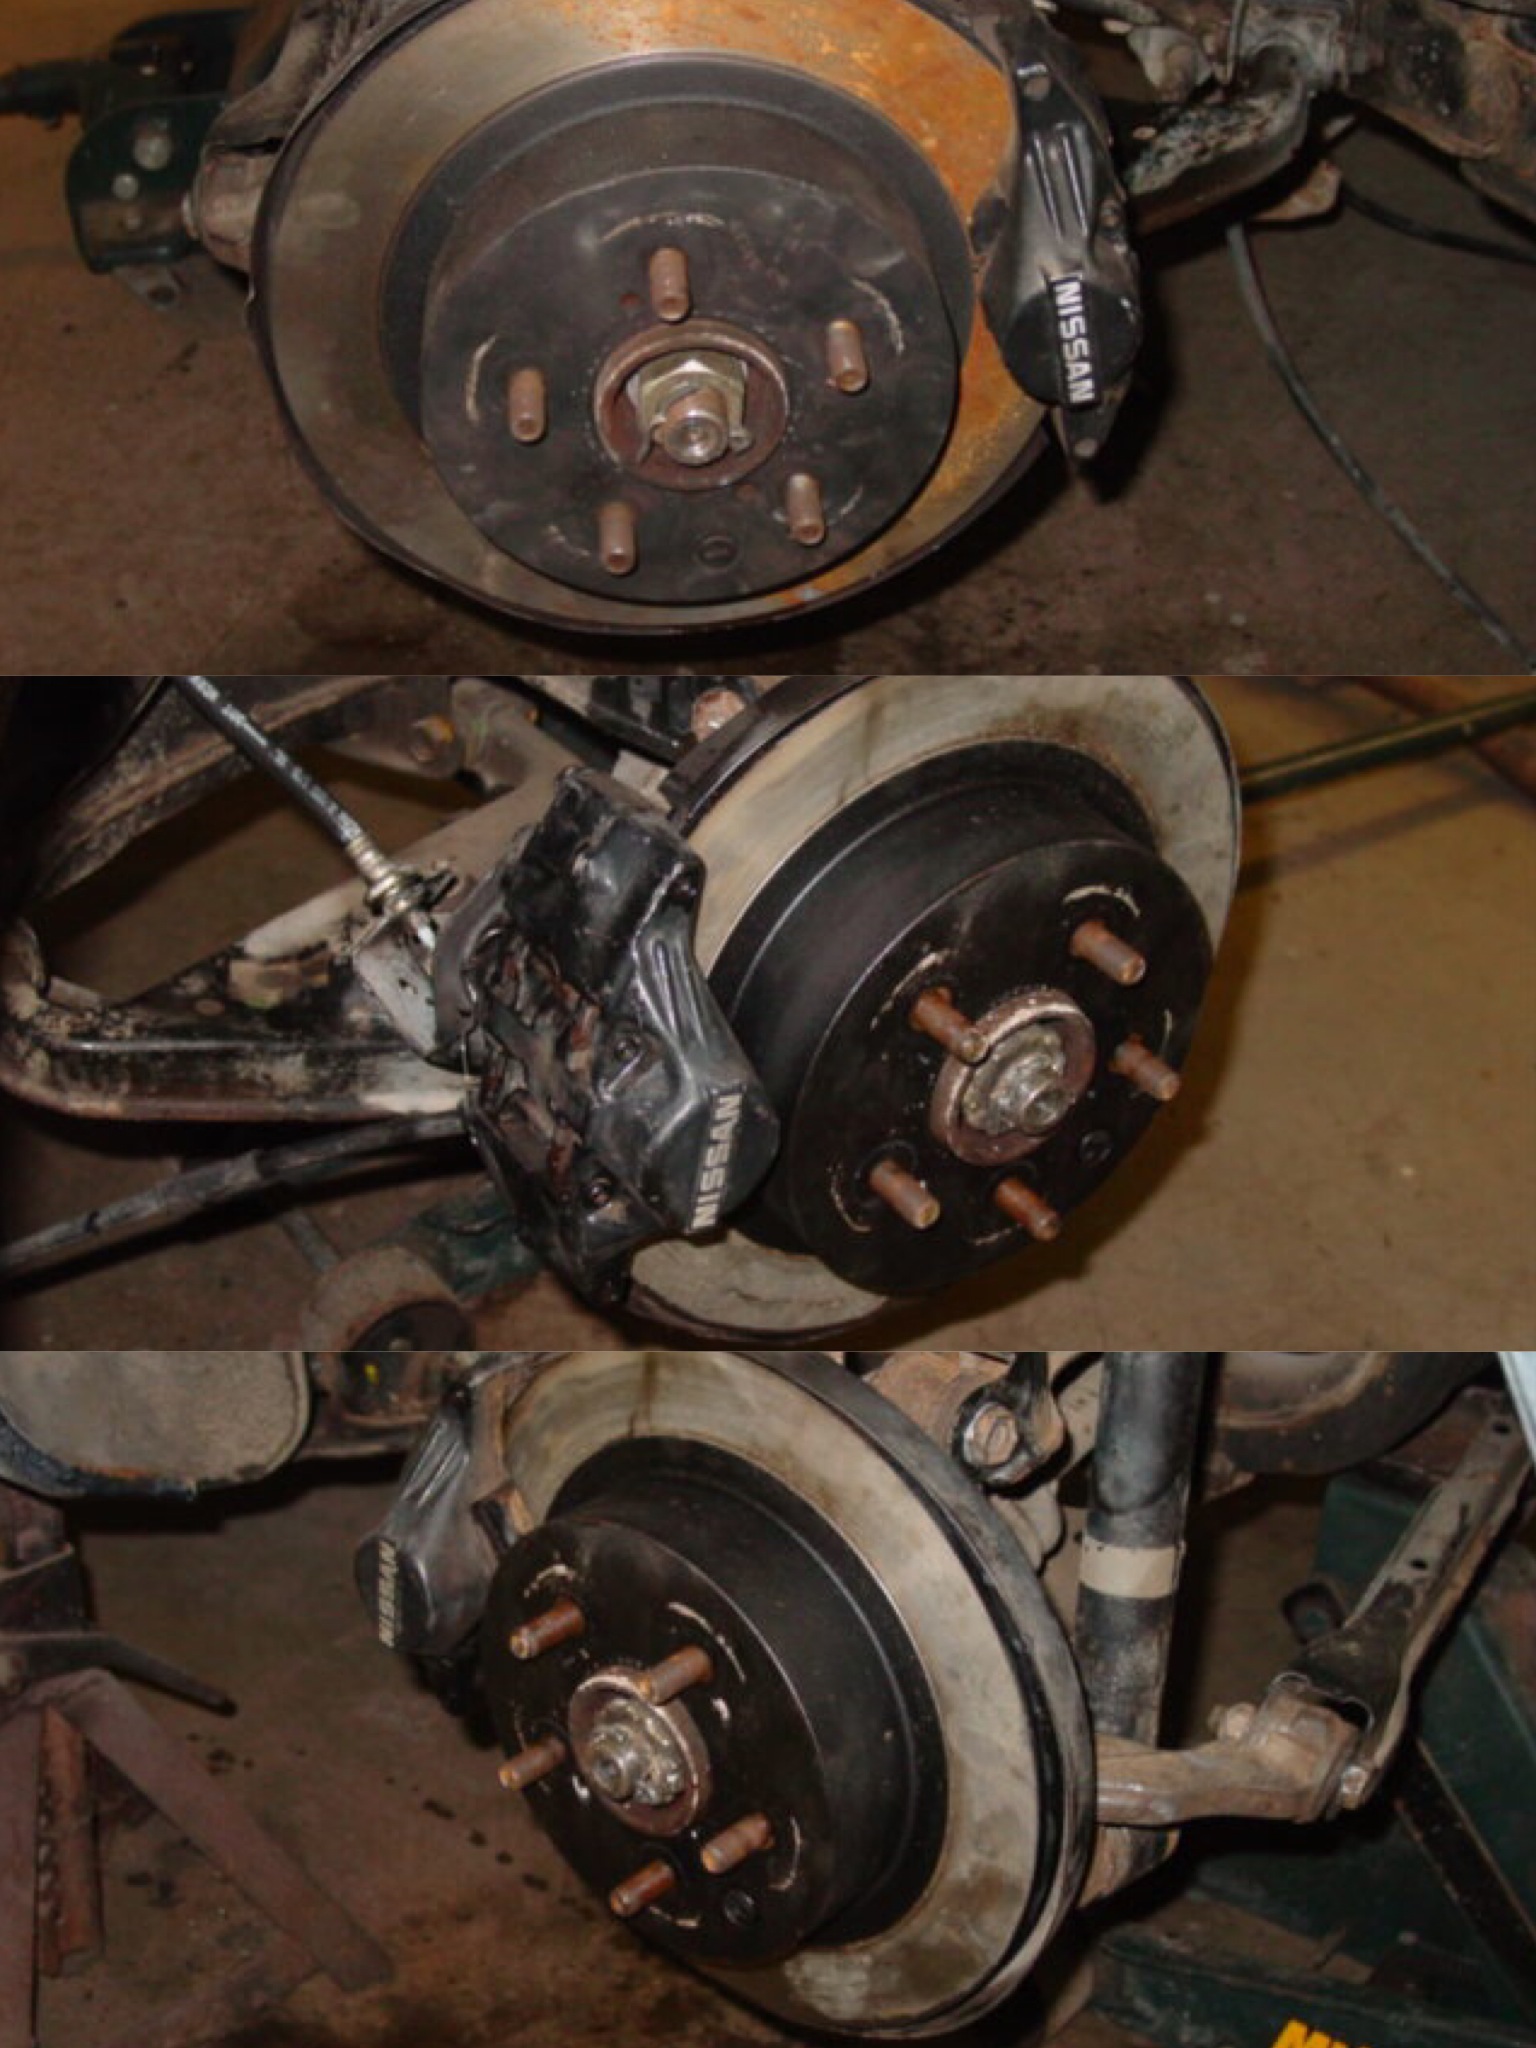
The e-brake cable installation/swap is one of the least straight forward parts of this entire swap and deserves its own page. I cover cable splicing and refer to a few more desirable options.
With all of the brake components bolted in place, bleed the brakes or move on to the Master Cylinder installation. The next sections will cover the e-brake swap and master cylinder swap. Click the link below for the complete series.
The Definitive 300ZX Brake Swap Series
