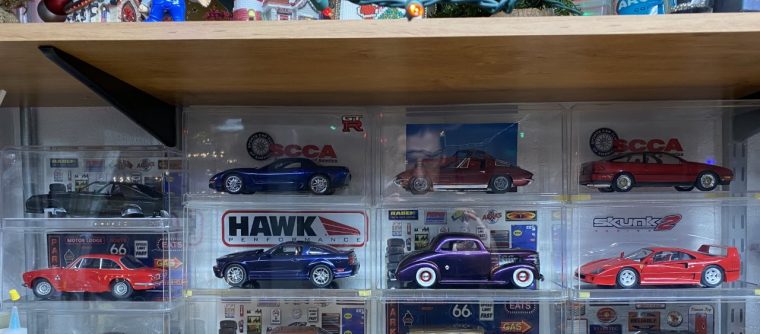
I did it!
Each year, my goal is to finish 5 kits. There was no plan to break my personal best record. Through the year, I simply found more motivation and kept building. After completing model six or seven, I realized I had the chance to break my previous record of ten (back in 2012). Invigorated by the possibility, I kept my focus and made it to ten complete builds last month. While wrapping up builds nine and ten, I picked a project I felt I could comfortably finish before the end of the year and made it happen (I almost thought to shoot for twelve but I needed to get other things done!)
As an added bonus this year, I successfully competed my longest running build, the Ferrari F40 which spanned over twelve years!
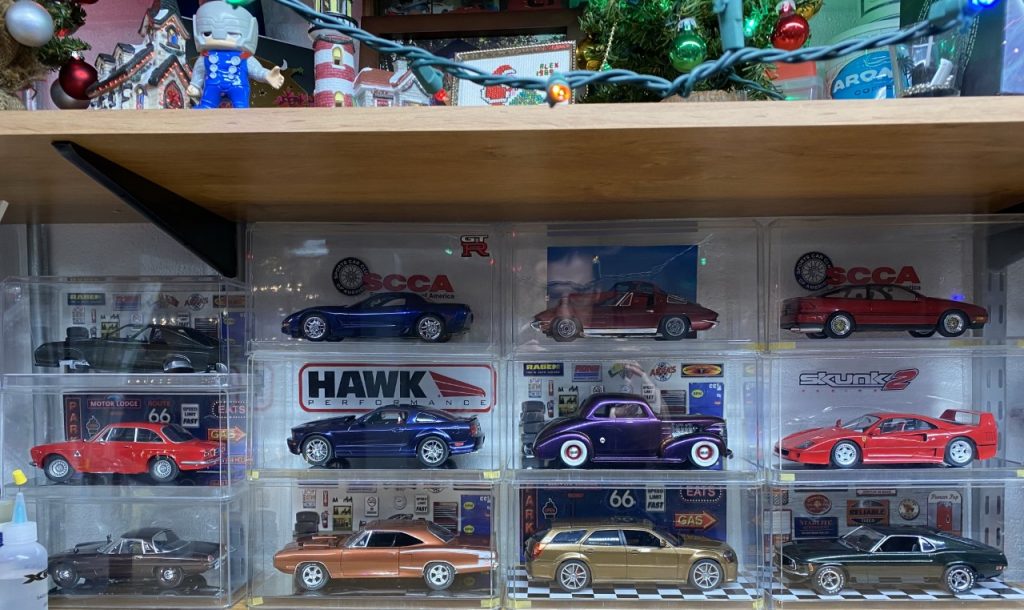
The 2019 List:
- Mazda Cosmo Sport L10B
- 1989 Ford Probe GT
- 1970 Mustang – Rework
- Ferrari F40
- 1939 Chevy – Rework
- 2006 Dodge Magnum
- 1963 Corvette
- Alfa Romeo Giulia Sport GTA
- 1970 Dodge Superbee
- 2006 Mustang GT – Rescue
- 2004 Corvette Z06
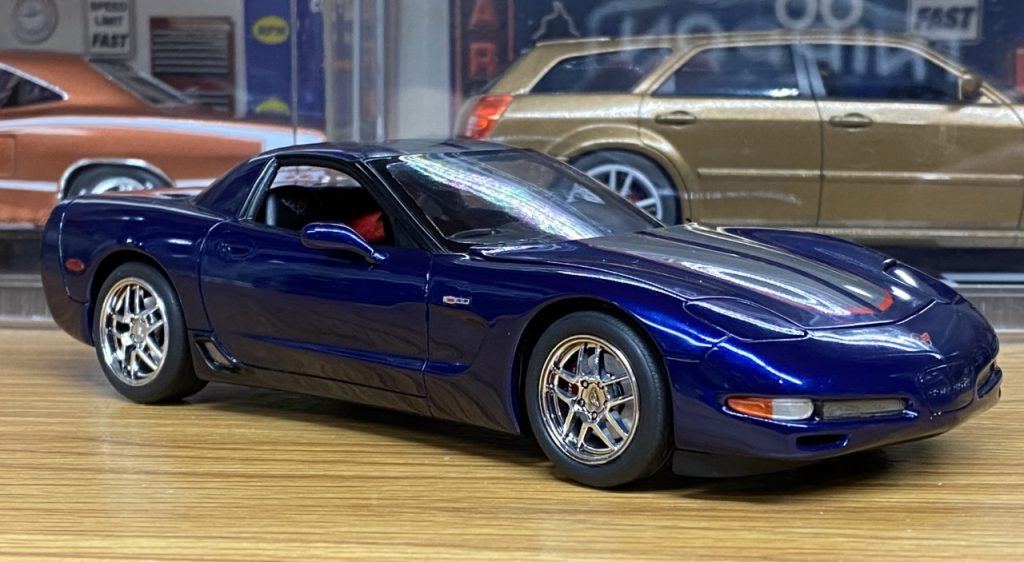
2004 C5 Z06
The race to my self imposed finish line of completing eleven builds was accomplished with this build. Earlier this year, I started this build by assembling the engine and seats; parts that needed seam filling. I also finished the majority of the body prep by scribing panel lines and filling sink marks. In my attempt at avoiding distractions, I set it aside to focus on other builds.
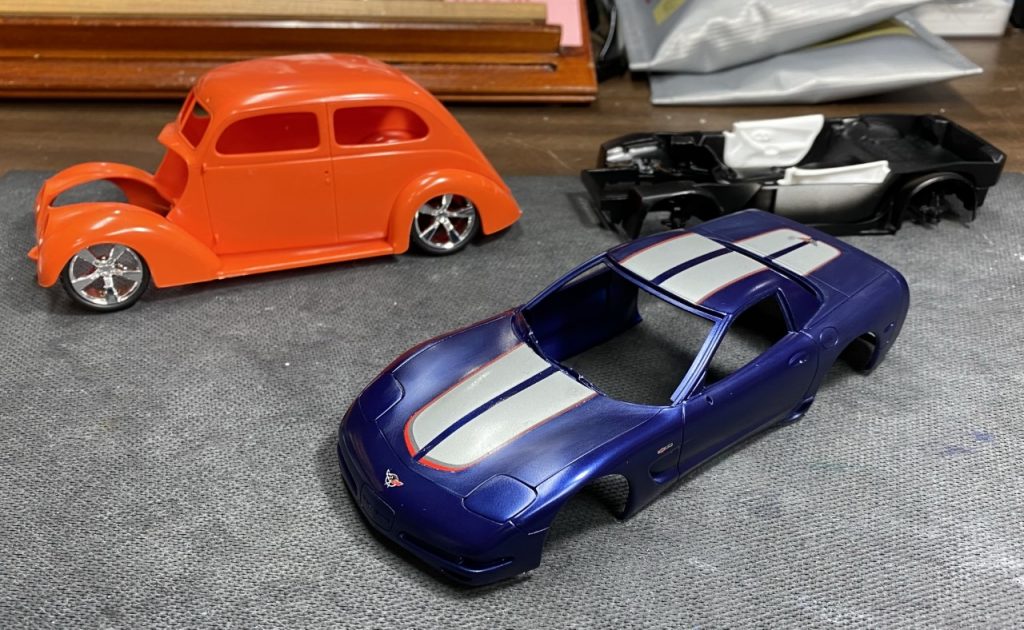
As I was nearing the end of build 8, 9 and 10, in mid November, I wanted to pick a kit that I knew I could comfortably finish by the end of the year. This Corvette would do the trick! With the work well on its way, and the fact that it is fundamentally an easy build (no plug wires or bare metal foil trim), I pulled it out after build ten was complete and continued the work. During November, I finished the last of the body work and sprayed color.
Flipping the calendar to December, I applied the large Commemorative Edition decals. Setting solution and heat allowed them to lay flat however I had problems with the silver sections losing small flakes. I thought I could ignore it and moved onto clear. After the first coat, I knew I had to fix the problem. This started a snowball of mistakes that almost led to a full strip and repaint. I managed to avoid that with a few minor corrections and plenty of masking and spraying.
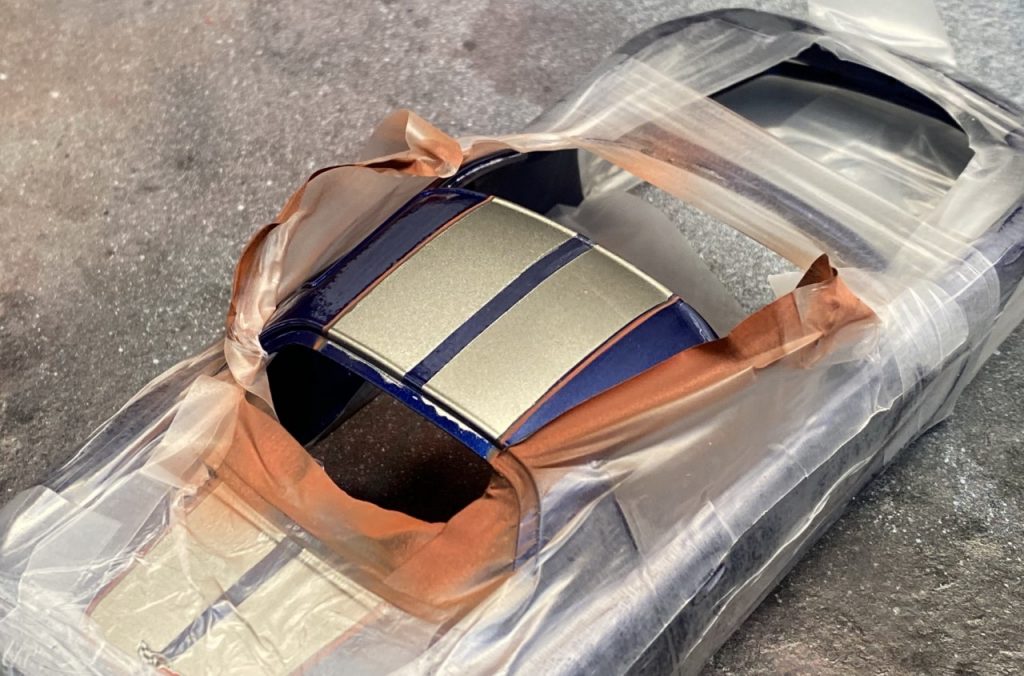
Having corrected the decal debacle, I finished spraying clear.
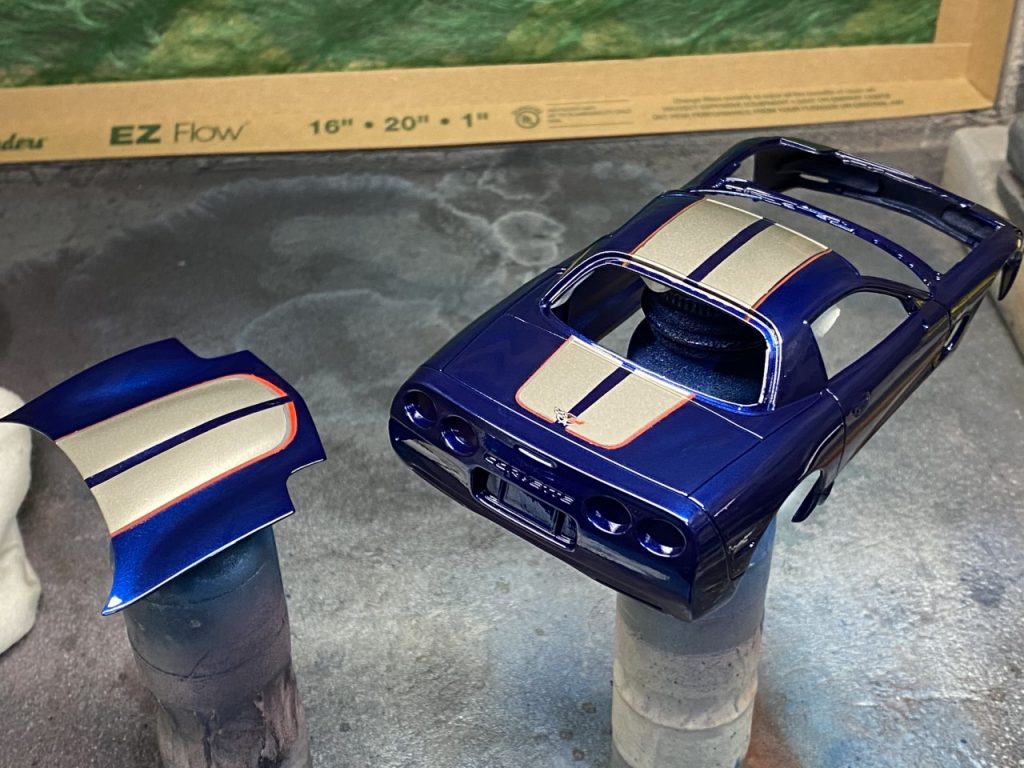
Once the clear was sprayed, I started working on the rest of the parts.
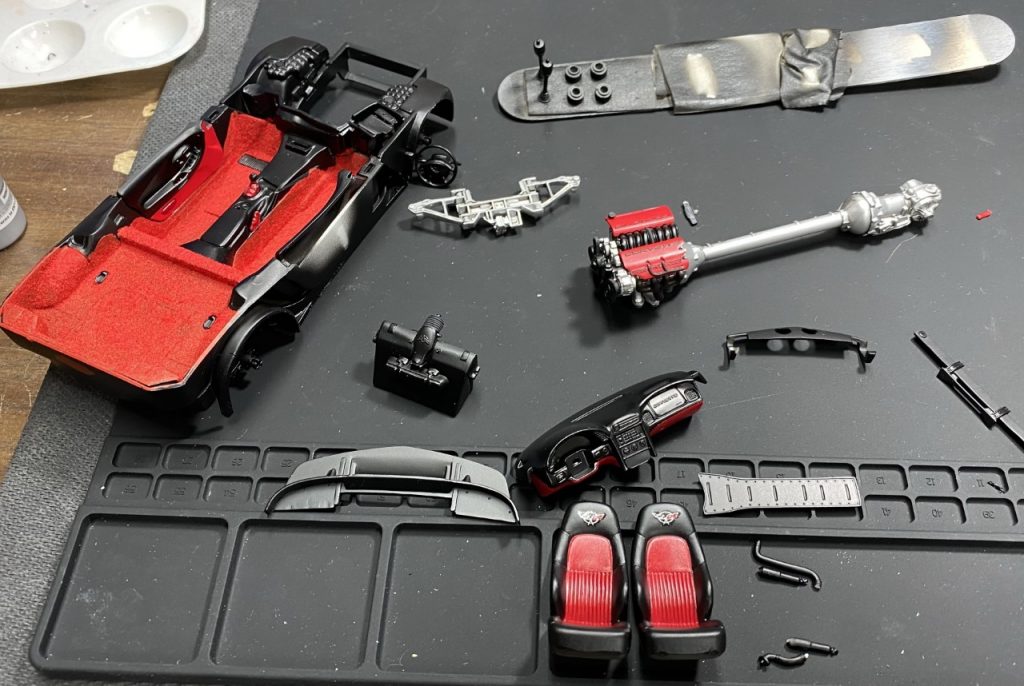
As I started to assemble all of the parts, I discovered there are many fitment issues with this kit. I’ll cover the details in the build write-up. Lets just say I’ve built better. The problems I experienced are frustrating considering how well the body is molded. From the outside, it looks like a well designed kit. Assembly pain aside, this build turned out great! The Scale Finishes Chevrolet LeMans Blue, decals and clear coat look amazing!
Other Notes
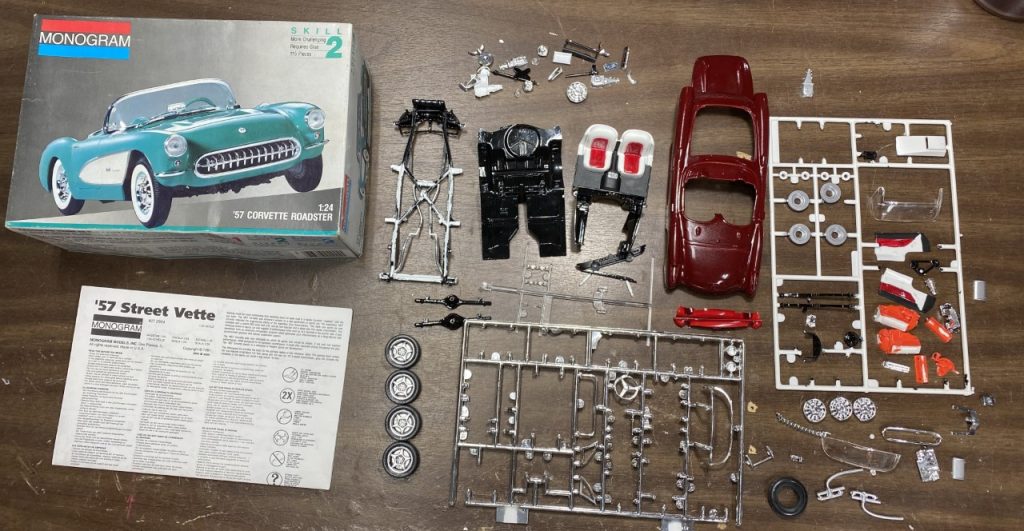
Constant distractions…I mentioned last month that I picked up a few “junk yard” eBay listings. My need to rescue forgotten models has been on my mind lately. The 57 Corvette, which was part of a lot of several other models, was one of the more optimistic kits as far as completeness is concerned. Using the instructions as a reference, I sorted the lose parts and found that I had everything but the wheels. I can work with that! Maybe I’ll use “steel” wheels to give it an incomplete look. Another option is the C4 Vette wheels I set up in the picture below.
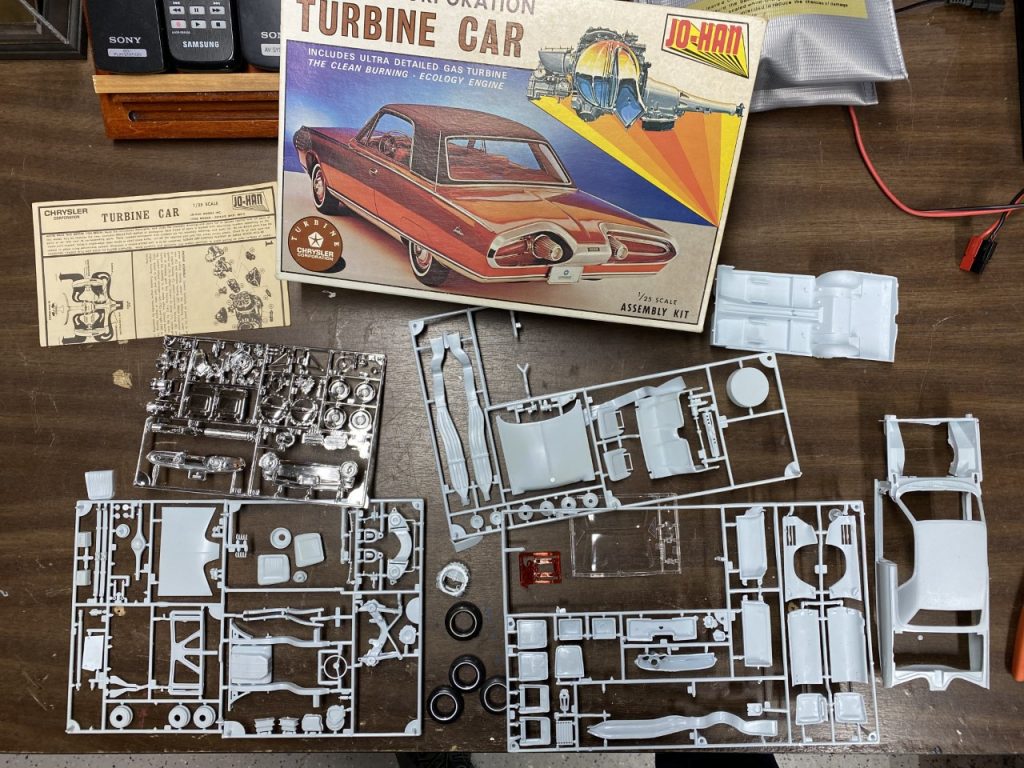
I wanted to buy a Jo-Han kit and heard about the Turbine car kit and managed to find one on eBay for a decent price. Looking over the heavily flashed parts and the really bad instructions, I am anxious to build this complex kit!
Another great find is this ’37 Ford. I picked it up for a song even including shipping. Again, it is missing its wheels which is all right by me since they were hideous! I mocked it with a set of the concept Camaro chrome wheels. Yes, this will be perfect!
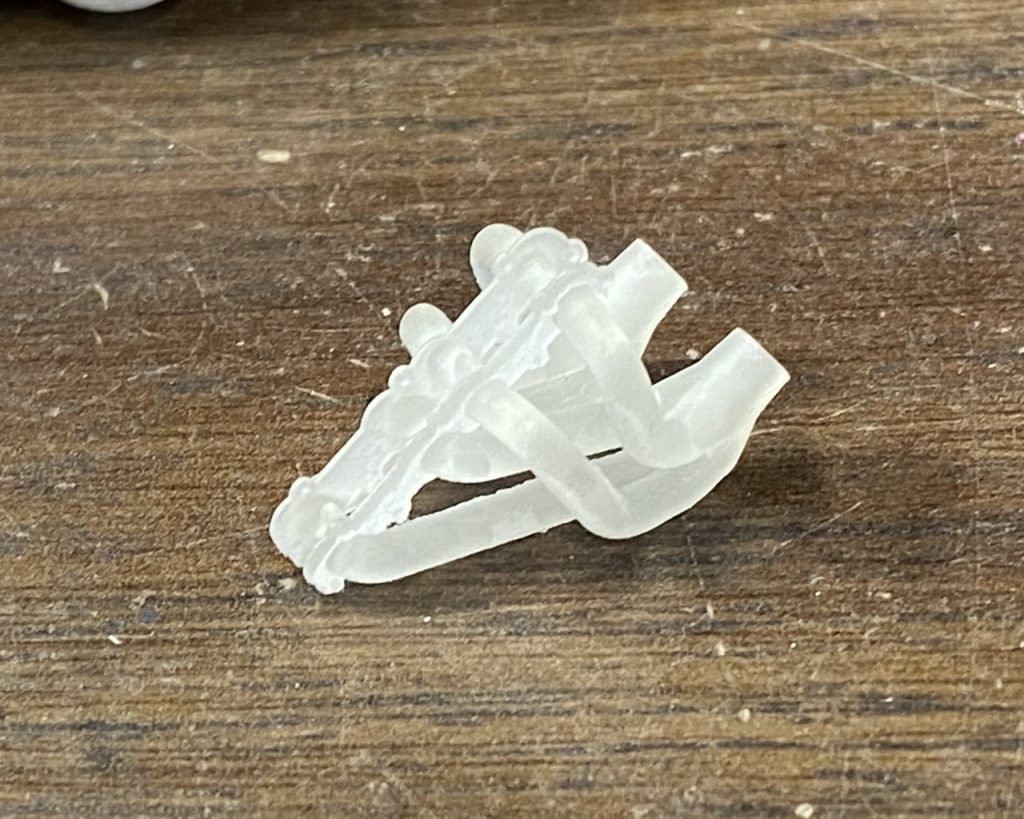
The Riviera build I described over the last couple of months would need more detail to make it completely awesome. The blown small block Chevy has exhaust manifolds. I’m not interested in making my own headers. I looked through 3D Model Specialties page, I found a pair of SBC shorty headers. I ordered a set and look forward to adding it to my build.
Now that I have broken my record and I have half a month left until the new year, I’m taking a little break. I’m working on adding lighting to my display case. It’s a project I’ve been contemplating for years. Now it’s time! I may do a write-up on that in the future. Happy New Year!
A break?
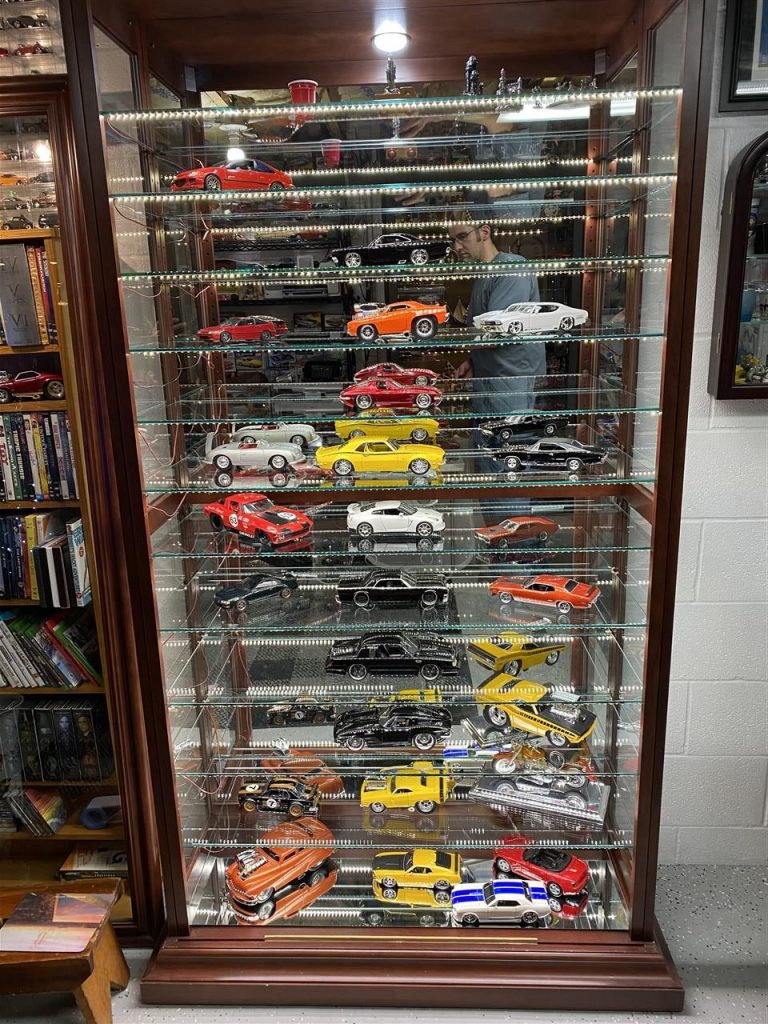
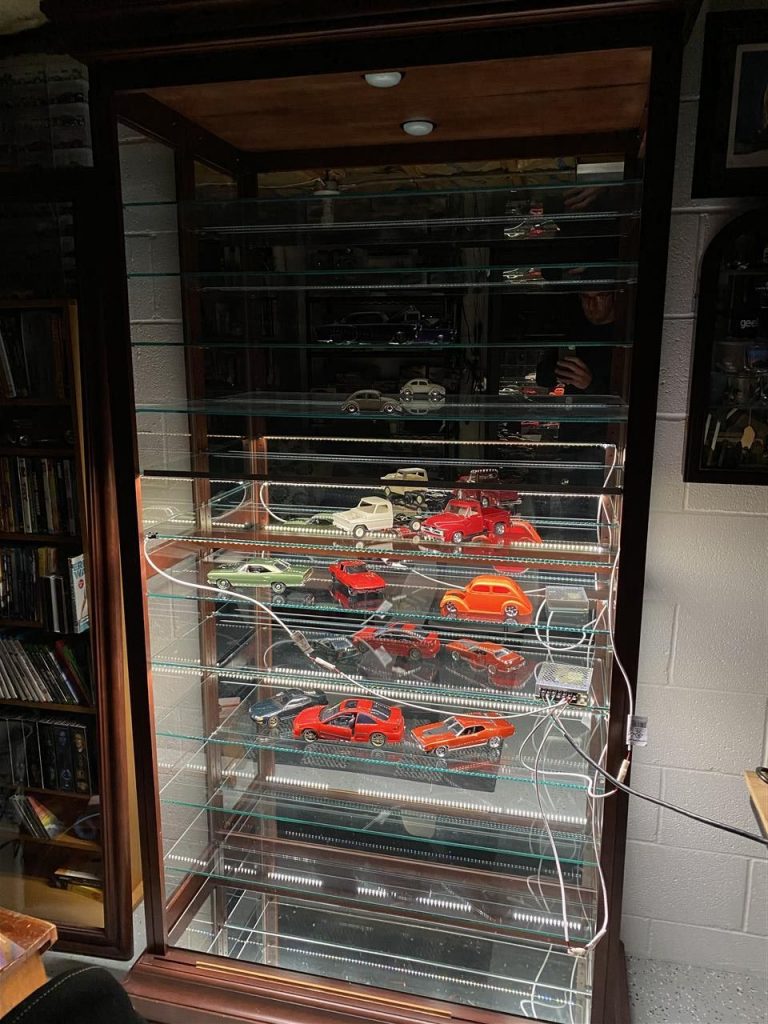
Maybe from model building. I always have something going on! I’m borderline obsessed with accent lighting. I’ve added lighting to several areas of my shop and the last major piece is the curio cabinet I use for my models. My challenge was to add lighting to a nearly all glass display without it looking gaudy.
Over a year ago, I bought adhesive backed LED strips that I would attach to each shelf. I had several ideas swimming through my head which I experimented with temporary attachments. After quite a bit of head scratching, I decided on the final solution.
My solution was to attach the LED strip to the leading edge of each shelf. The power wire would be attached to the side edge of the shelf with plastic u-channel. Holes would be carefully drilled through the narrow wood frame between the side glass and mirror. The power supply is attached to the top of the case where the power wires would be attached to a distribution block. The final detail would be to add 1/2″ aluminum angle to each shelf. The purpose of the aluminum angle is to cover the strip from the top and hide the adhesive back as well as provide a shroud to hide the edge of the LED strip. The added bonus is that the aluminum will nicely trim each shelf especially after I polish them.
My shop is a complete disaster at the moment. I really don’t like having all of my builds sitting out and being exposed to the elements (little kids, dust, etc).
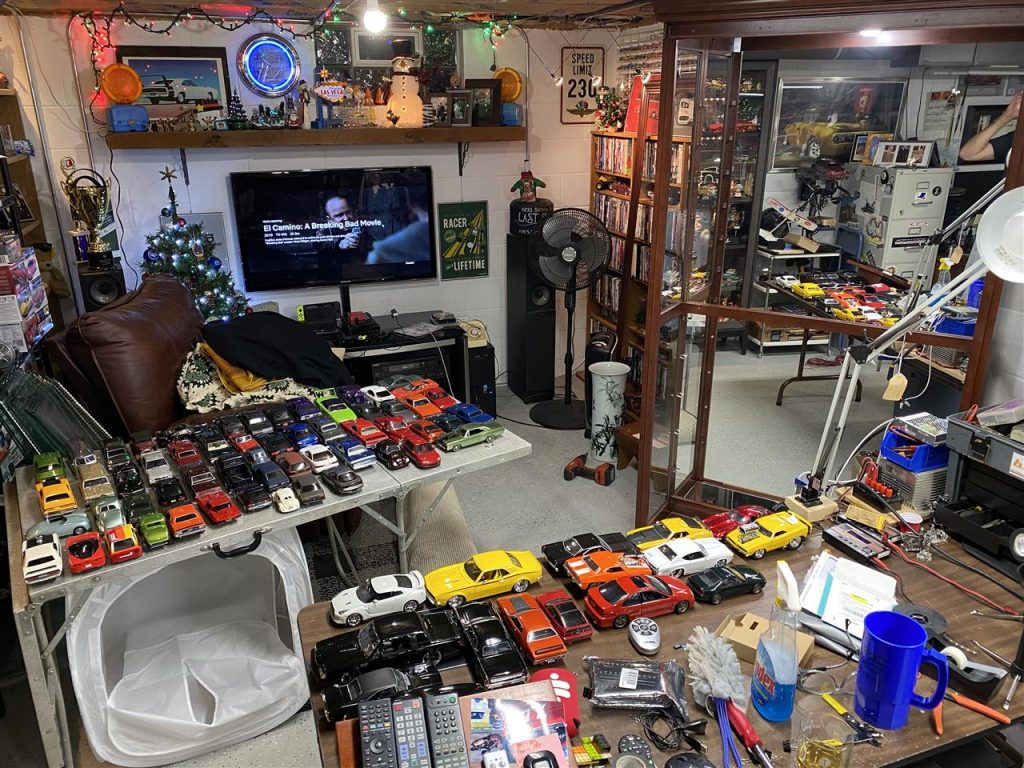
Although I had hoped to finish this project quickly, I had issues with some of the materials I had ordered. Even so, I was able to get a glimpse of the finished project!
